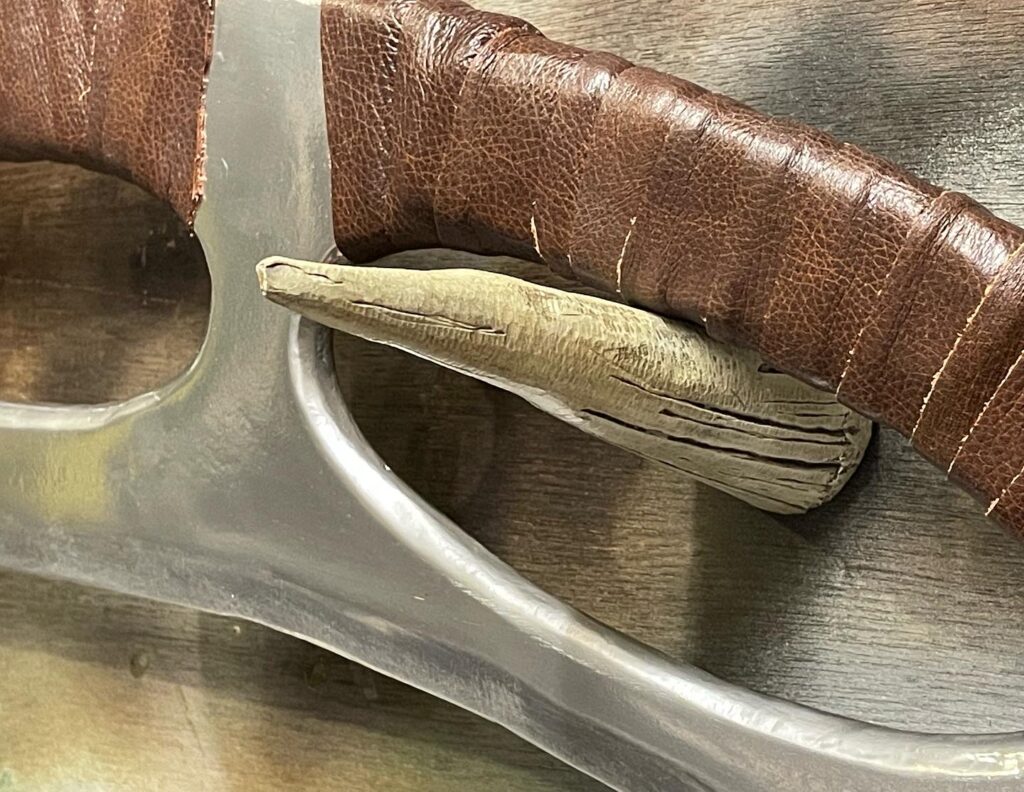
When I was building the Bat’Leth, I though ‘How would I want to display these? How would a Klingon display these?’ Well they’d use a bone or horn mounted to the wall right!
So the Targ Horn bracket idea was born.
Build
All of the horns were formed in the same way, a cone of carboard, sealed and put in a stand (a box with some holes cut in) and then filled with 2-part epoxy resin. 24 hours later the resin is hard and you whip the cardboard off!
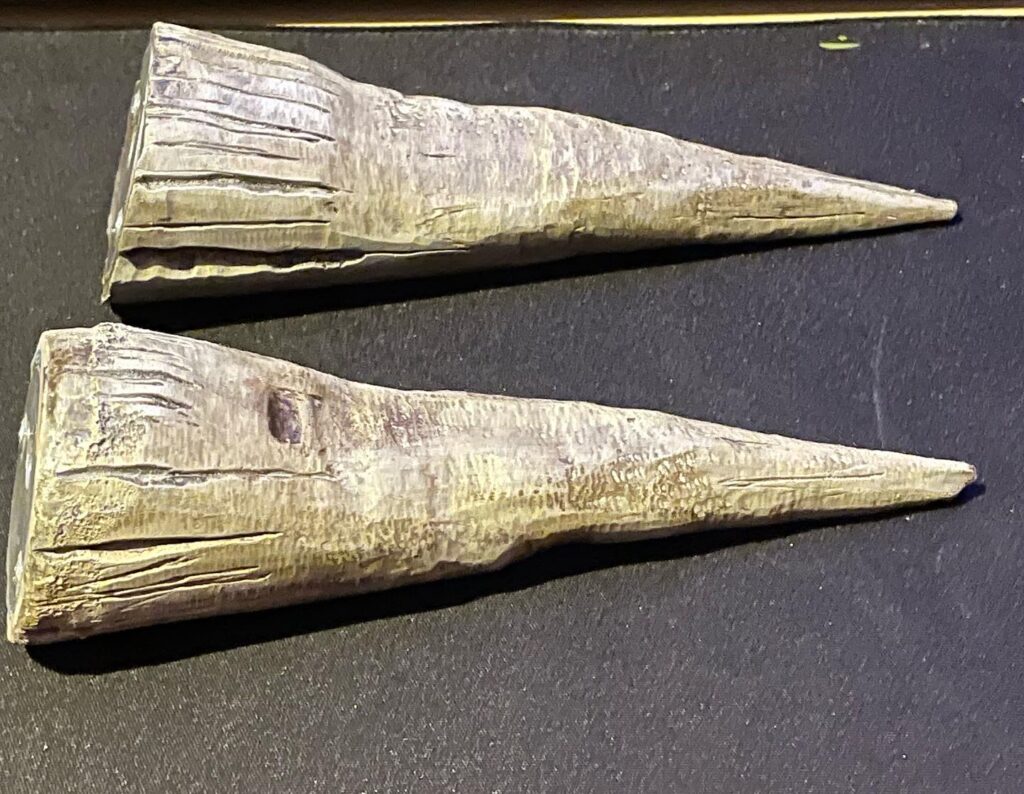
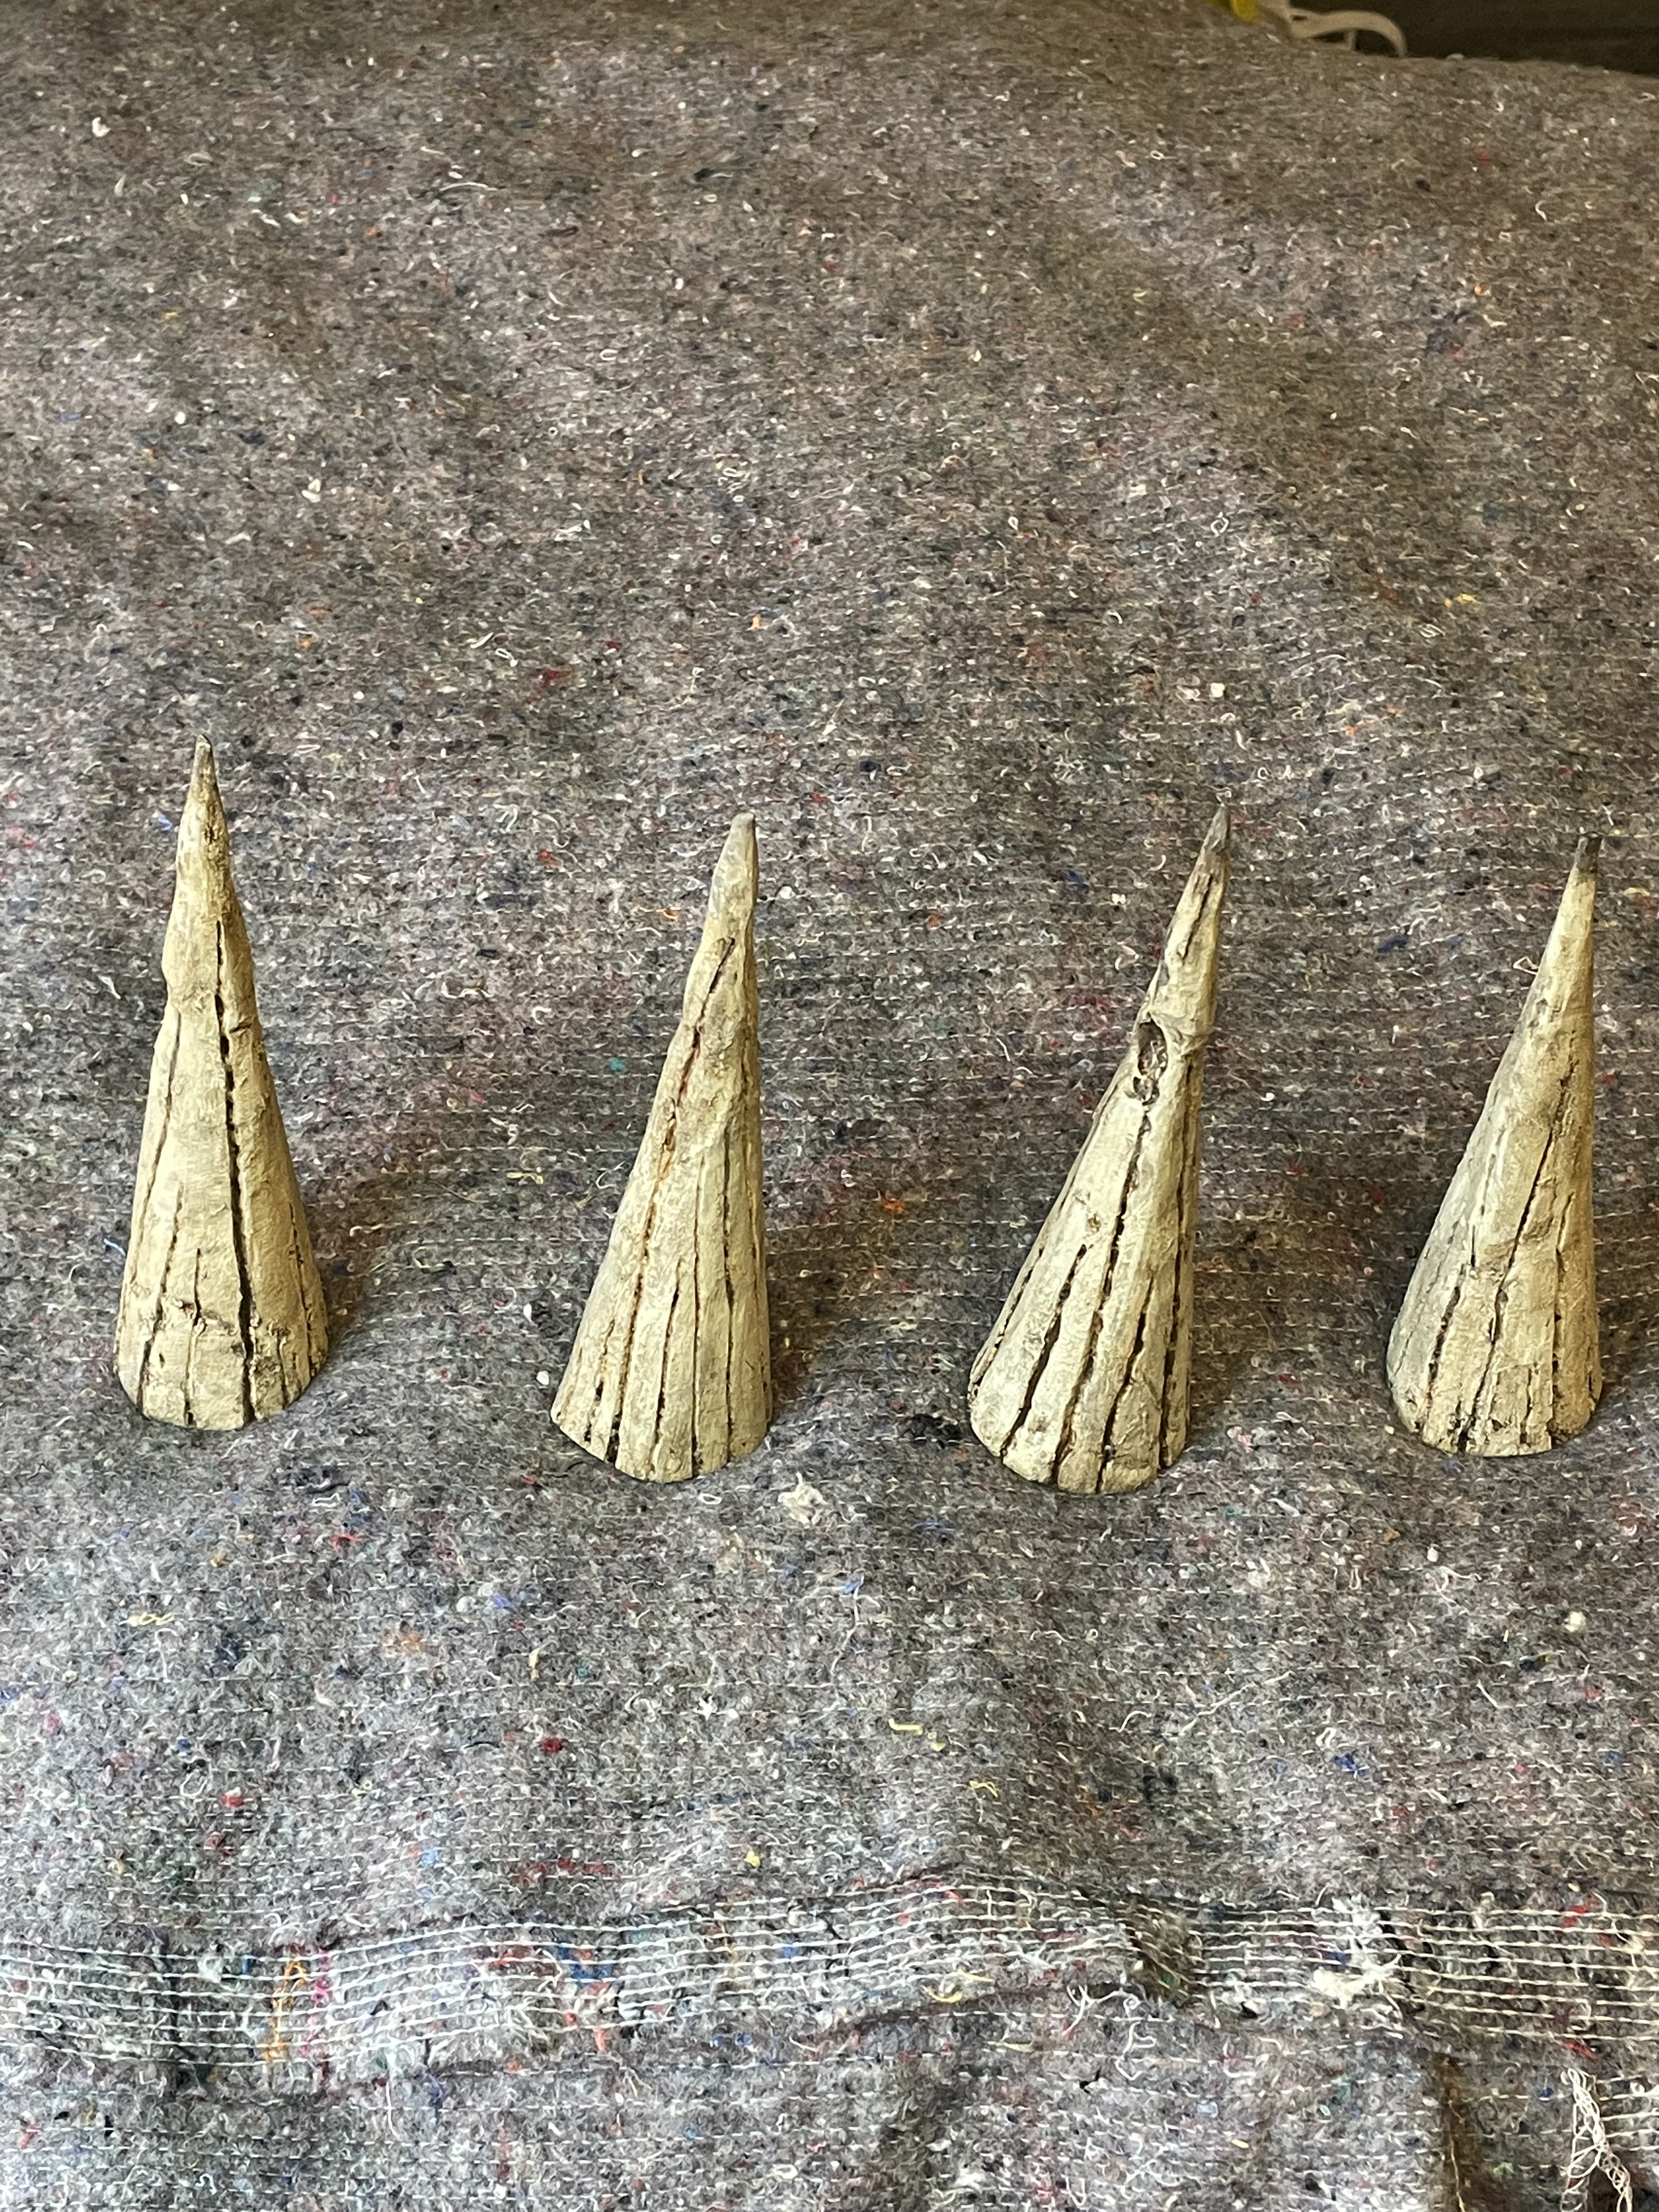
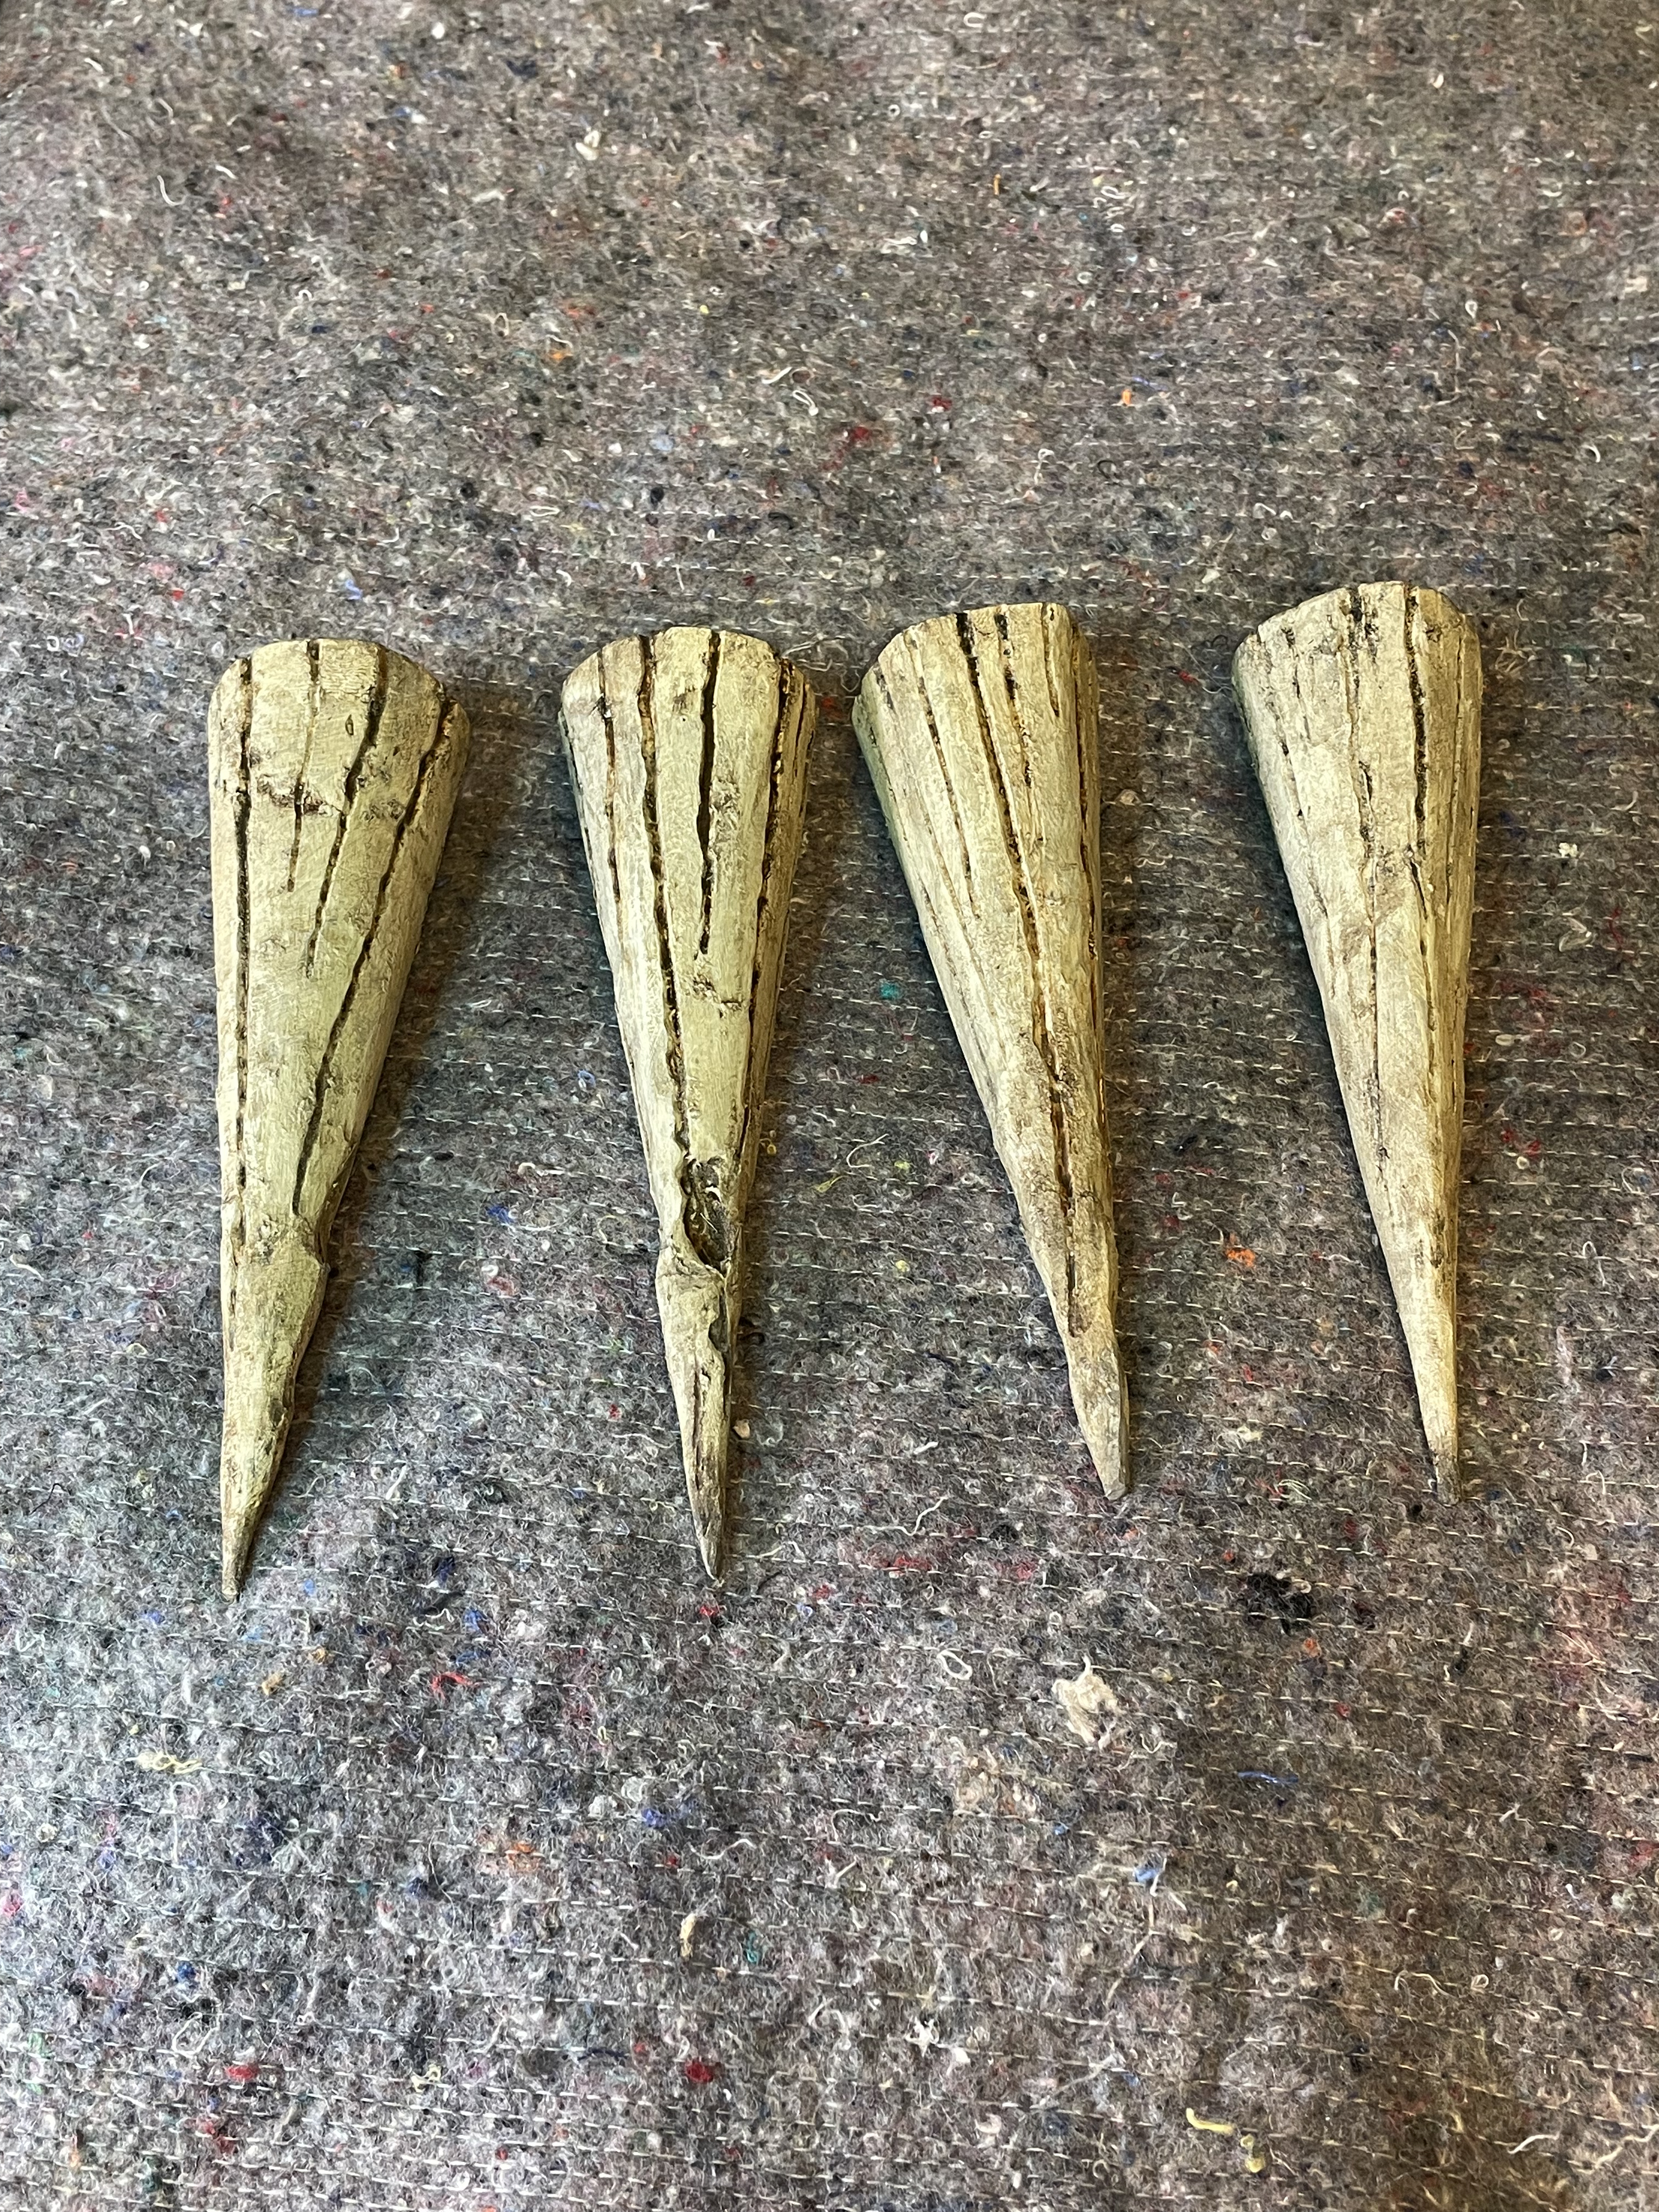
HAH! of course you don’t, you tear off what you can and then use a rotary tool with a sanding drum to get rid of the rest. When I reached a blank I was happy with I started shaping with the sanding drum and stone bits to get the rough form I wanted and scribe the lines and textures into the surface. the two larger horns got some additional whittling – in character – to give defined resting spots for the Bat’Leth to sit, the four smaller horns are ‘as gathered’.*
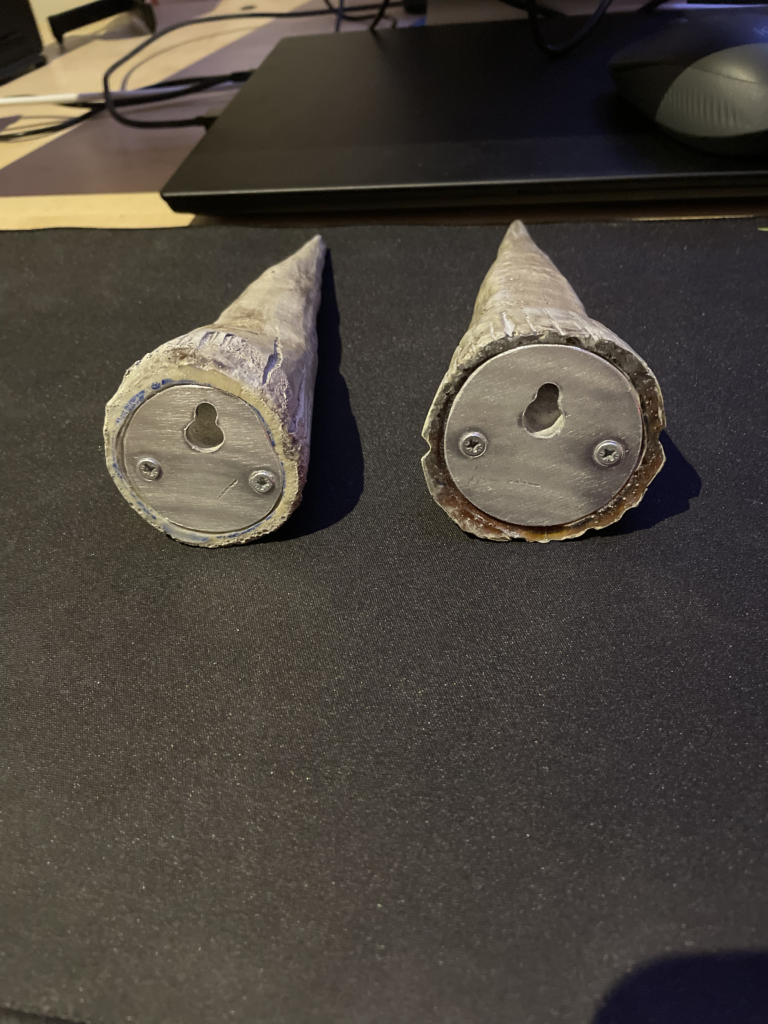
The securing bracket end of the horns are made from 1.5mm aluminium plate cut to shape and drilled with keyhole slots. The horns were marked and a mini router bit used in the rotary tool to excise the material to the correct depth to accept the plate plus a pocket for the screw-head under the keyhole slot. The plate was then glued in place with CA and screws added for extra security.
*All Targ horns are responsibly and ethically sourced. No Targ were harmed in the production of these brackets.
Finish
After priming, a combination of unbleached titanium and parchment heavy acrylics are used to provide the base colours. Unbleached titanium as a total coverage and then parchment used to highlight certain areas with a mix of the two colours in other spots to provide some subtle contrasts.
Washes in Burn Umber and Process black are used to provide additional contrast and to pick out the textures and markings, the washes are initial dabbed and moved around to cover the surface without obscuring and when almost dry the surface is rubbed to give some high spots through the wash. Finally parchment acrylic is dry brushed over the surface to further pick out the high spots.
Materials
- Carboard (Amazon delivery envelopes!)
- masking tape
- 2-part epoxy resin
- 1.5mm aluminium (I bought a batch of offcuts from eBay – super handy!)
- Liquitex heavy body parchment and unbleached titanium acrylic pain
- Burnt umber and process black craft acrylic paint
Tools
- Rotary tool with sanding drum and mini router bits
- Electric drill
- Stepped drill bit
- Tin snips
- Belt sander / grinder
- Paint brushes