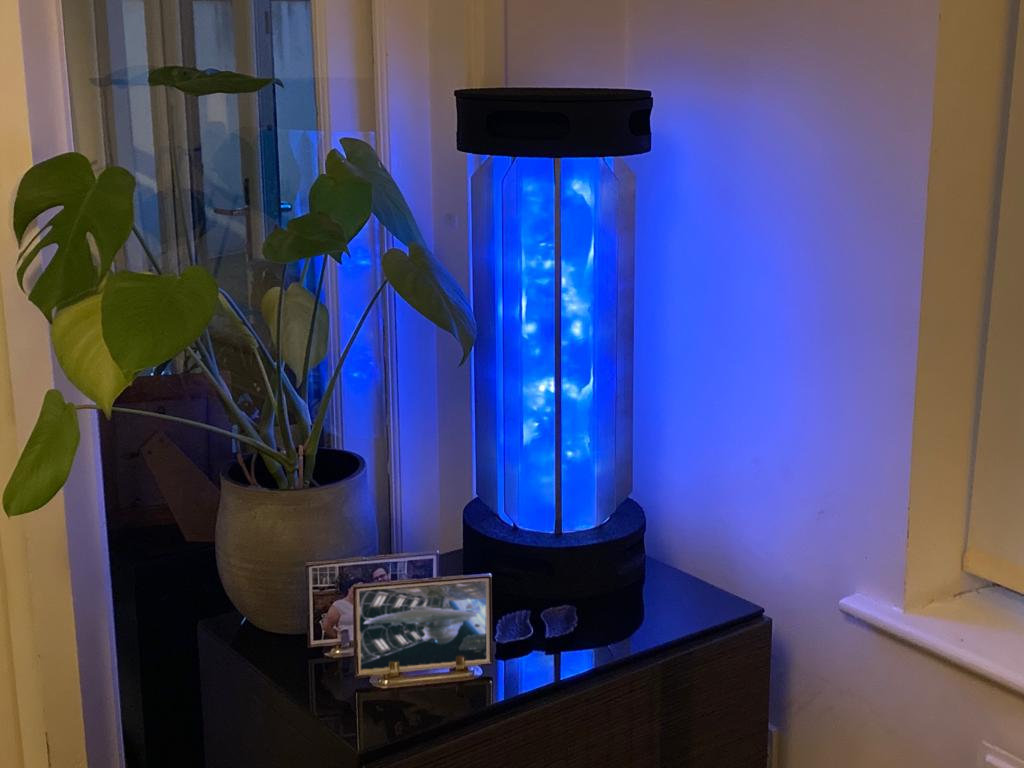
Because no home is complete without one!
My friend Dan, pinged me over a sketch and said ‘Do you think we could make this?’
Challenge accepted! Complete with moving core, variable output levels, colour changes sound effects and smoke!
Ok, so there’s a little more to it than that.
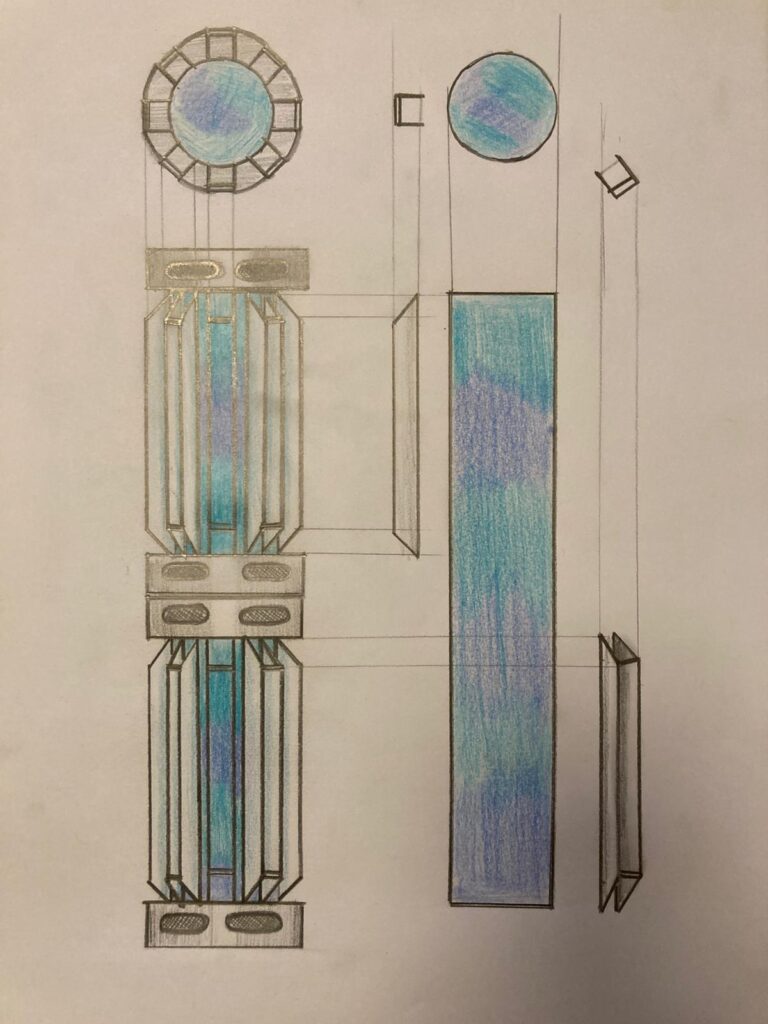
Dan sent me through this image and said ‘Can you do me a 3D print of this so I can see what it looks like?’
‘Of course’, says I ‘No problem’. I I opened up Fusion 360 and started sketching out a model – I called my Design Obi-Dan becuase (at the time) I thought this was going to be a custom light-sabre design! I printed out th model and sent a pic back to Dan with some ideas about greeblies which could be added.
Dan was confused..
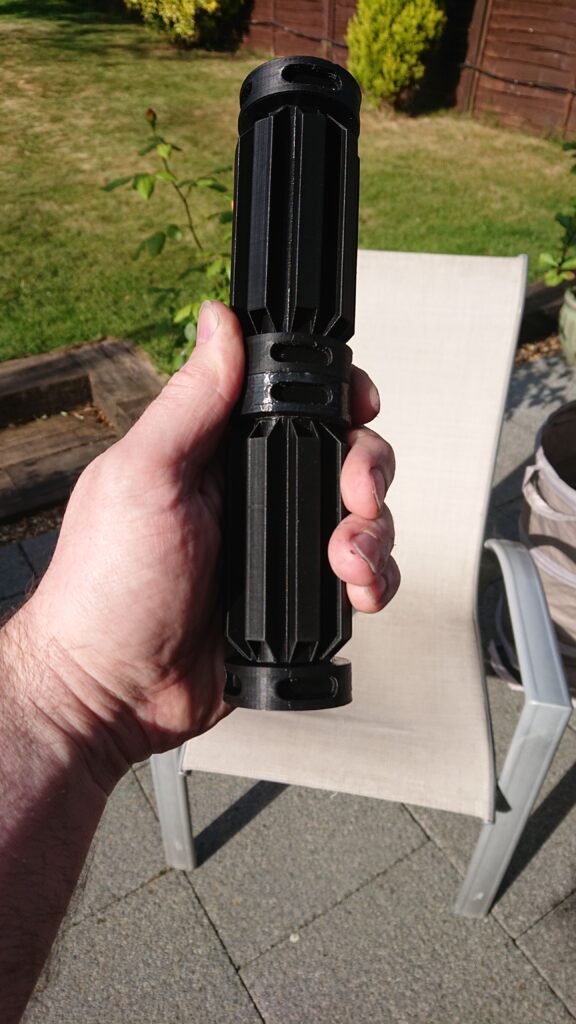
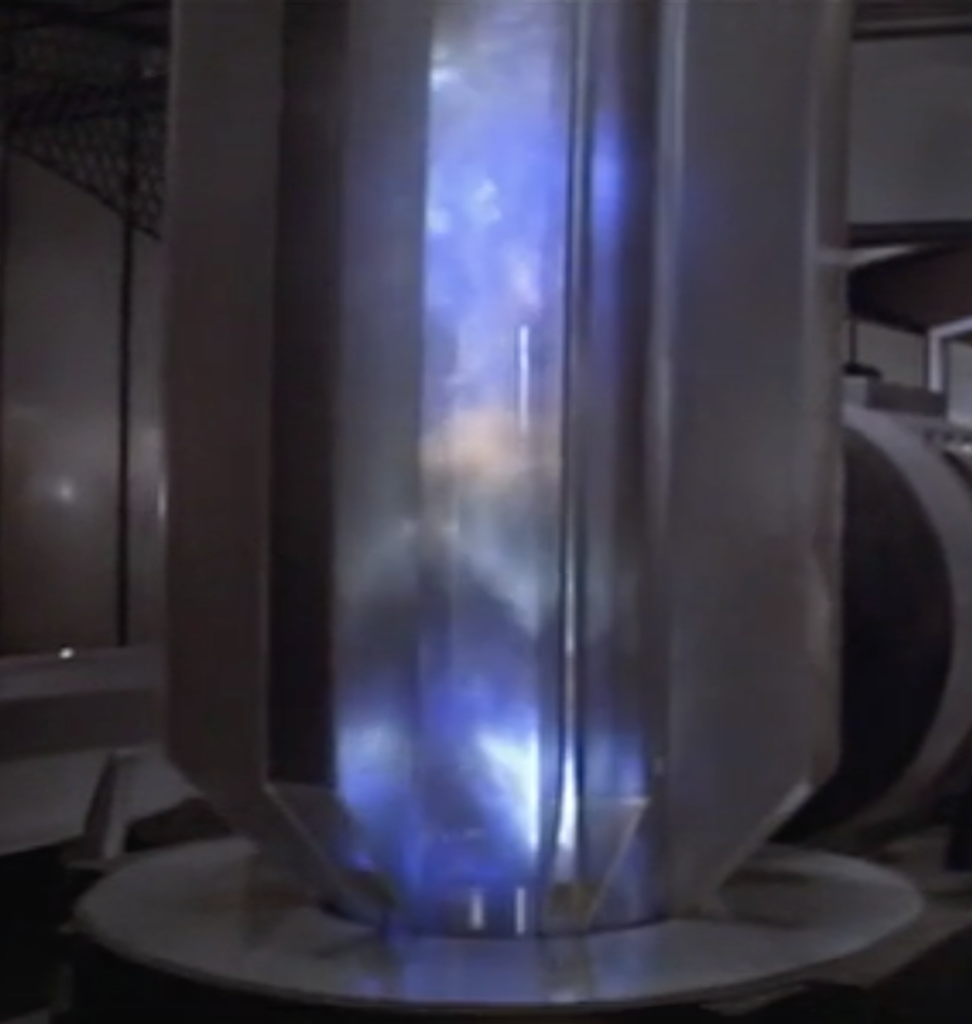
‘Ahhh’ says Dan, ‘ No sir, you are confused.. this is a Warp Core model from the motion picture. I’m thinking about yay high (measures with spread hands) with lights in the middle and stuff. I know how they did the practical effects in the movie – it was balls of tin foil – so could we give it a go?’
Make a ‘functioning’ Warp Core… of course I’m going to give it a go!
My brain started cycling with all of the cool stuff we could do. We could have the moving core effect with LEDs and changing colours, we could have some sound effects.. we could use an Arduino to drive it all.. It could be SO COOL!
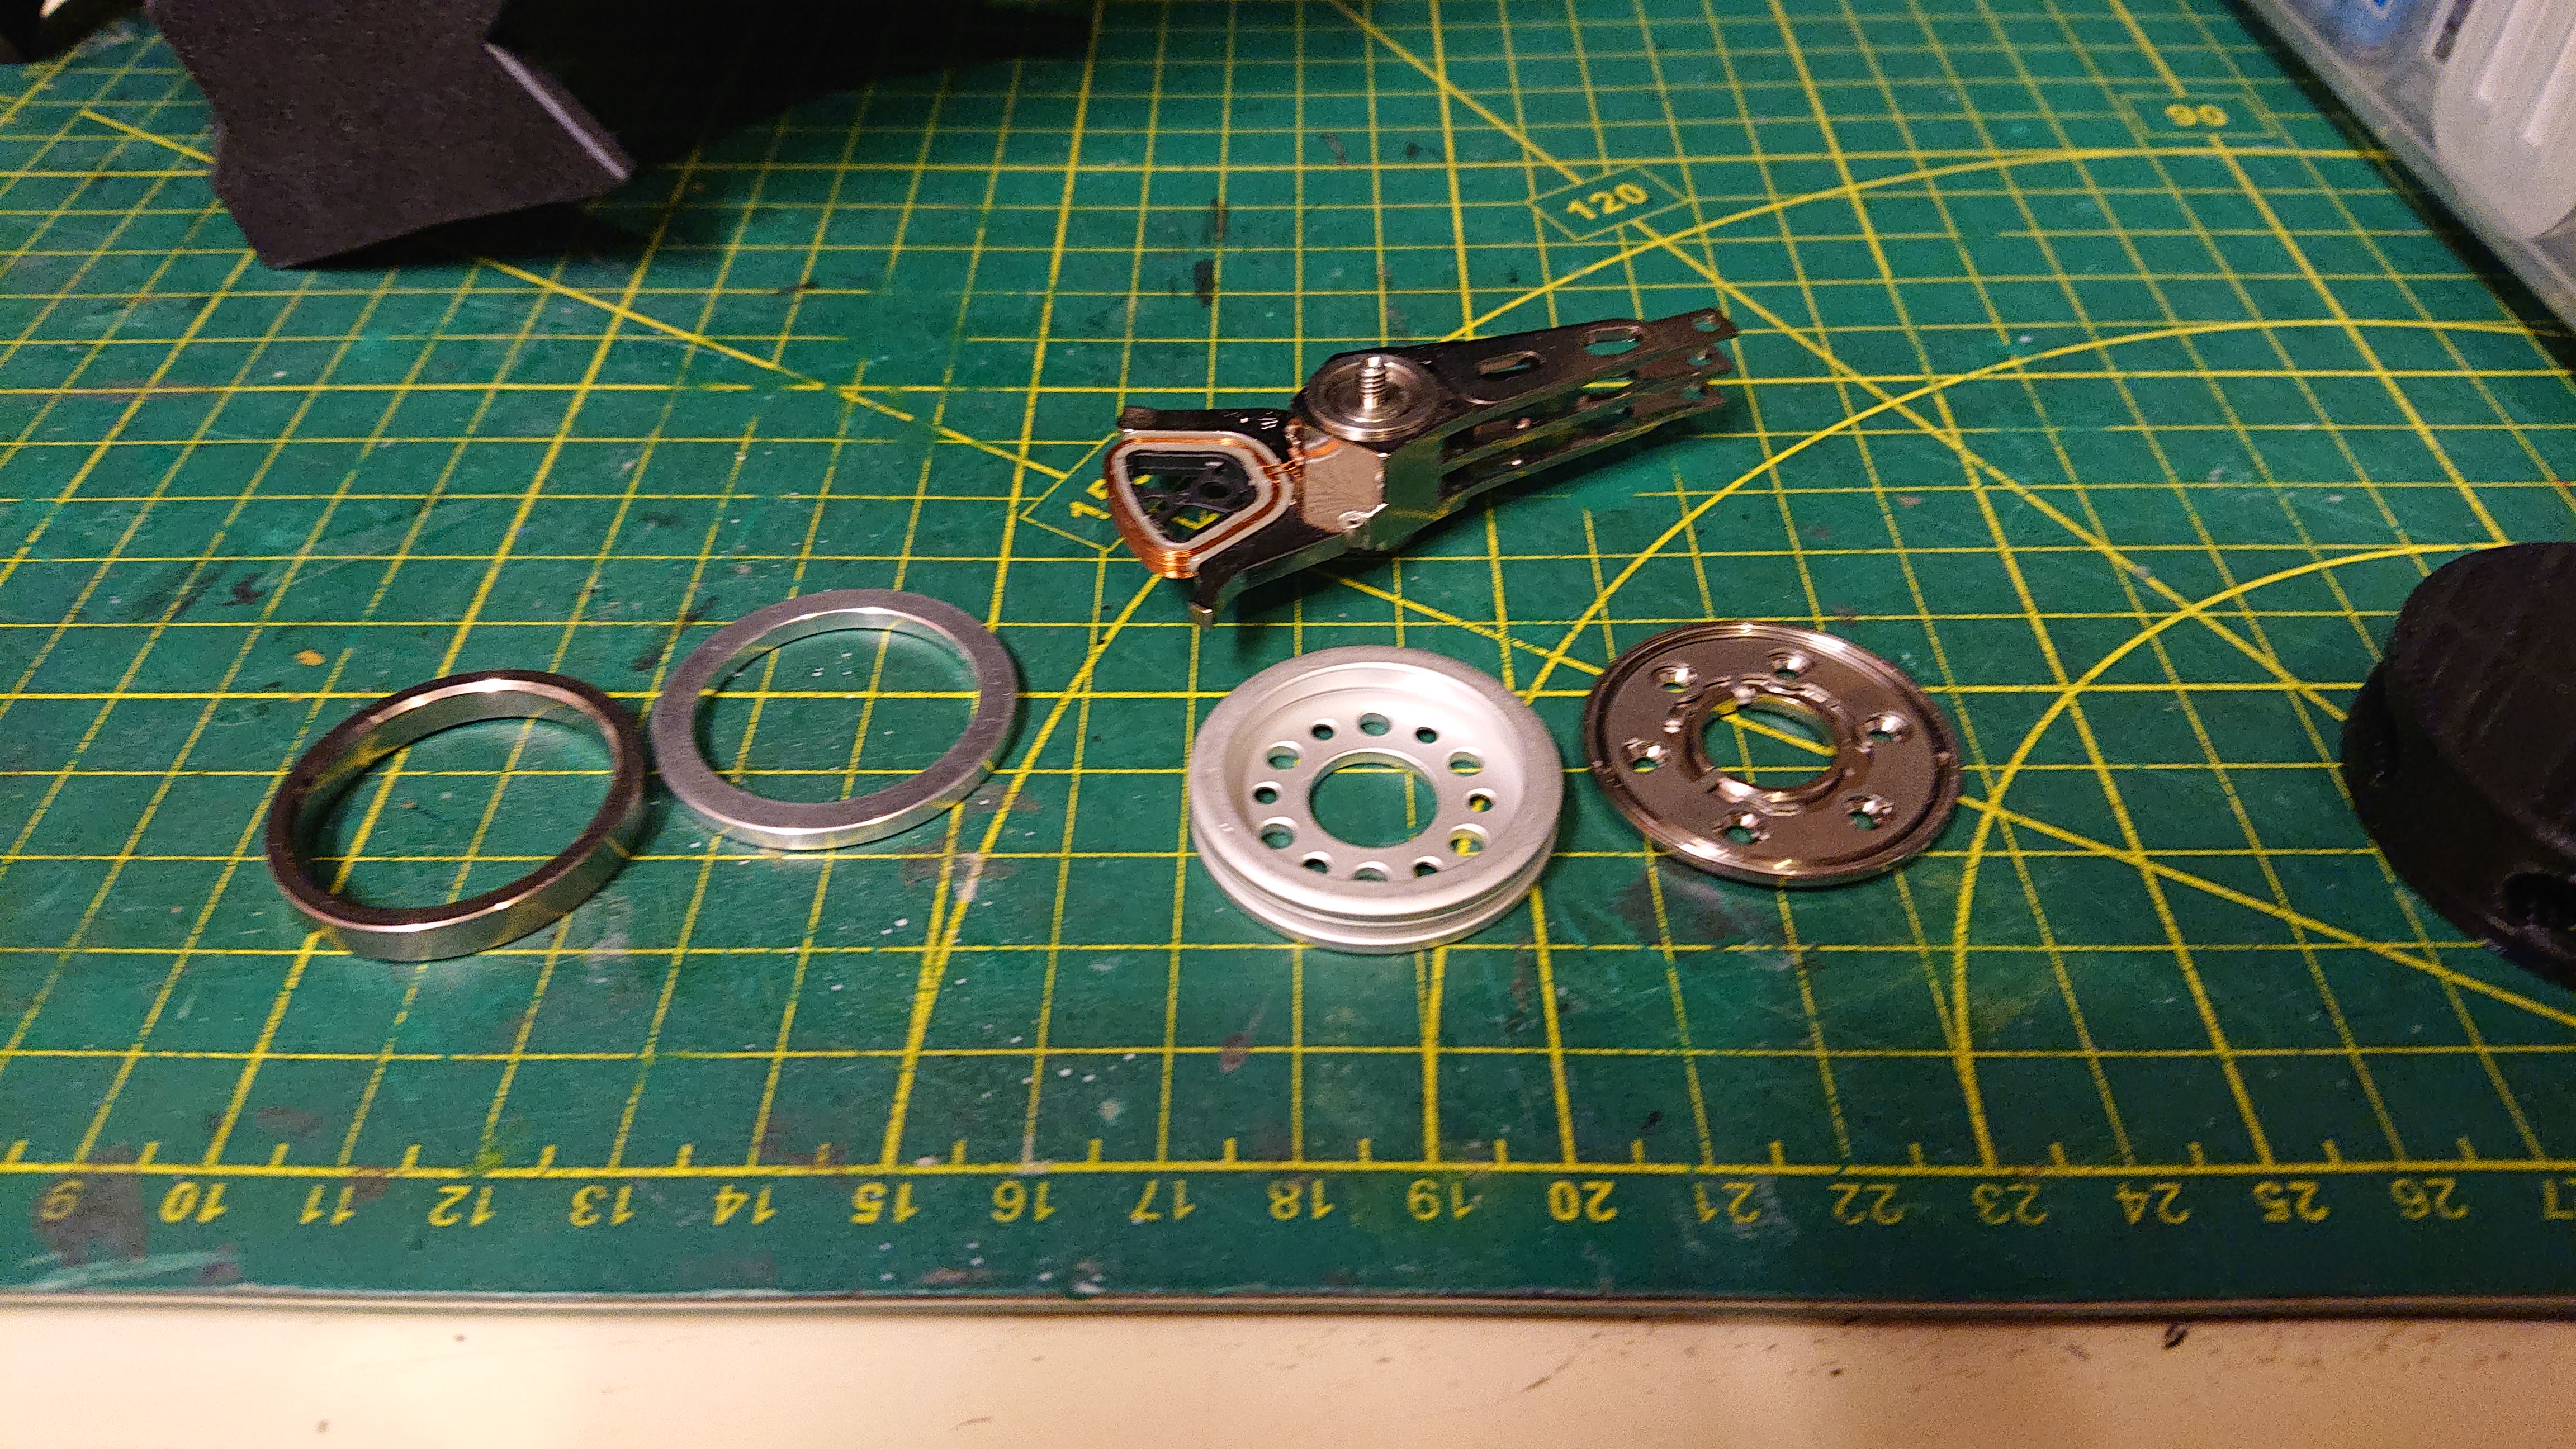
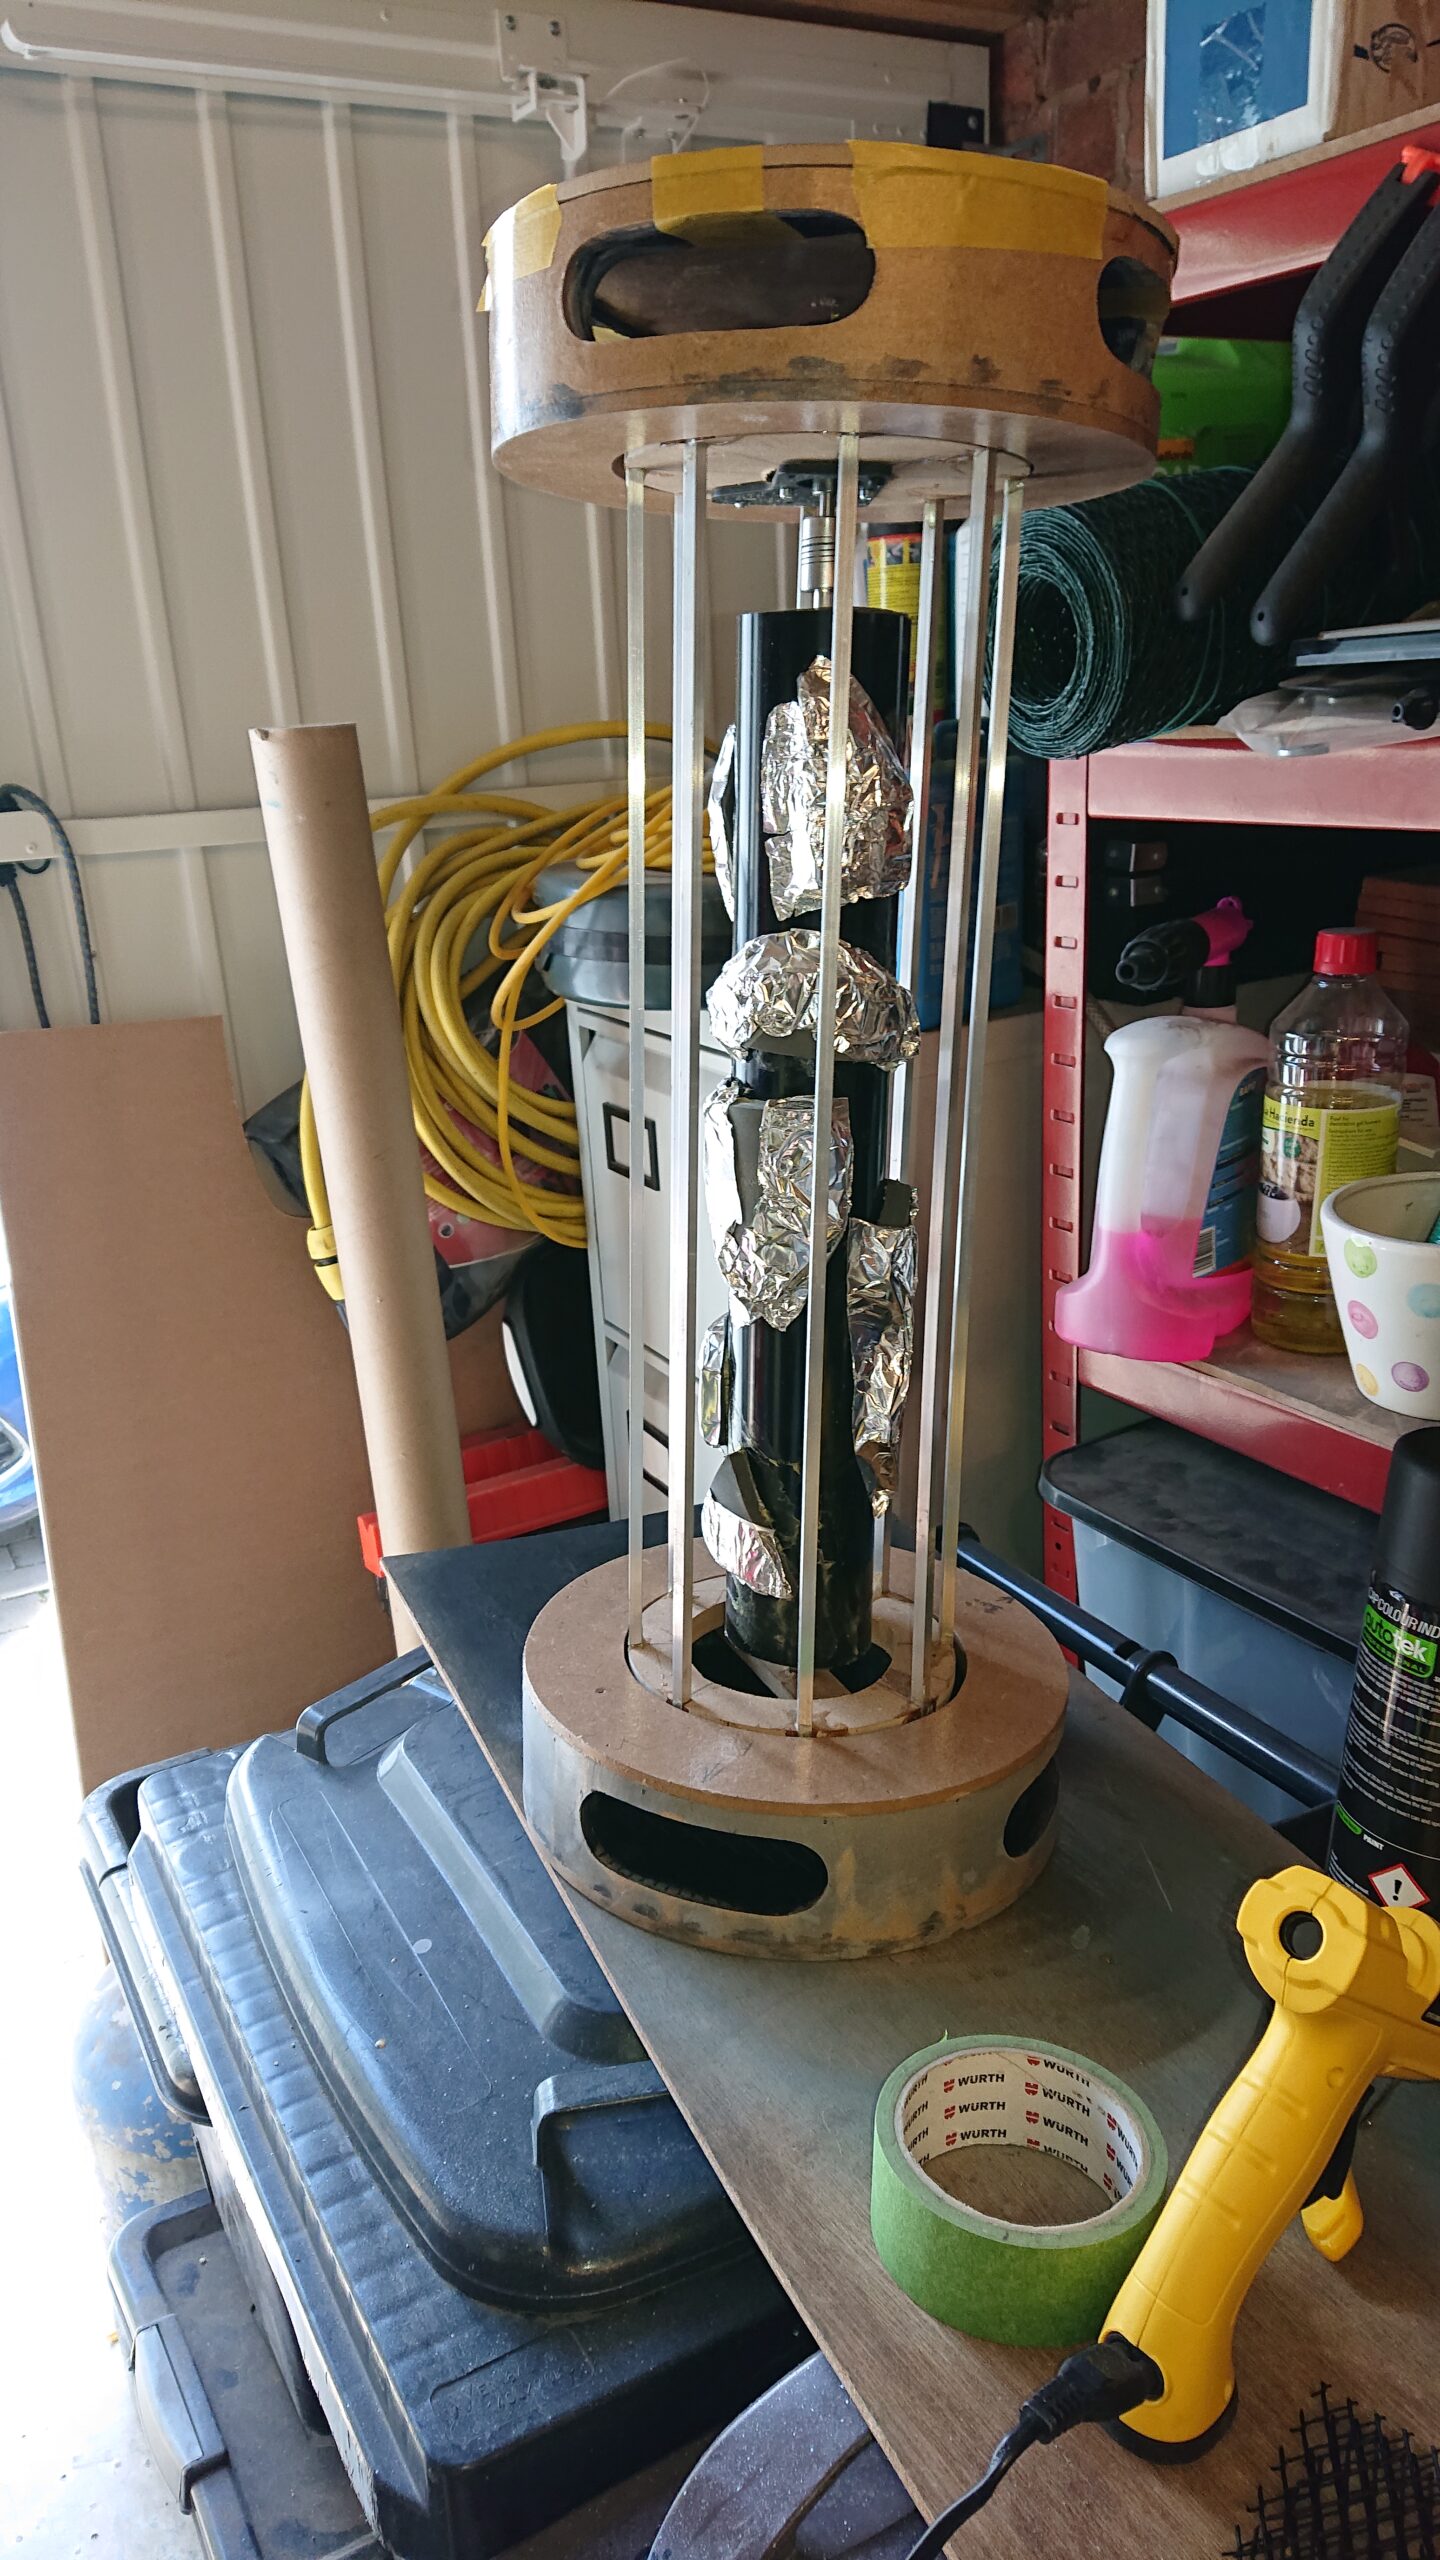
SO I started work. First problem, the ‘core’ of the core needed to look like the movie. We knew how it had been done practically, but the scale was much different. Time for prototyping.
Eventually I got to a stage where I was pretty happy with how the lighting was going to work and it was a question of tweaking the code rather than changing hardware elements.
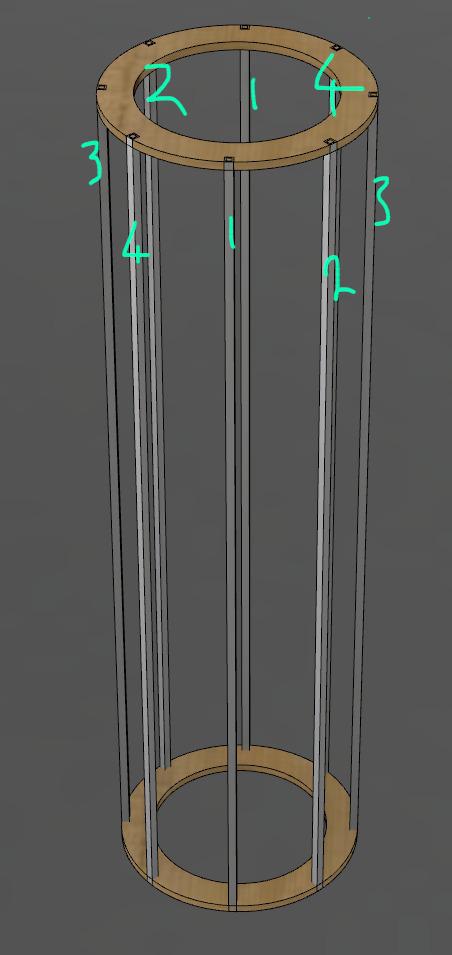
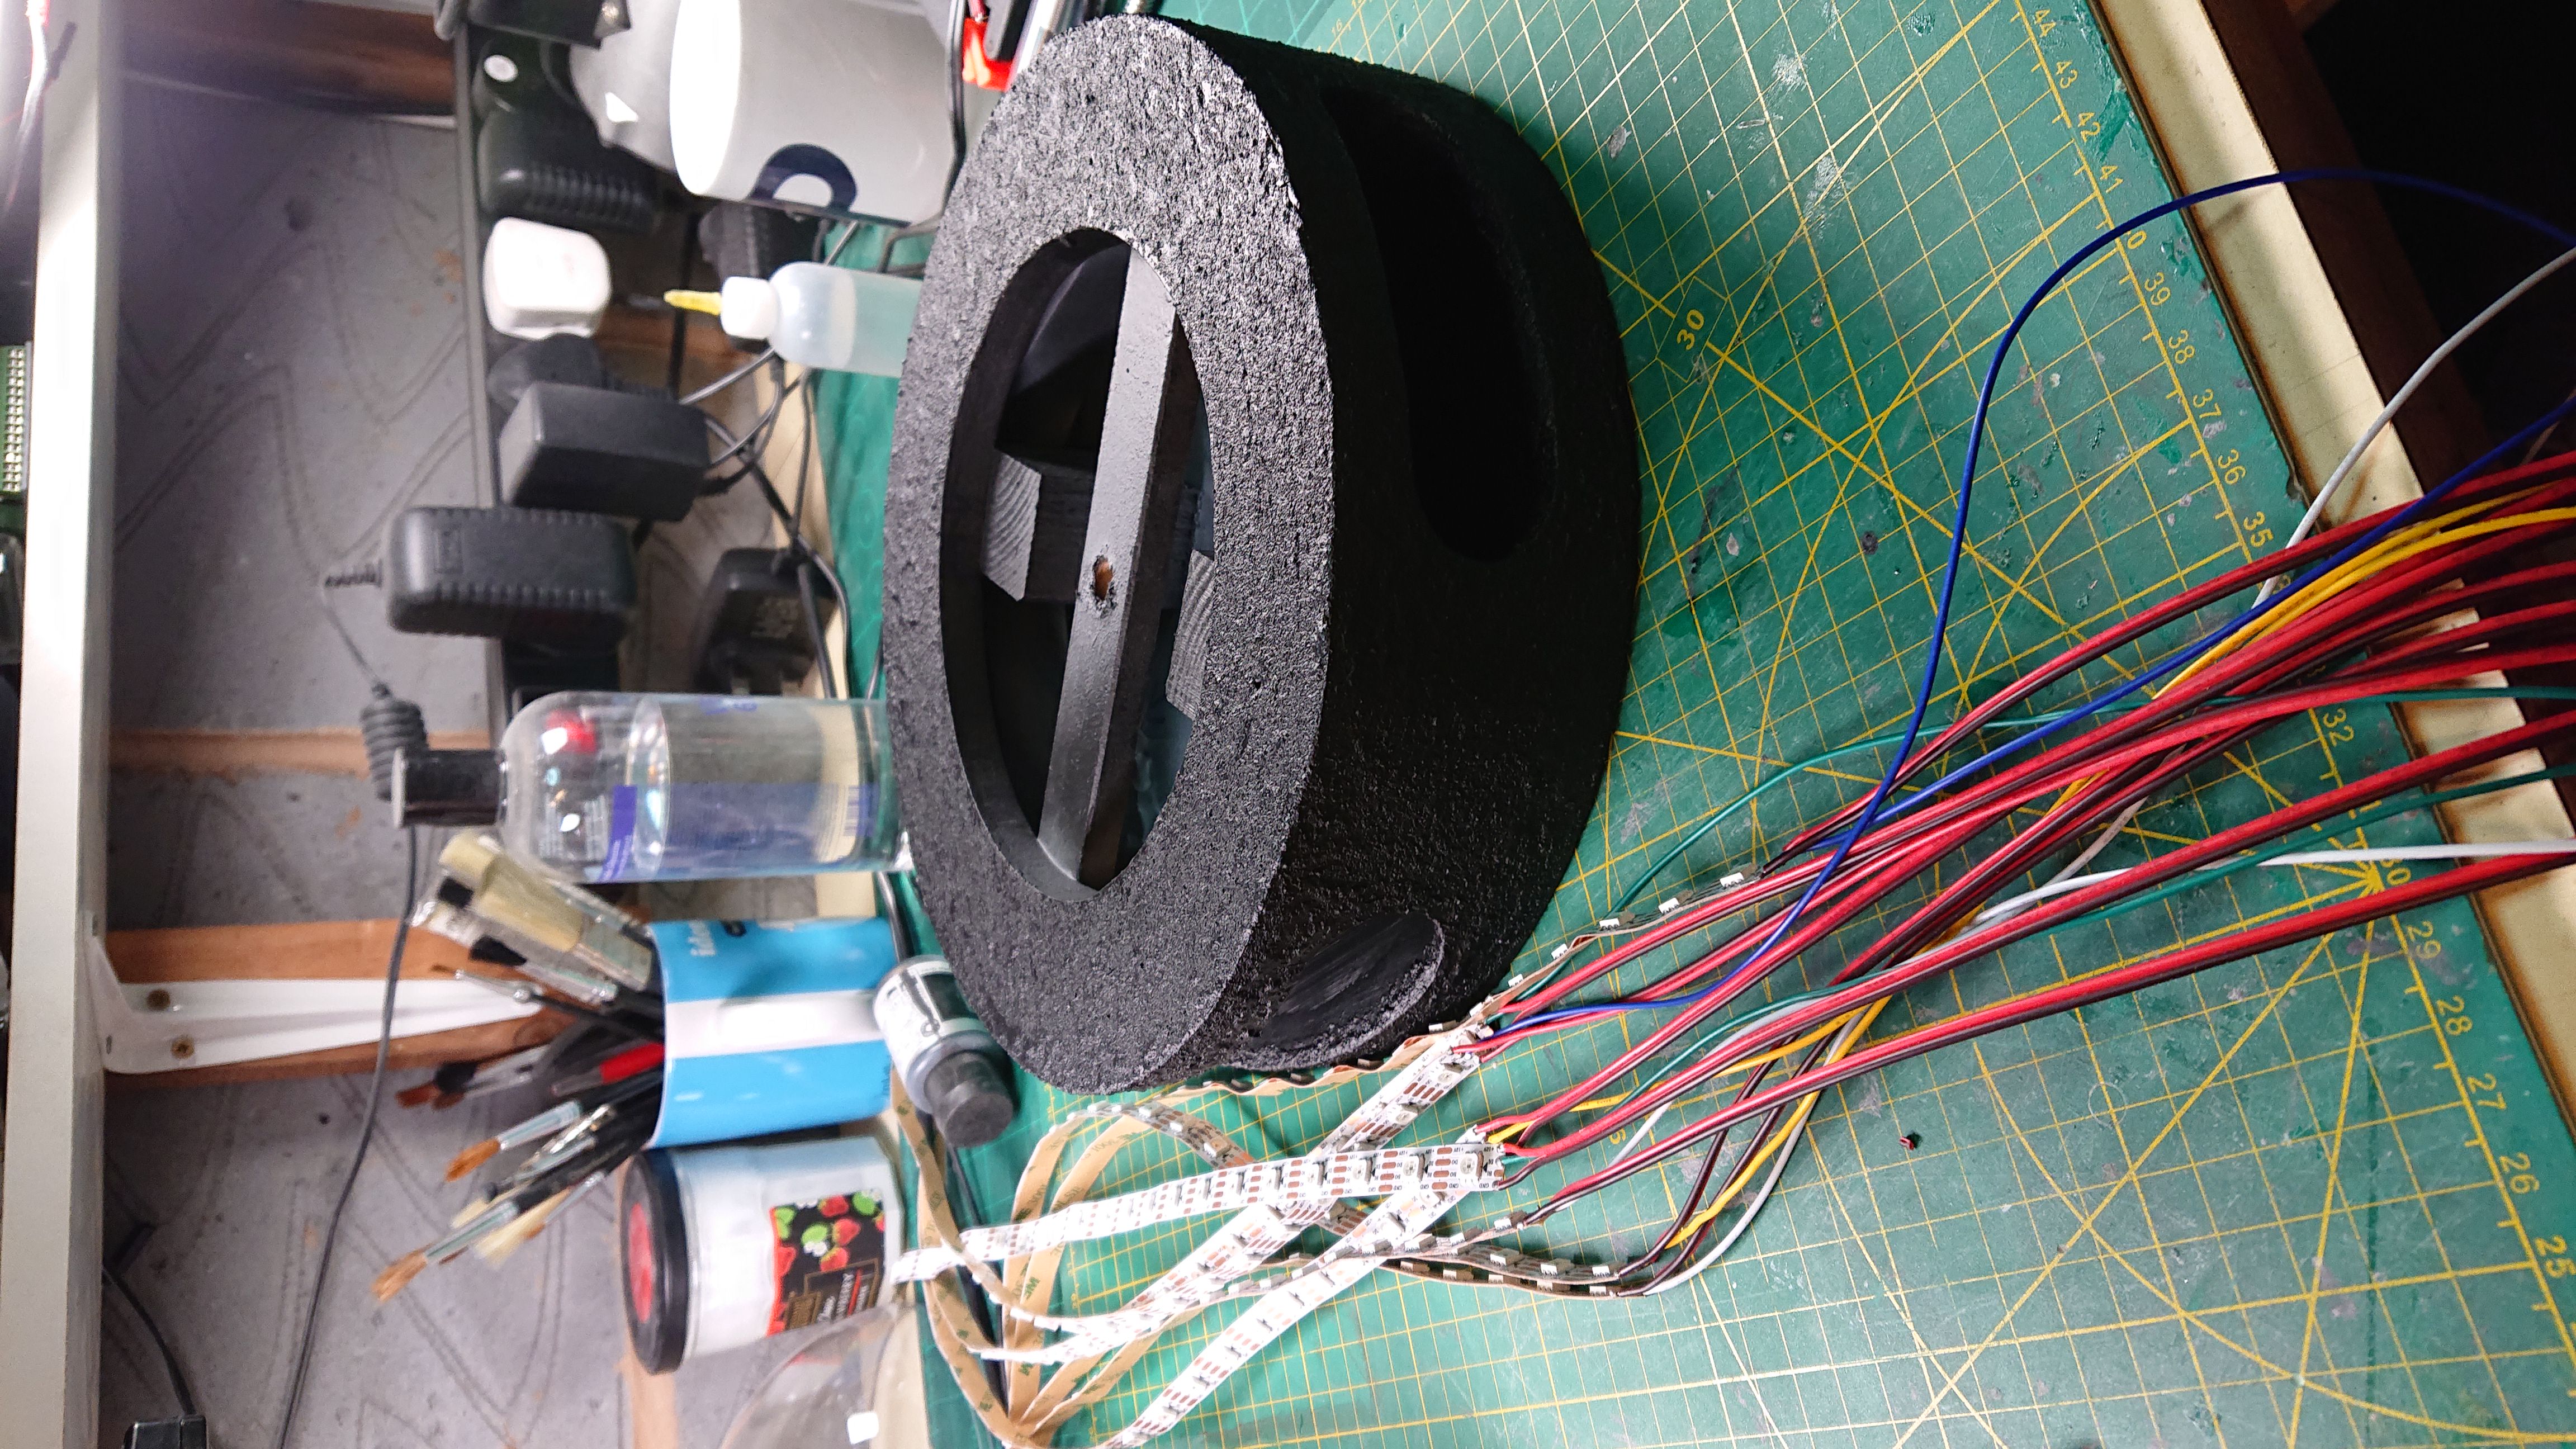
Next was to design the frame this would all sit in. The problem with the wrp core is, it’s pretty translucent… there’s not a lot of space to put stuff like LED strips, wiring for motors etc etc.
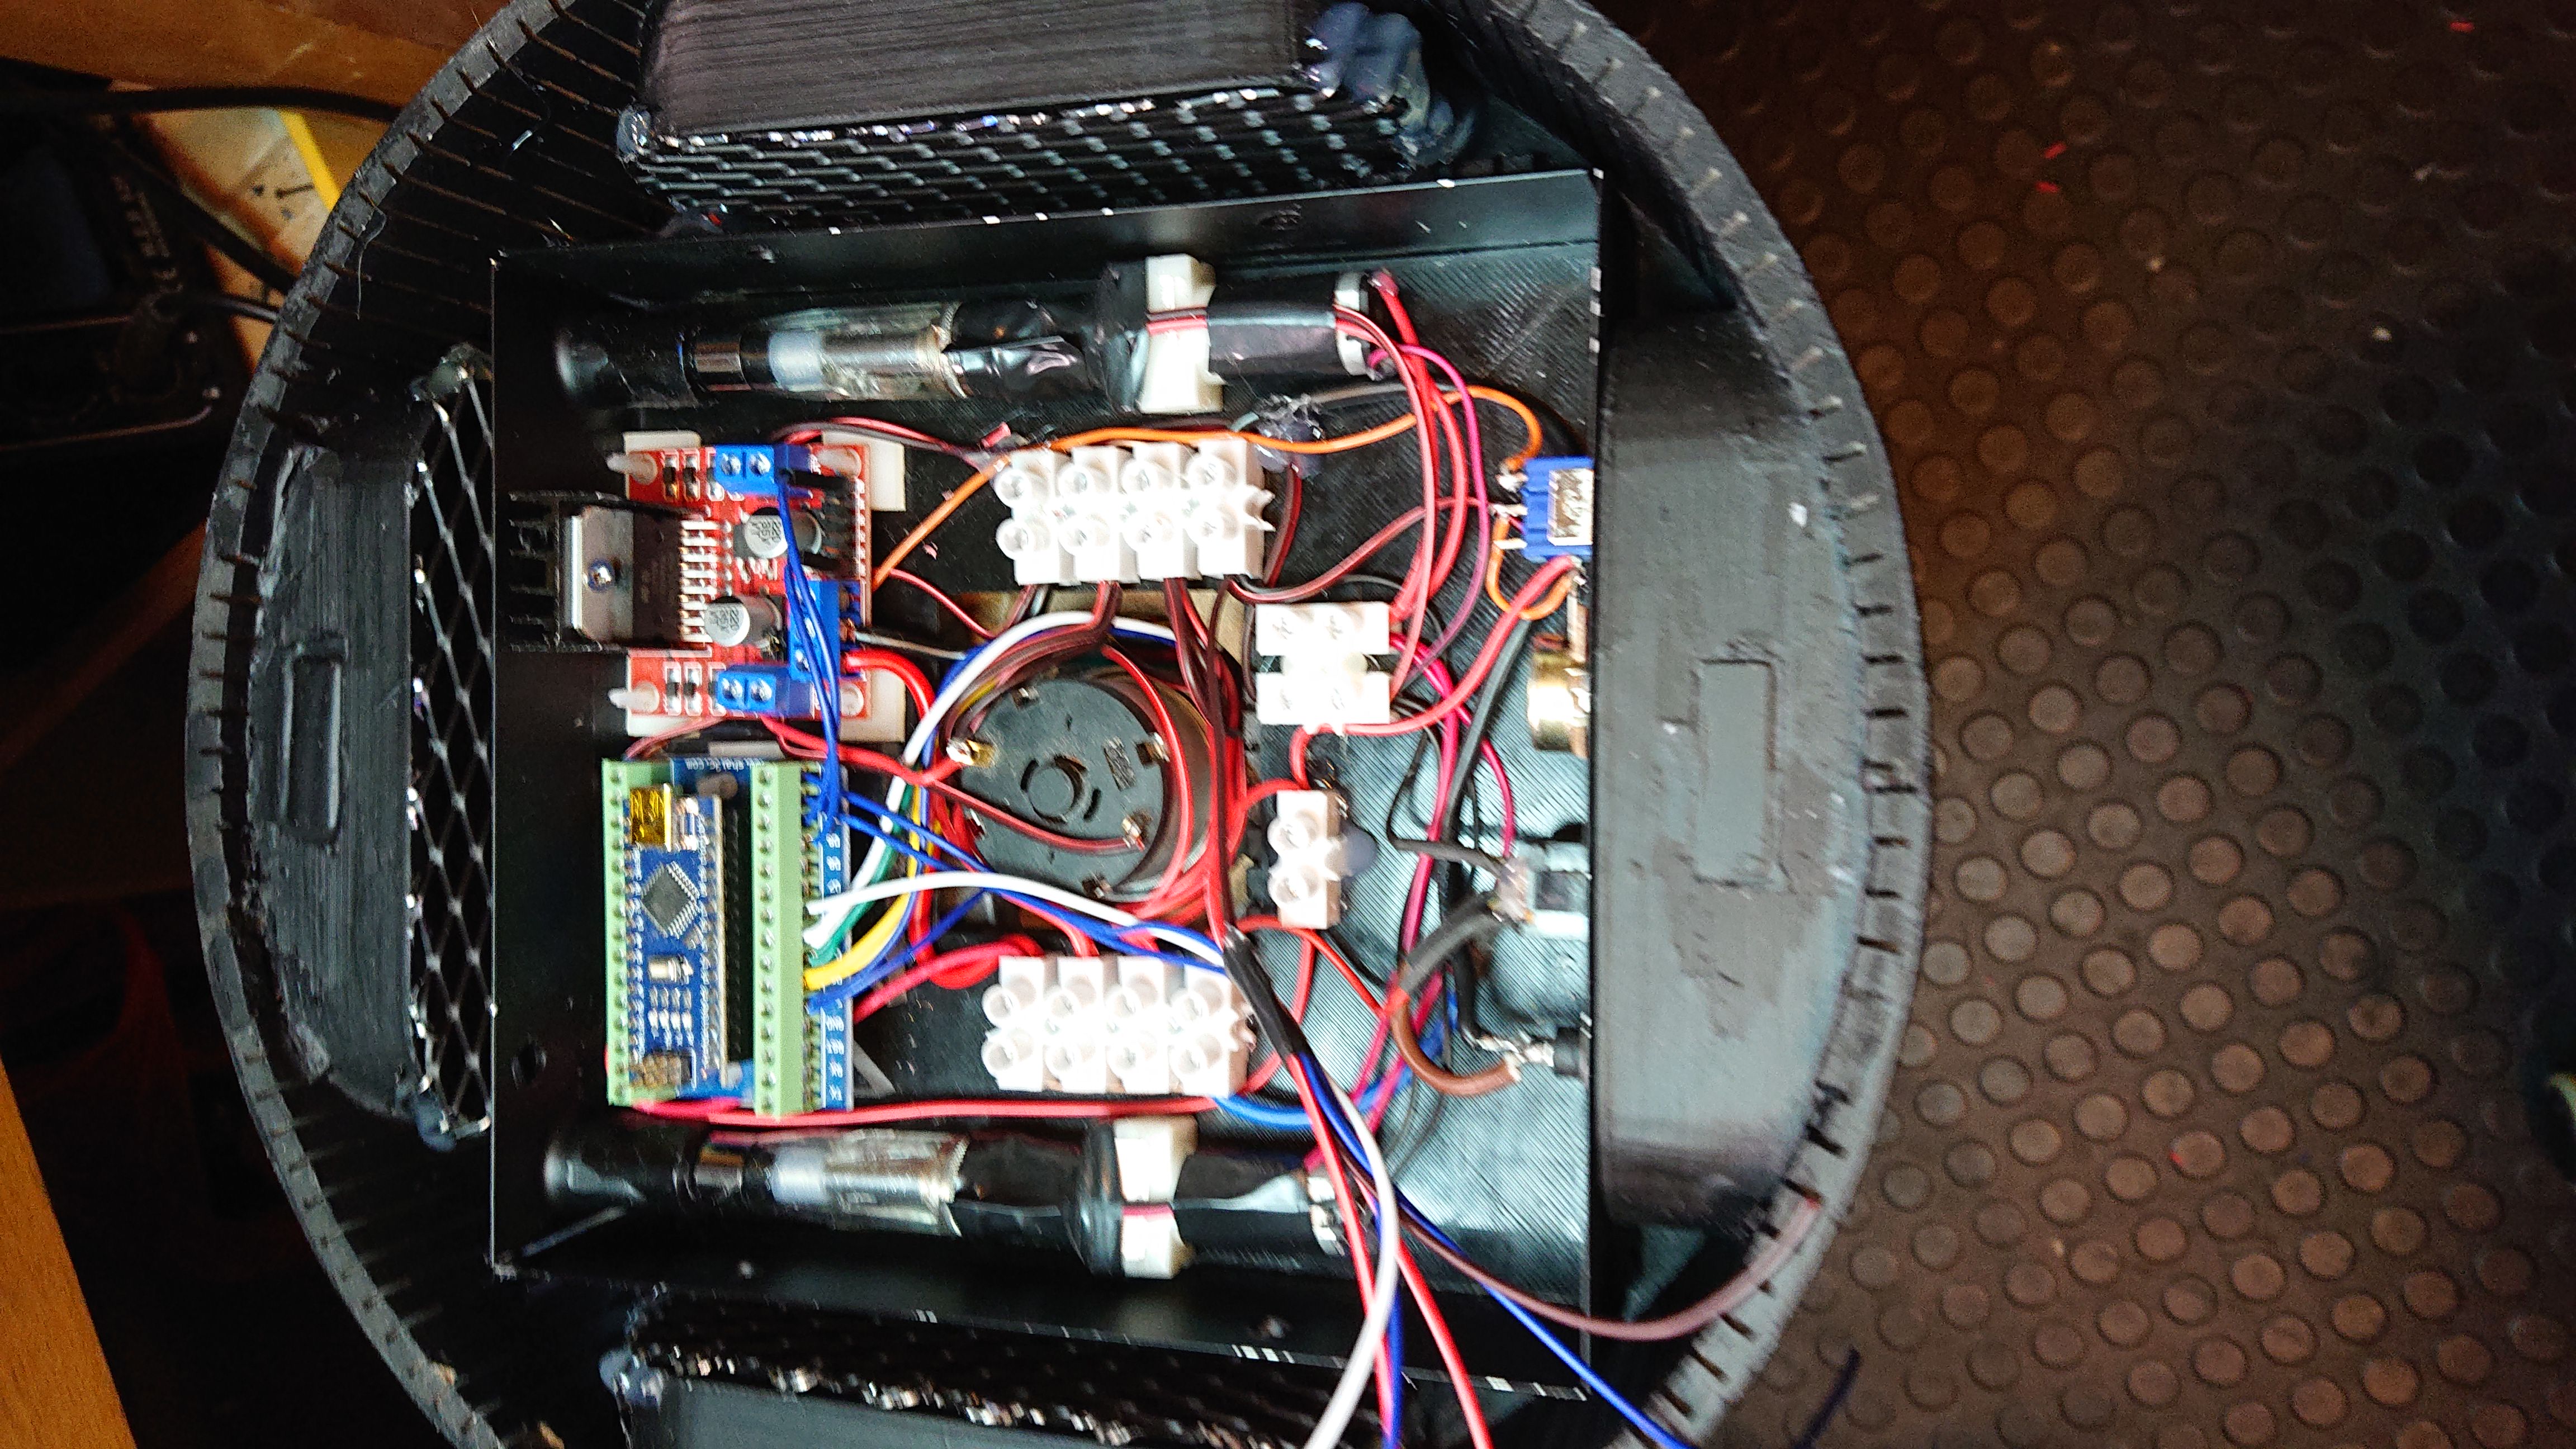
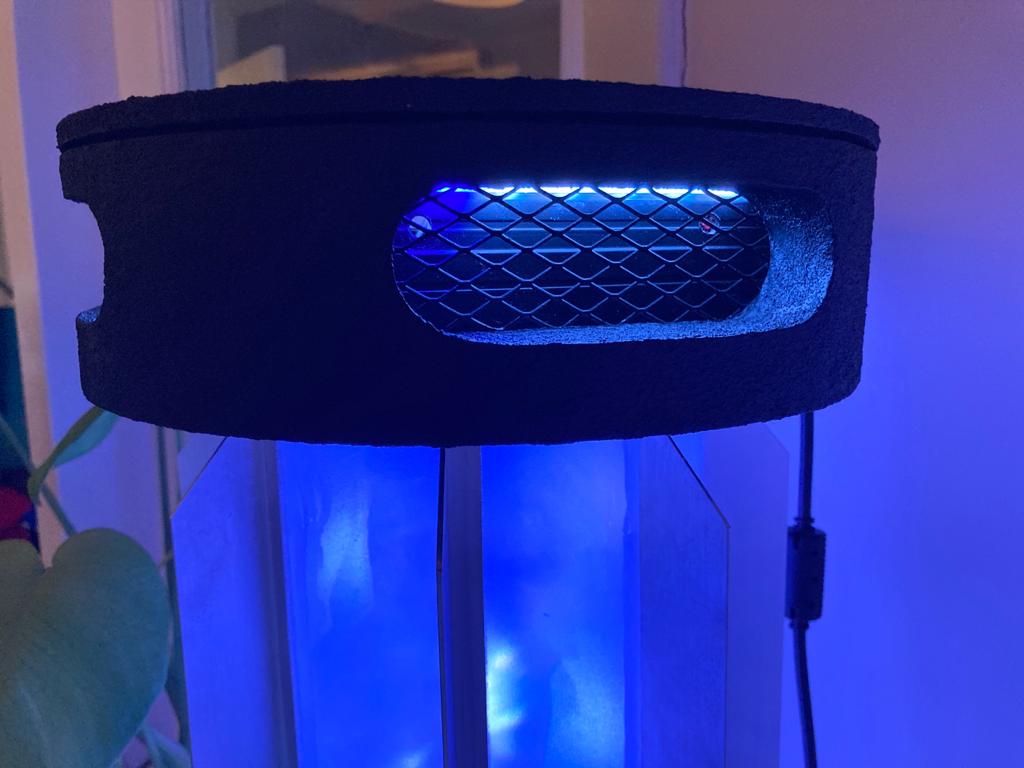
so we decided that for ease of access everything technical would be at the top in the ‘Cap’ of the warp core. This gave me a set of dimensions to work within and also the parameters I needed to work with for wiring the 8 LED strips I’d decided were needed.
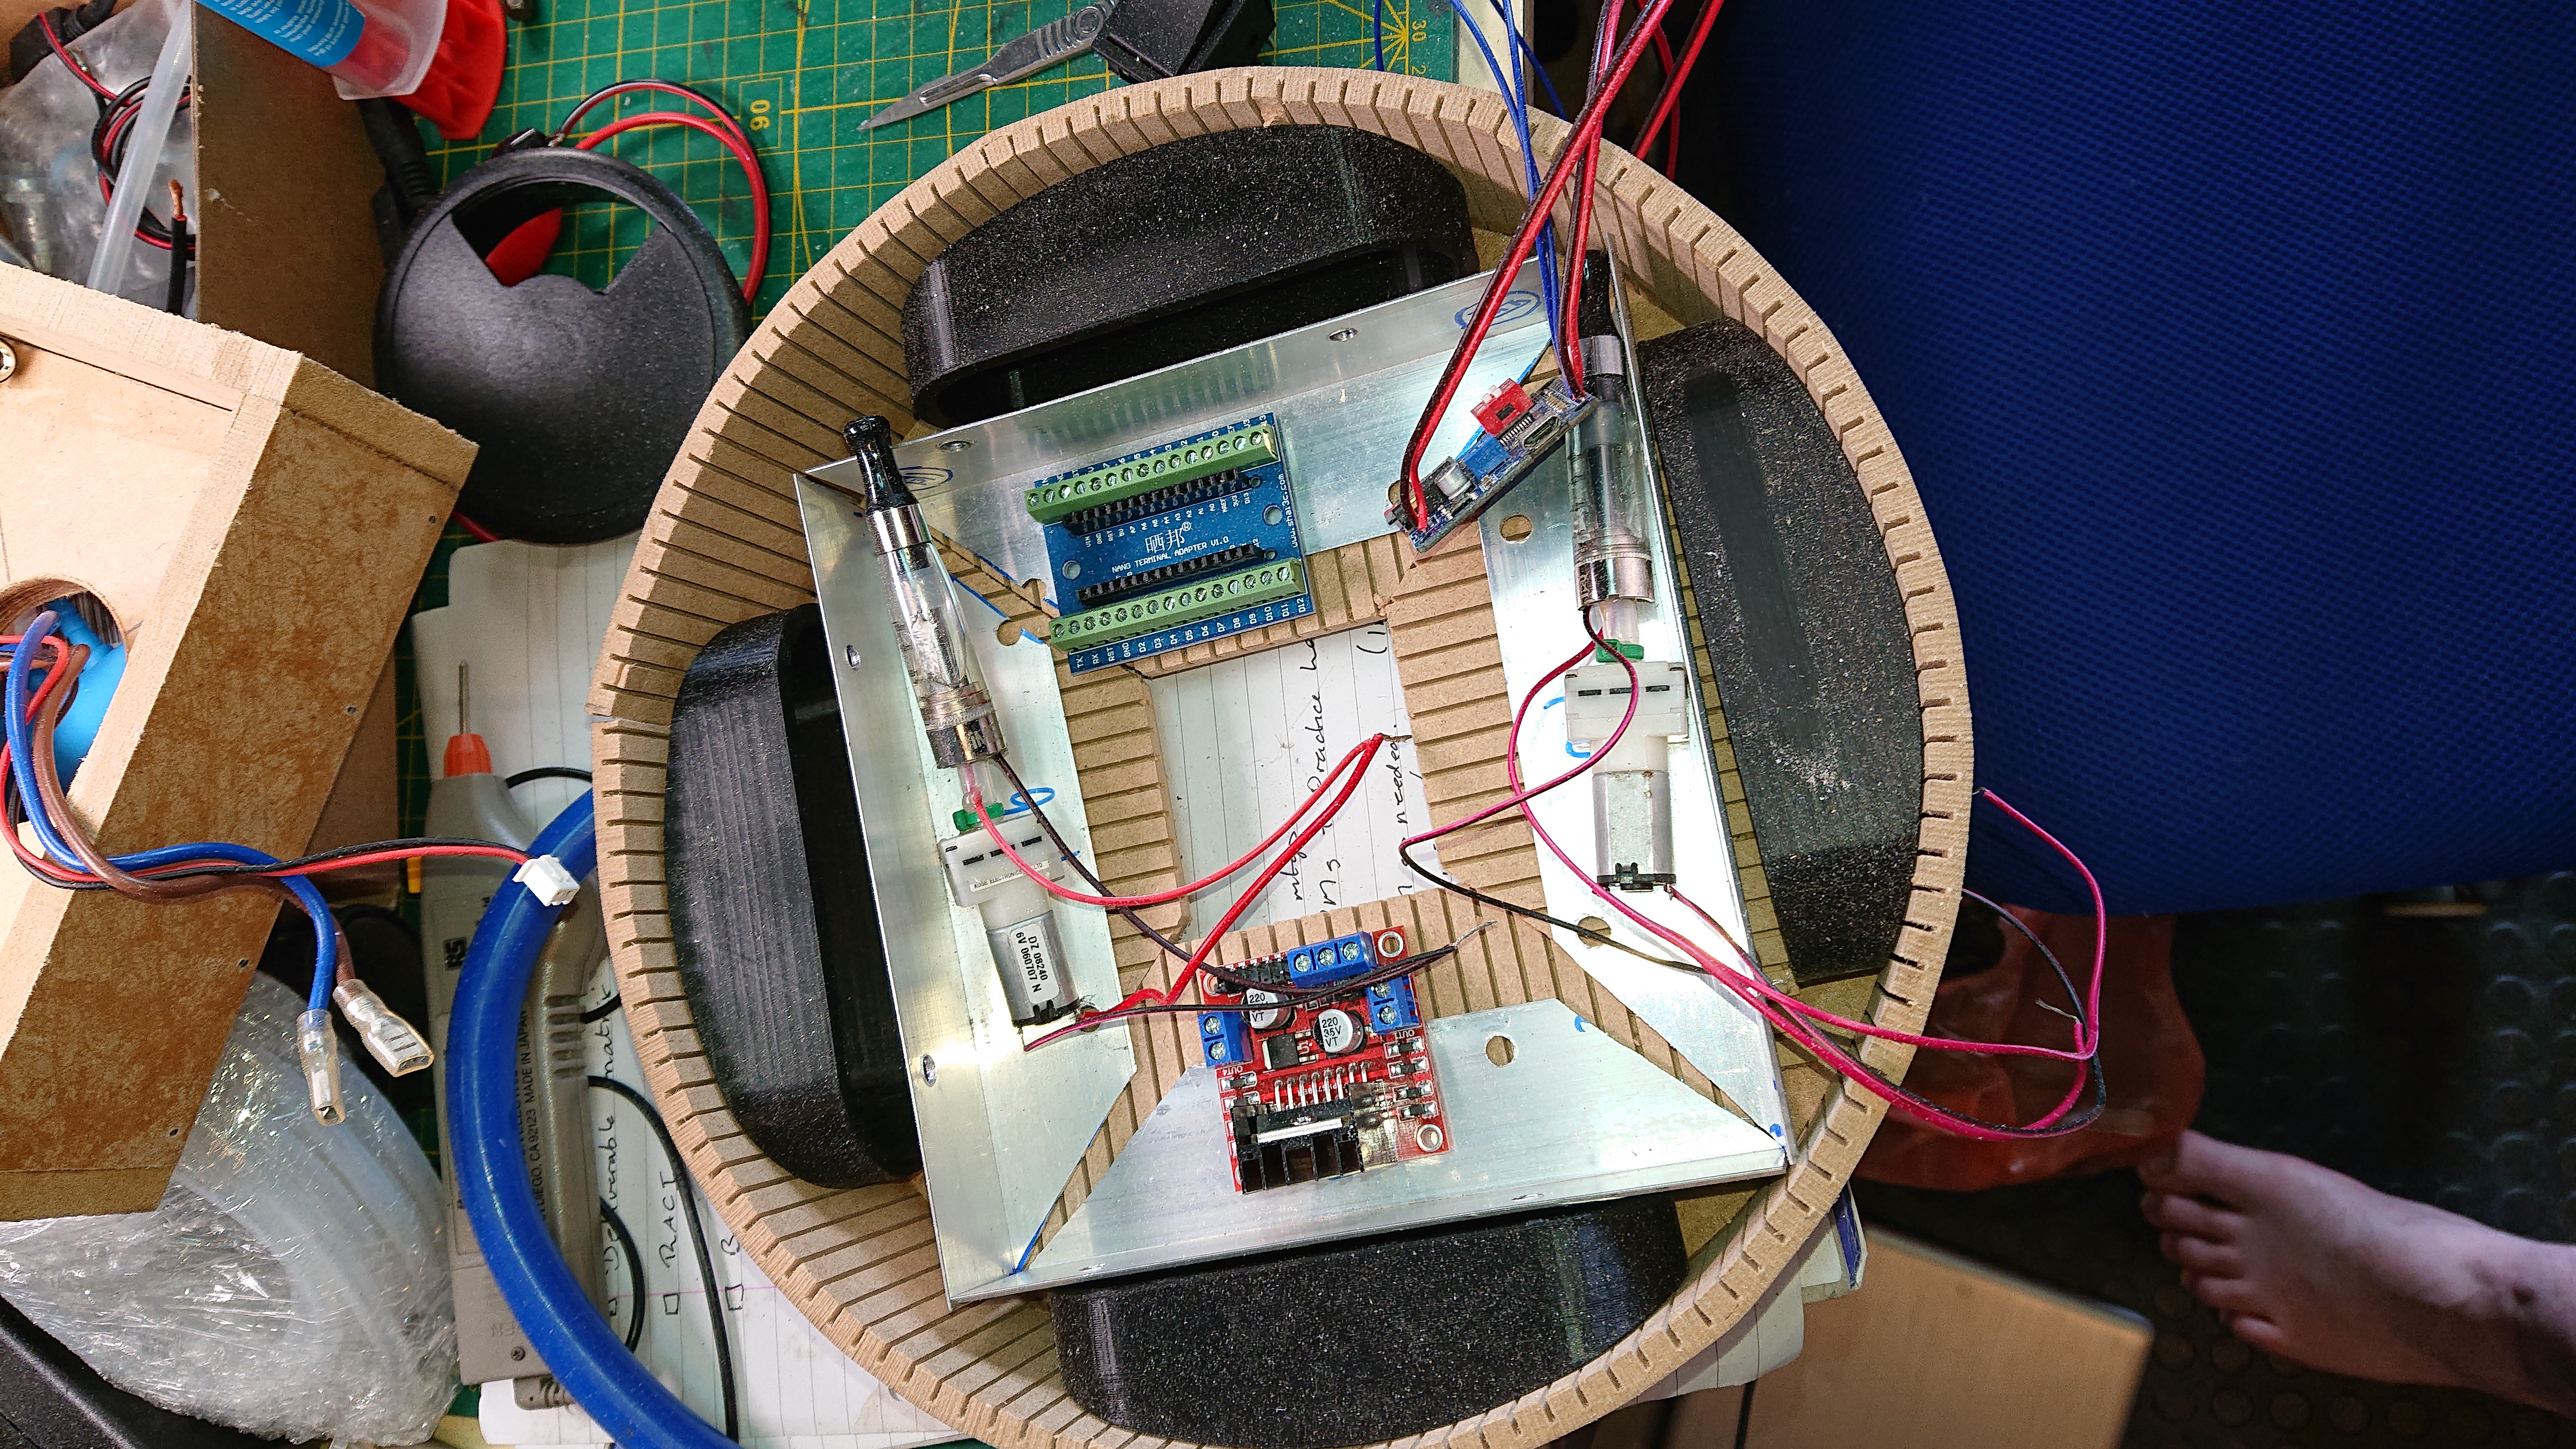
Now all I had to do was to lay out the components and figure out how to make them fit together in a way which:
- Worked
- Didn’t get too hot
- Allowed for sausage fingers to get in and wire / re-wire
- Supported refilling the smoke generators (we’ll get to that!)
I knew I wanted some smoke in this build. After all, what’s a work core without the risk of a breach!
I had a plan of how I was going to trigger the smoke, but I needed to be able to generate it. This took some experimenting…
I bought:
- Cheap vape pens
- Mini 6v air pumps
- Vape coils of various configurations and resistances
- Vape cotton
- Glycerin (this is what creates the white vapor)
I also used a couple of mini project boxes, a pretty hefty power supply some bits of copper, rubber and plastic pipe and two finger tips (coils get VERY hot!).
I’ve now got plans and prototypes for various different generators but settled on the simple design of lashing the mini air pump to the bottom of a cheap vape pen reservoir with a bit of tube and soldering wires to the contacts so that when I powered up the motor the coil got hot, the pumped air was forced through the vape and Bingo.. lashings of smoke!
Finally it was time to put all of the pieces together. LEDs to the inside of the skeleton. Skeleton frame fixed to the base. Cap lowered in place with the core spindle wiring connected, check, checked and checked again. Speaker mounted and a final powered run before the Polypropylene sheet was wrapped around the outside and the ribs fixed in place.
WE actually went through a few iterations of ribs. Initially I thought Acrylic would look good, but it was actually too clear and didn’t give the ‘look’ of the Warp Core in the movie, so I got some lengths of aluminium angle, cut them down and they then looked the part. The challenge of course is how the hell do you fix aluminium to polypropylene?! The Answer is VHB… Very High Bond tape which sticks pretty much anything to anything. A strip on the angle and it gripped like crazy. The build was complete, all that was left was to tweak the light settings, the threshold for the alert and smoke generation and we were done!

Materials
- Flexi MDF
- 10mm MFD
- 6mm square aluminium rod
- Diamond wire mesh
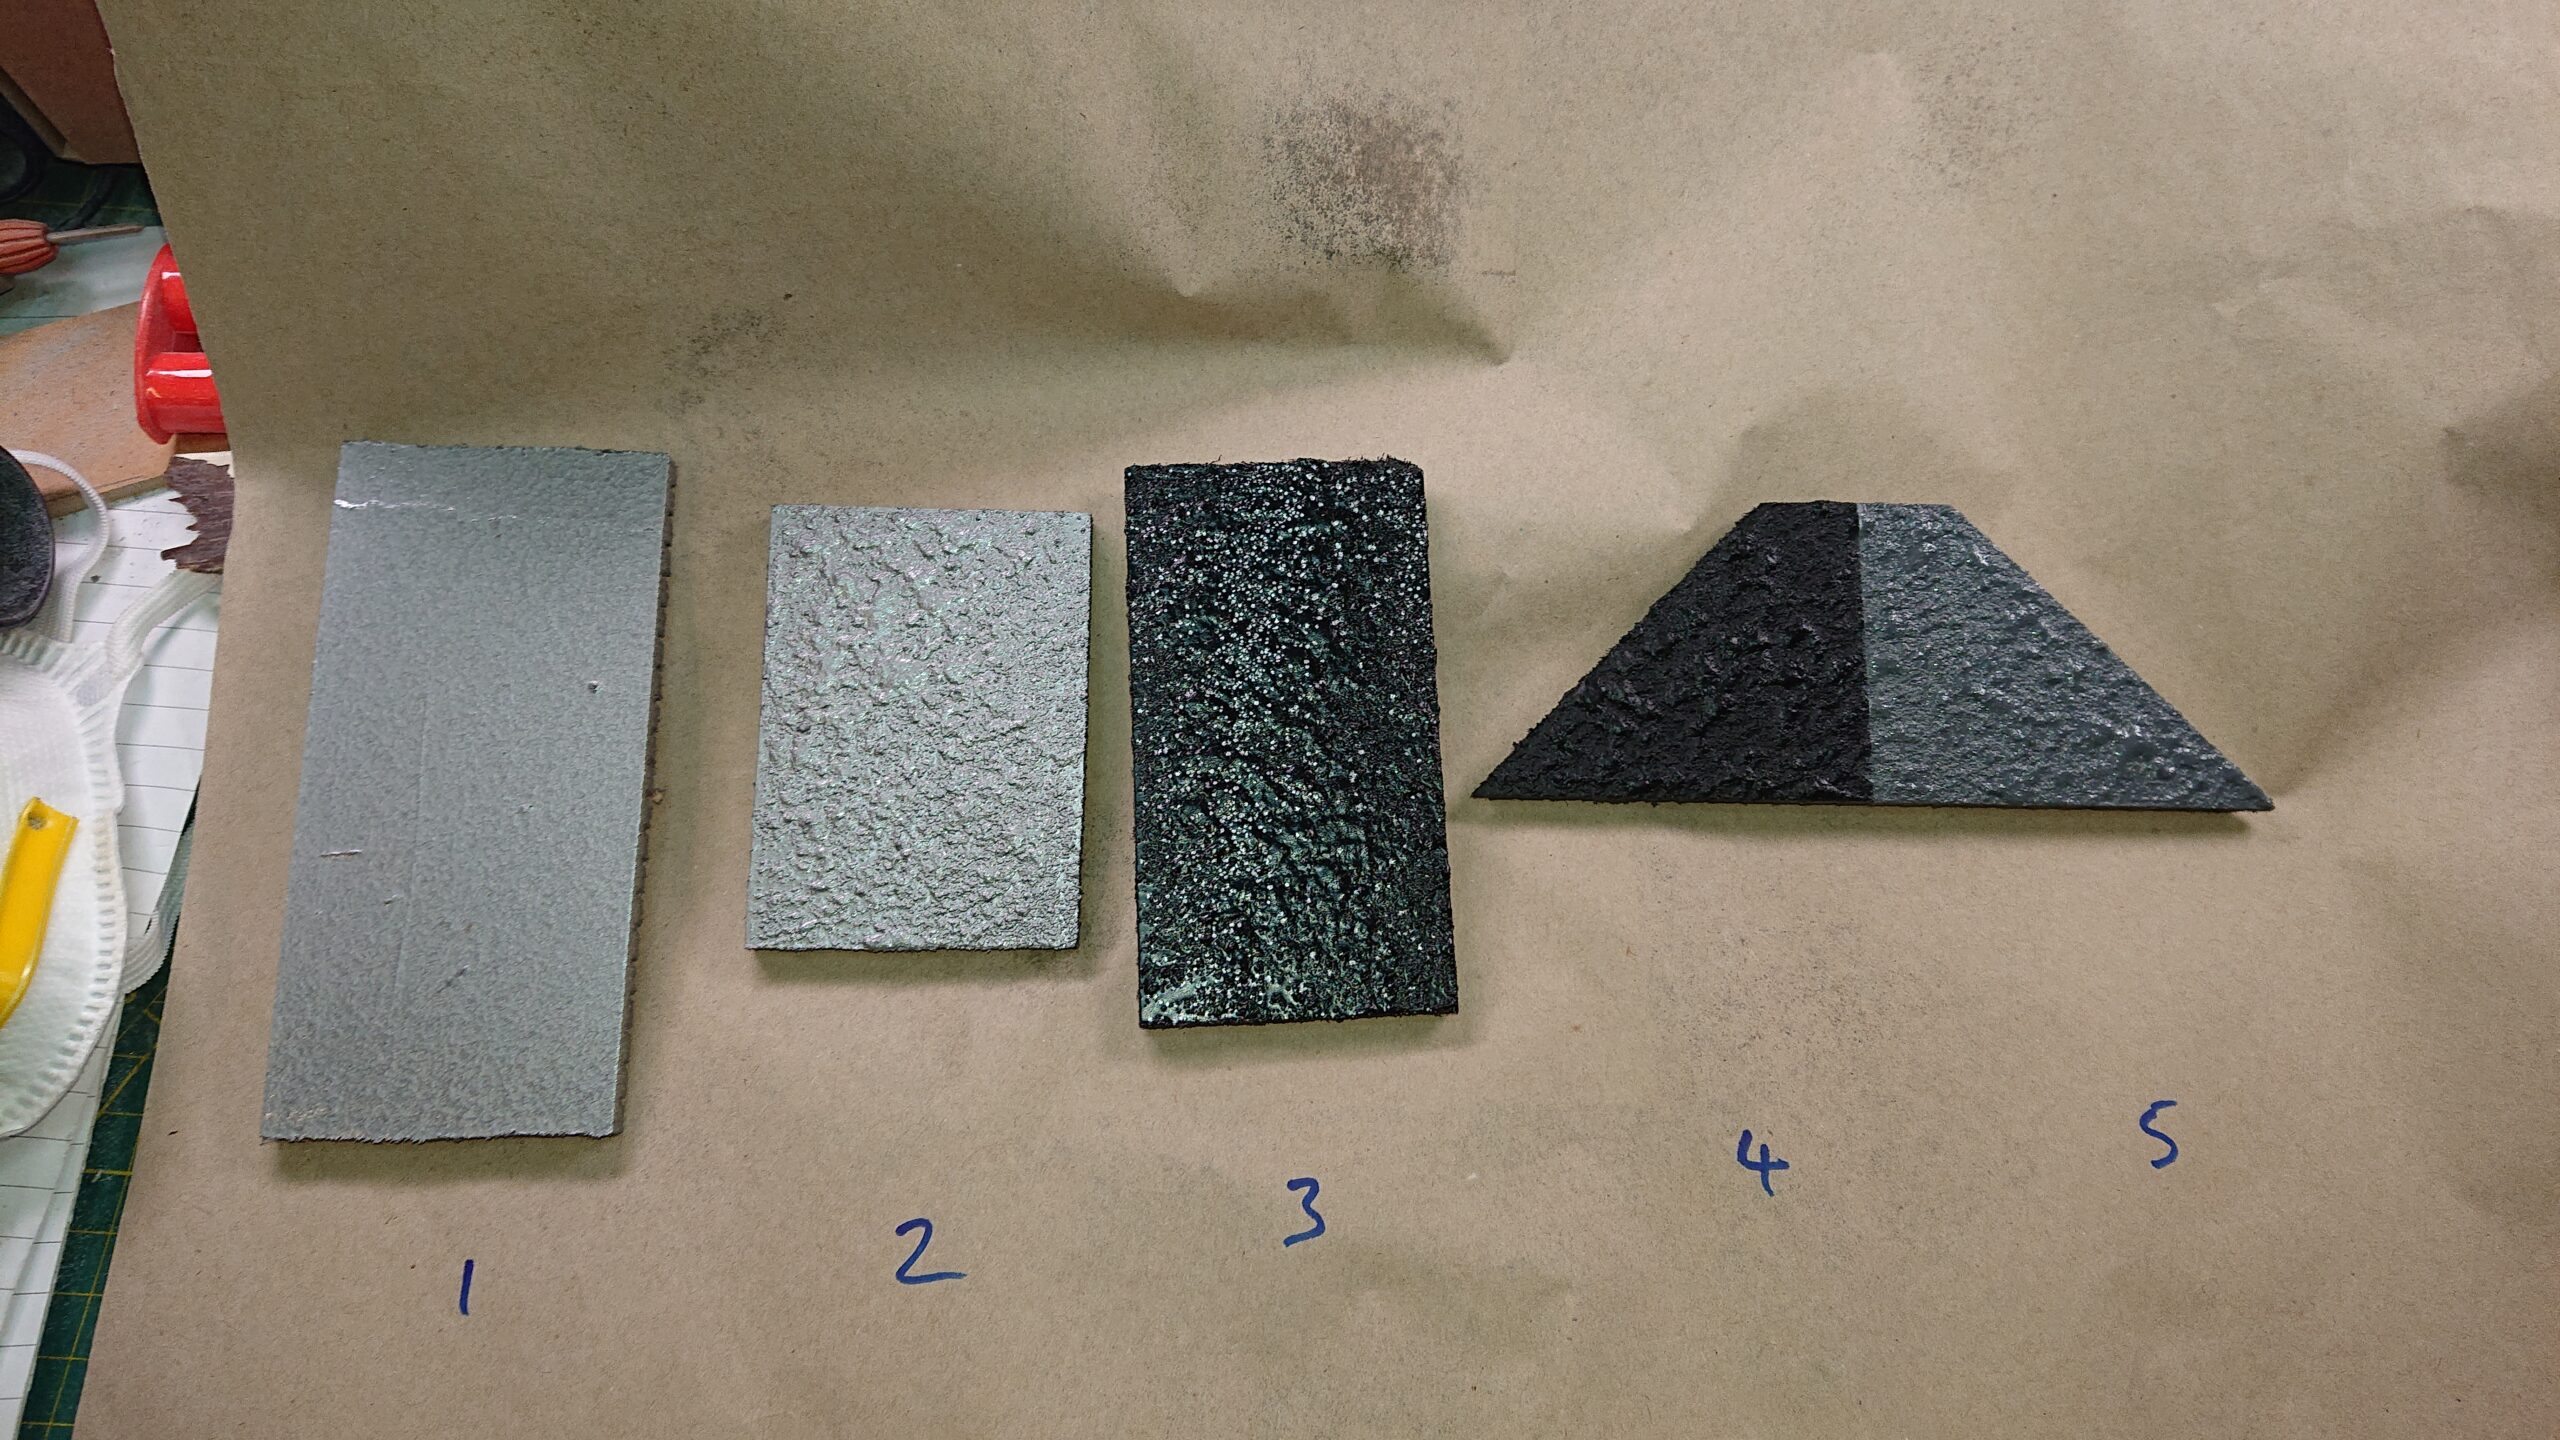
- Builders sand – for the texture
- PVA glue – for the texture
- Contact cement
- CA Glue
- Polypropylene sheet
- 50mm x 15mm aluminium angle
- 8mm threaded rod
- 10cm drain pipe
- EVA foam chunks
- Kitchen foil
- RBG LED strip
- Arduino nano
- Arduino nano carrier
- MOSFET for LED power
- 2 x 6v mini air pump
- 2 x cheap vape pens
- Plastic tube
- Vegetable glycerin
- MP3 module
- Surface inducer
- 12v motor with step-down gearing
- 12V power supply
- rotary potentiometer for speed control
- Chocolate block connectors
- 12v – 5v buck converter
- Black PLA
- Primer
- Gunmetal spray
- 3M VHB tape
- Probably other stuff!
Tools
- Jig saw
- Band saw
- Electric drill
- 3D printer
- Soldering iron
- Rotary tool with sanding bits
- Hot glue gun
- Multimeter
- Paintbrushes