
Build
I am massively bought into the Fallout TV show and the aesthetic which goes along with it. So when this model became available from Galactic Armoury it was immediately on my list of things to make – you can be sure that other stuff will follow too!
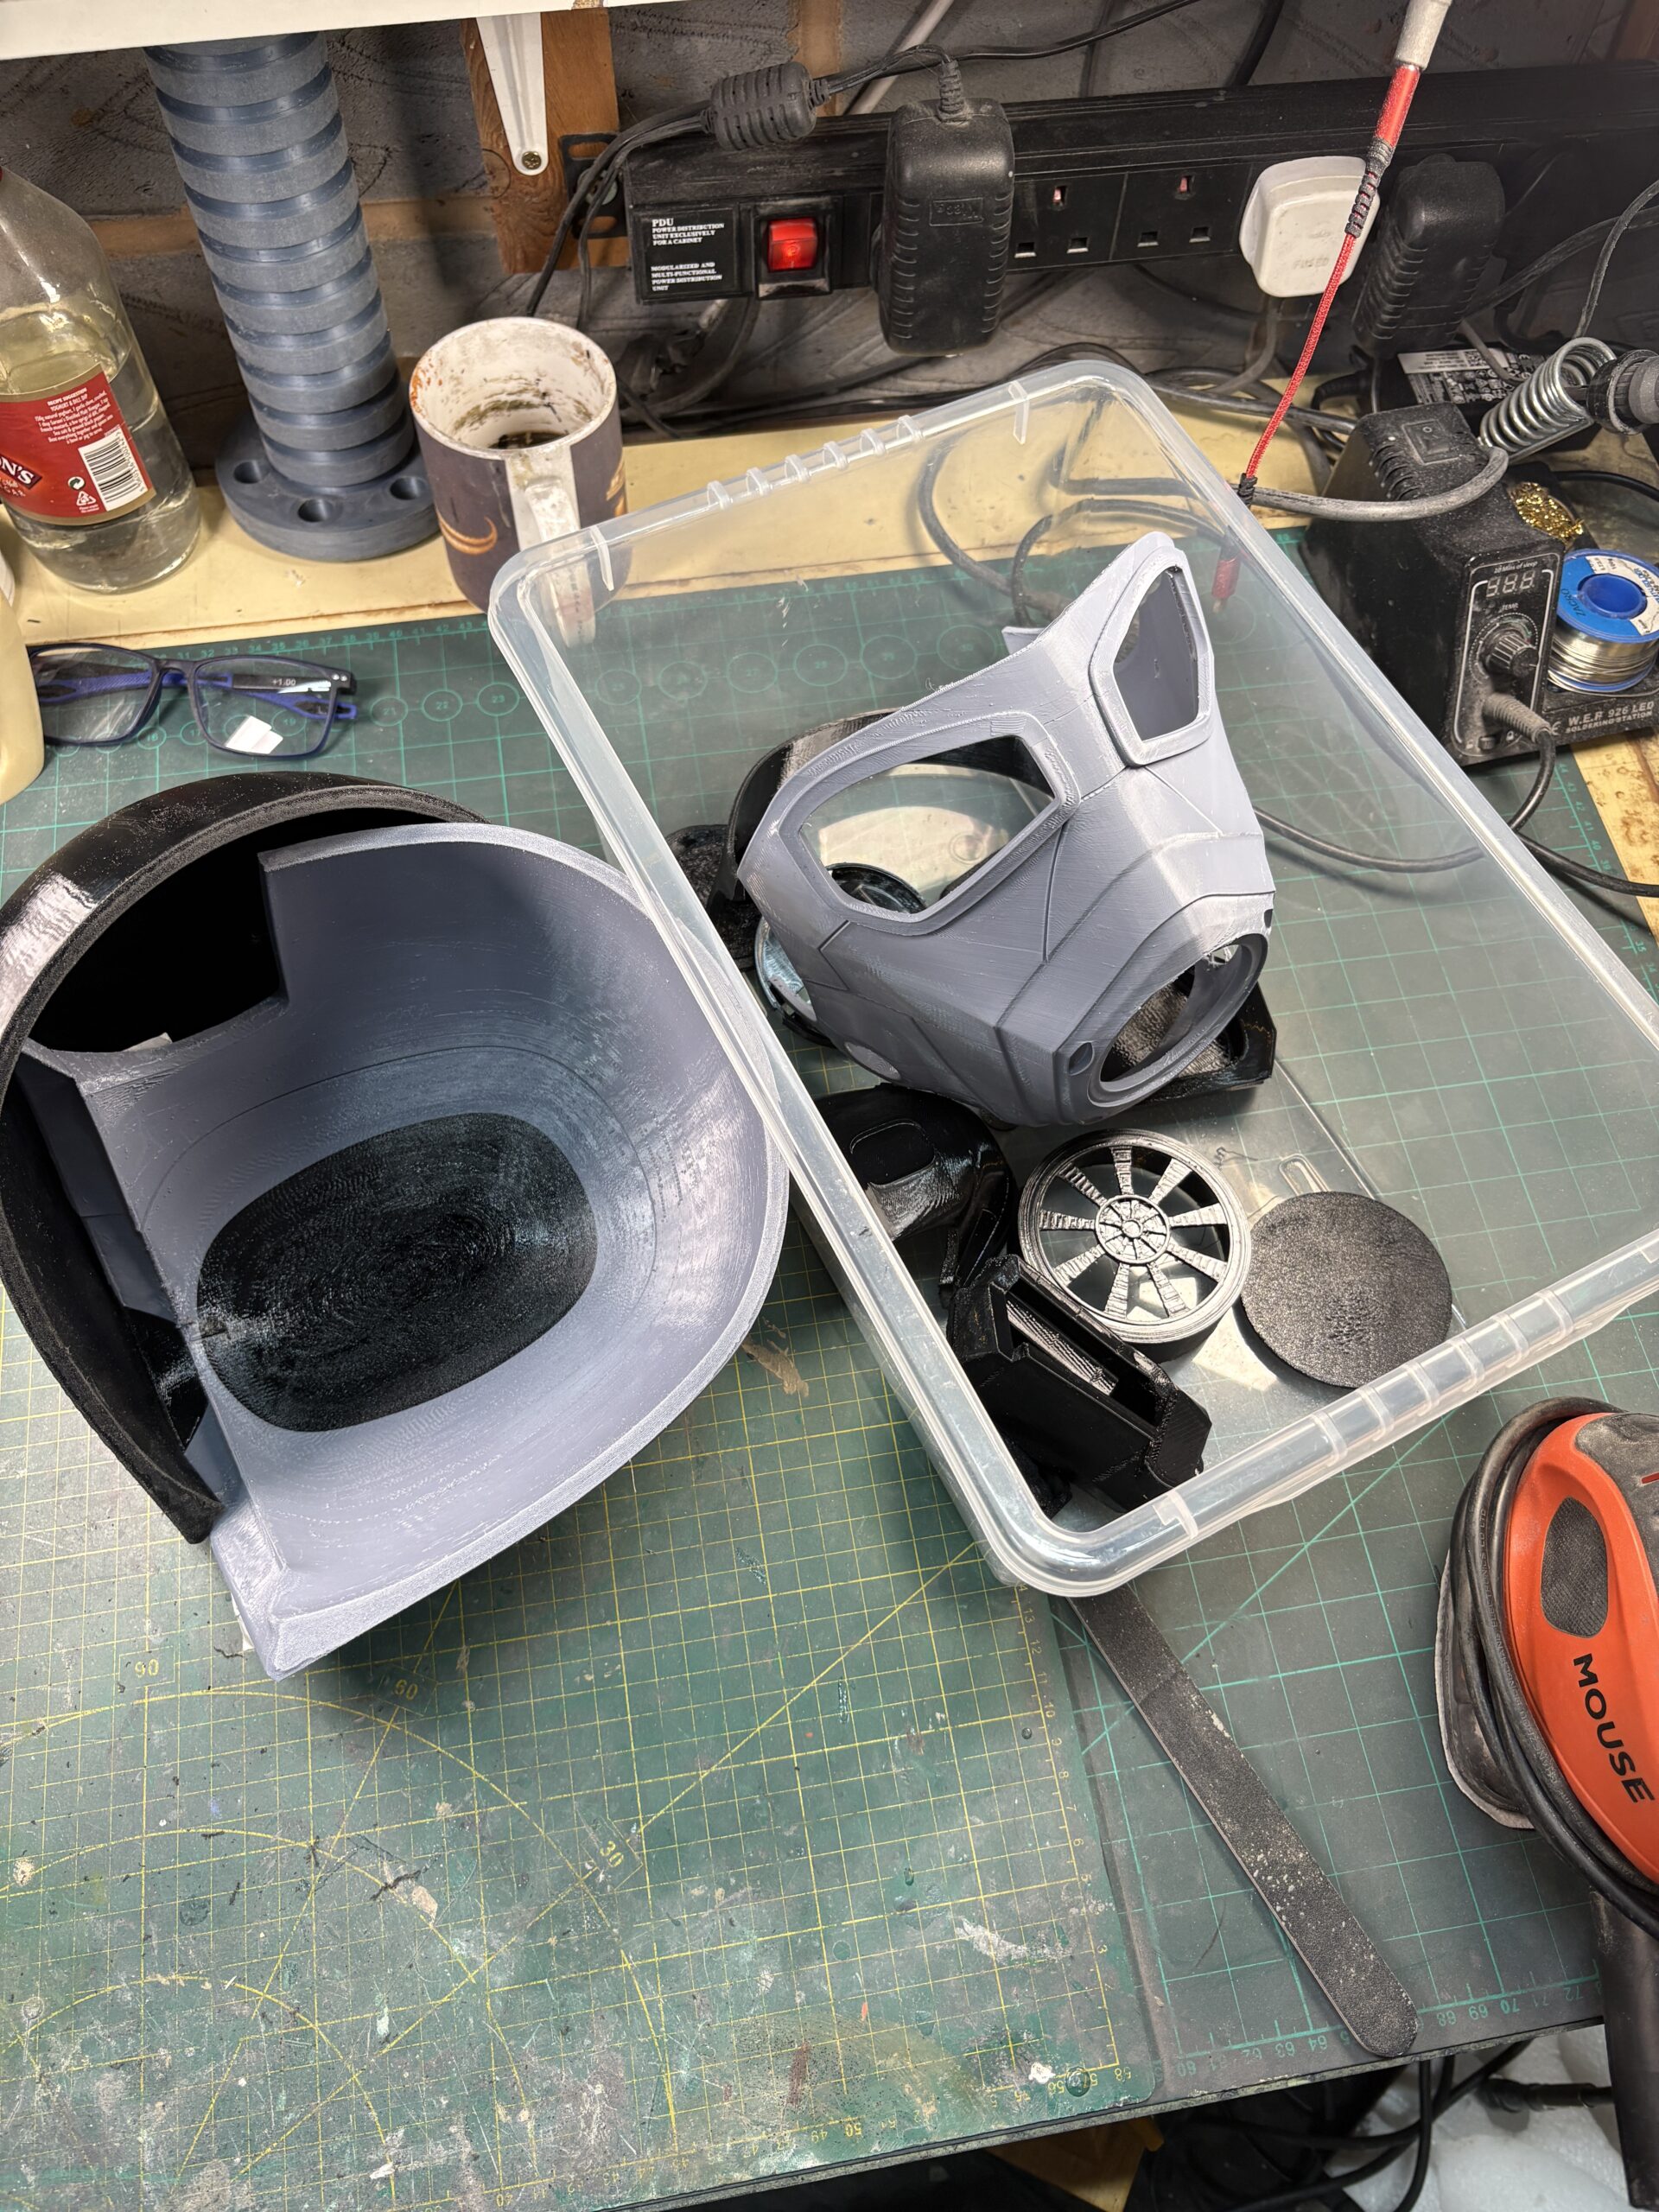
The models printed really well and the usual sand, fill, sand, fill blah blah blah followed. On the dome I knew I was going to introduce some texture so I didn’t go too crazy on getting a mirror smooth finish, but I did want to ensure the layer lines were banished from the top.
Finish
The dome and the face-mask have very different finishes so I kept them separate until almost the last moment.
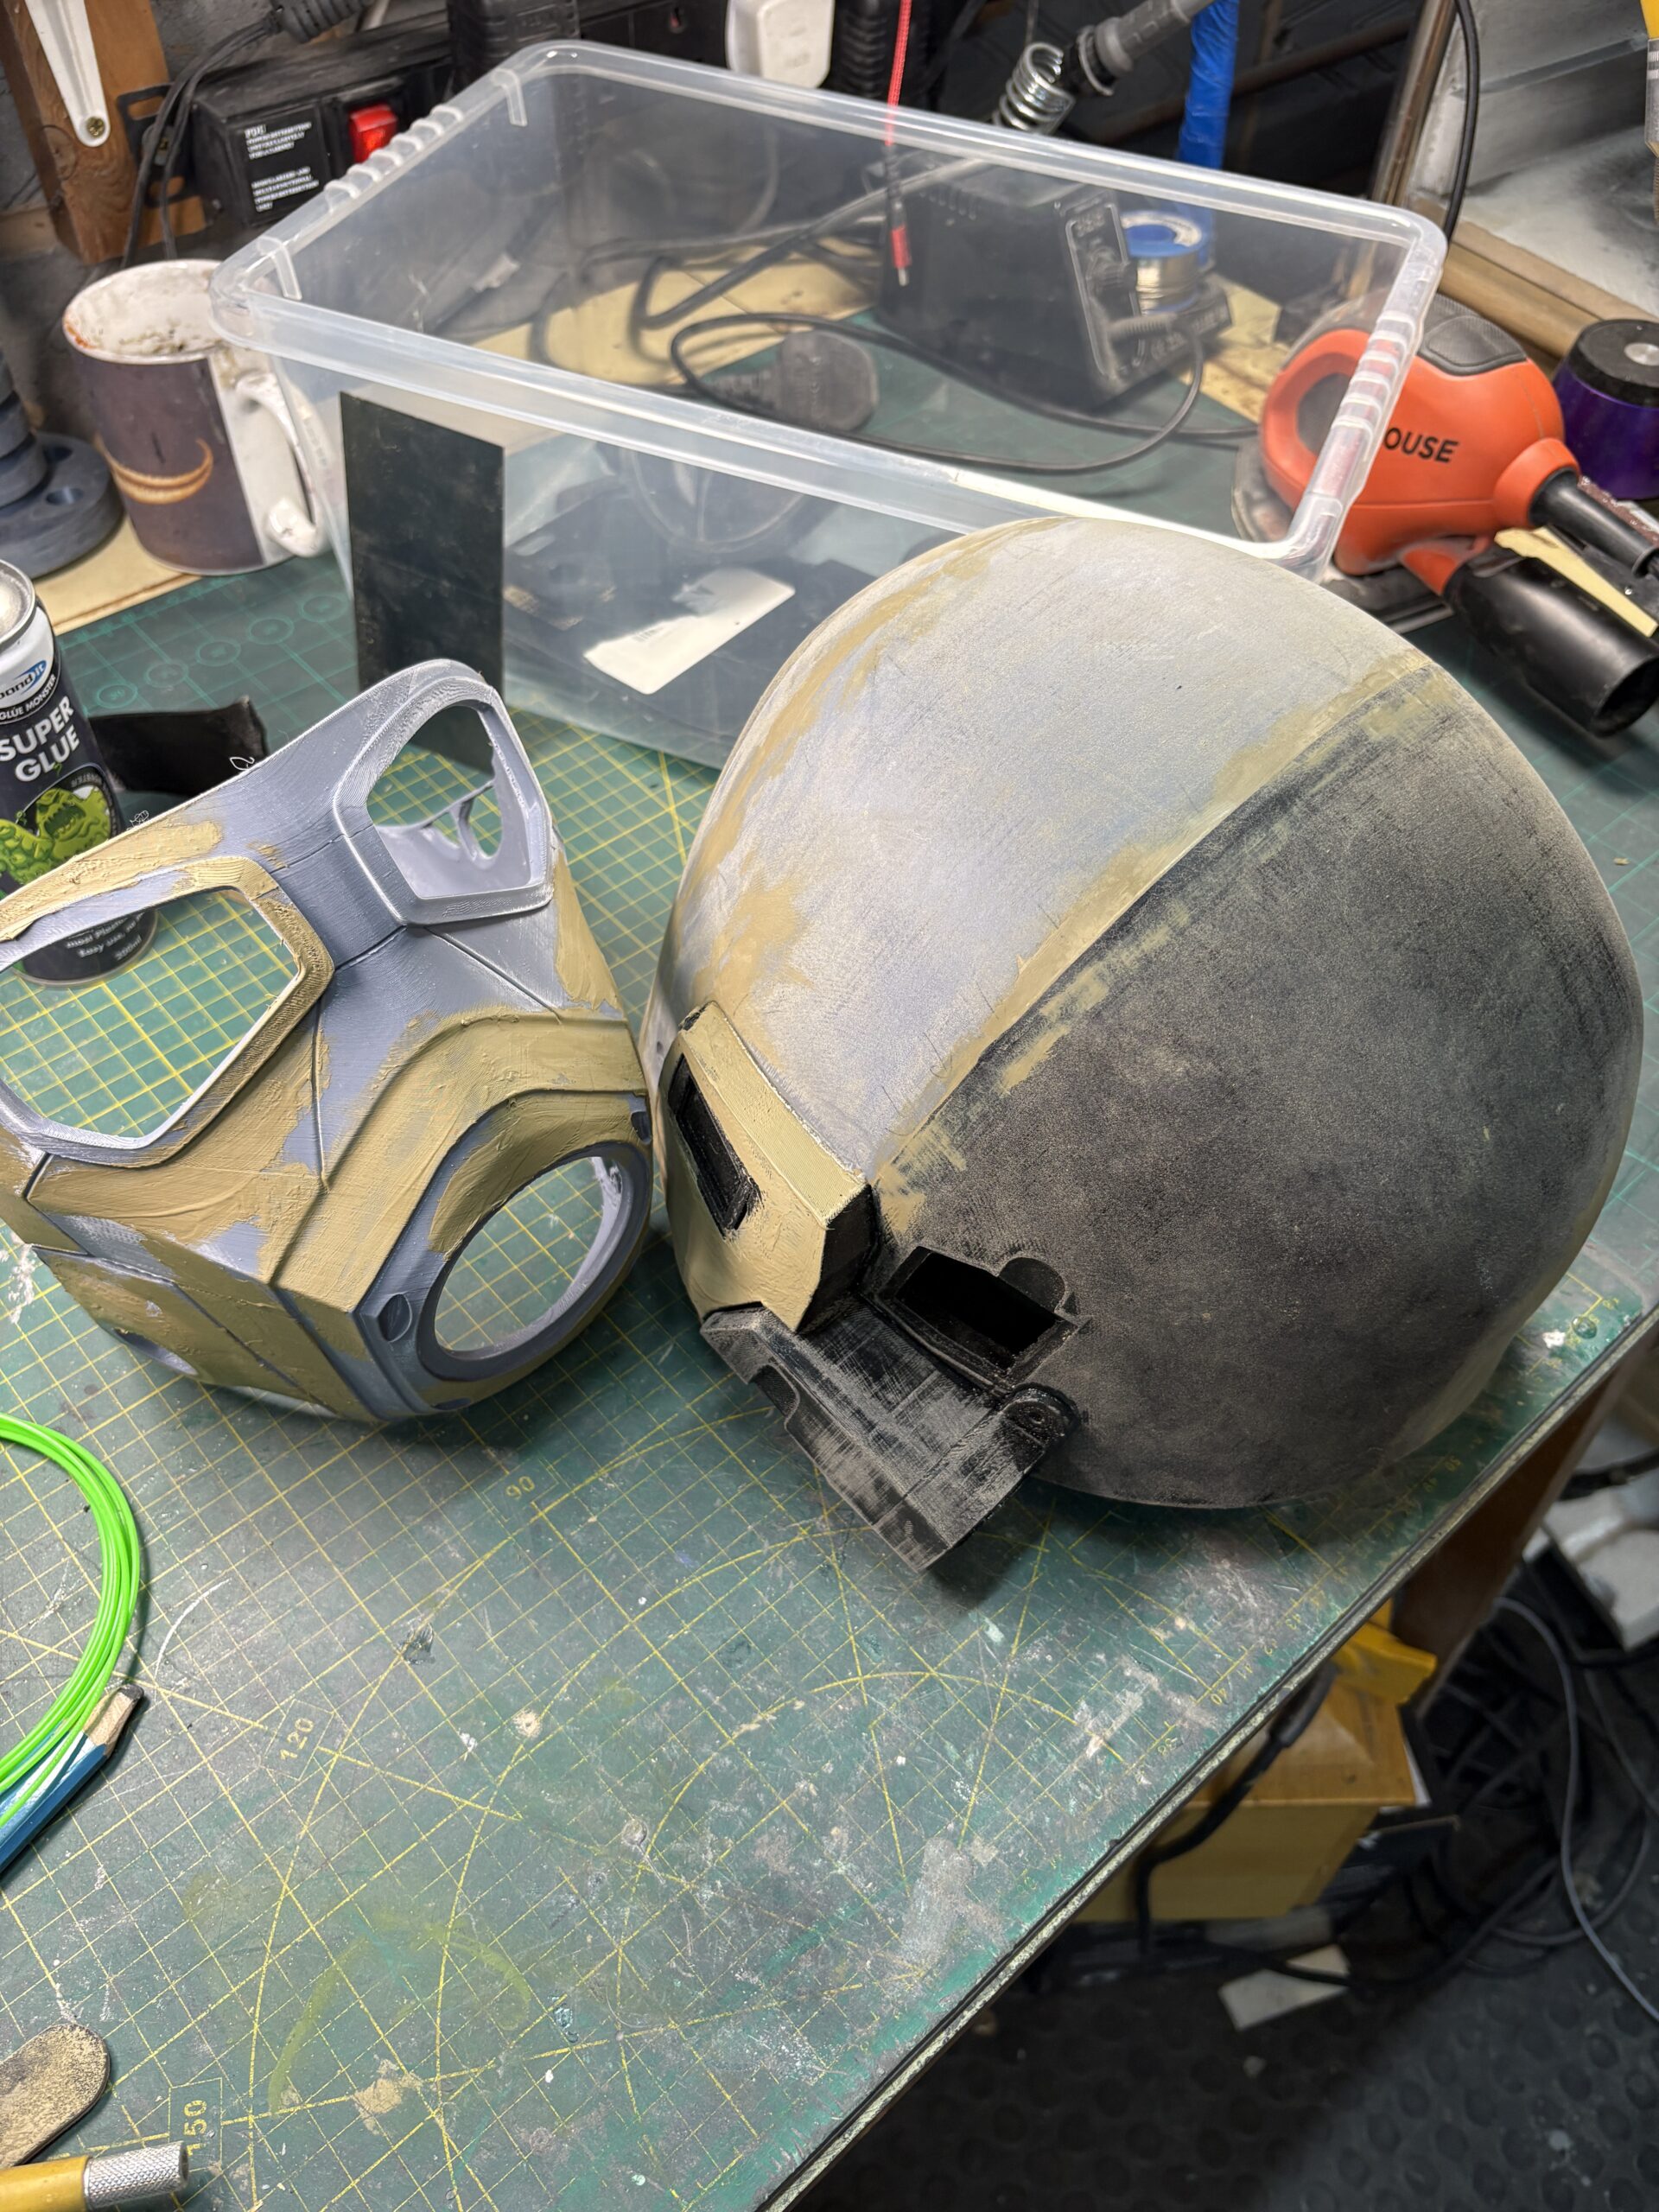
The dome got an overall wash of PVA which was allowed to dry and then a mix of PVA and tile grout powder (yes, the stuff you mix up for your bathroom wall tiles!) to a sort of thin cream consistency which I them applied with a sponge brush, dabbing all over in a few passes allowing the layers to mostly dry. This gives the rough texture I wanted as a base for the colour.
A silver spray layer was them added and a layer of lacquer over that as the was going to be my ‘base’ metal. I then added some liquid latex along the edges and in some areas on the dome to let me pull some realistic wear and tear weathering after painting.
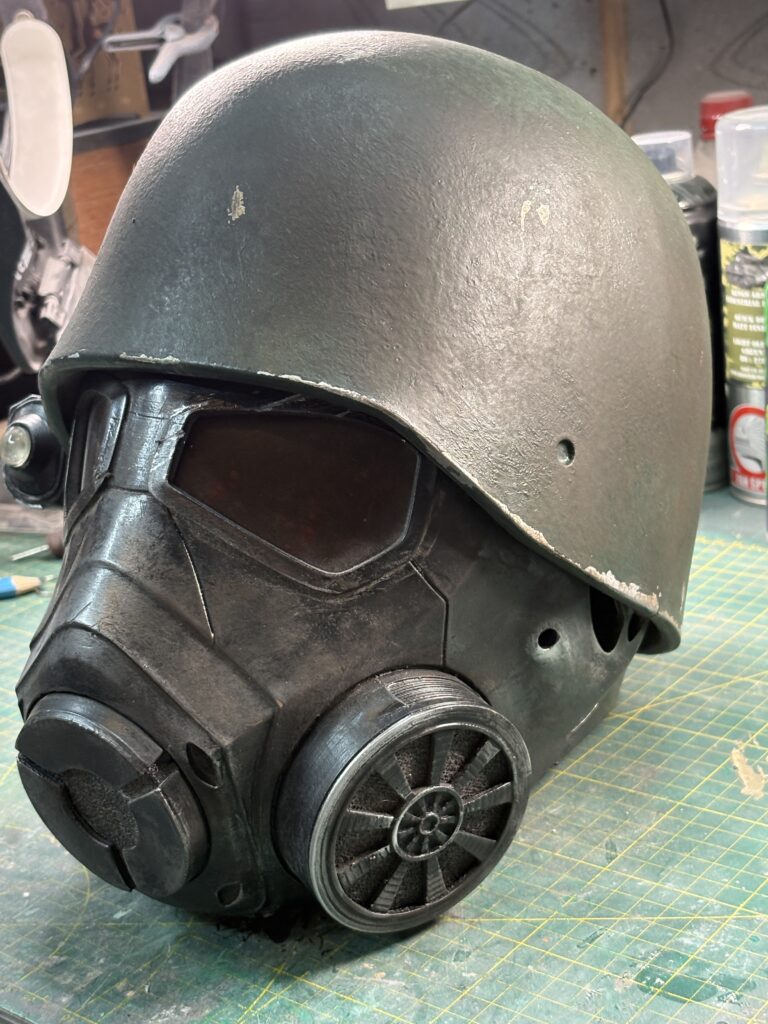
For the face-mask, this was smoothed out and I used a spray-putty to help fill in the layer-lines and give a nice smooth surface to work on. I knew I wanted a dirty metal look for this so after priming I used a gloss black spray and them rubbed over with some graphite powder for the metallic look. The right-side tech pieces got the same treatment and then everything was glued into place.
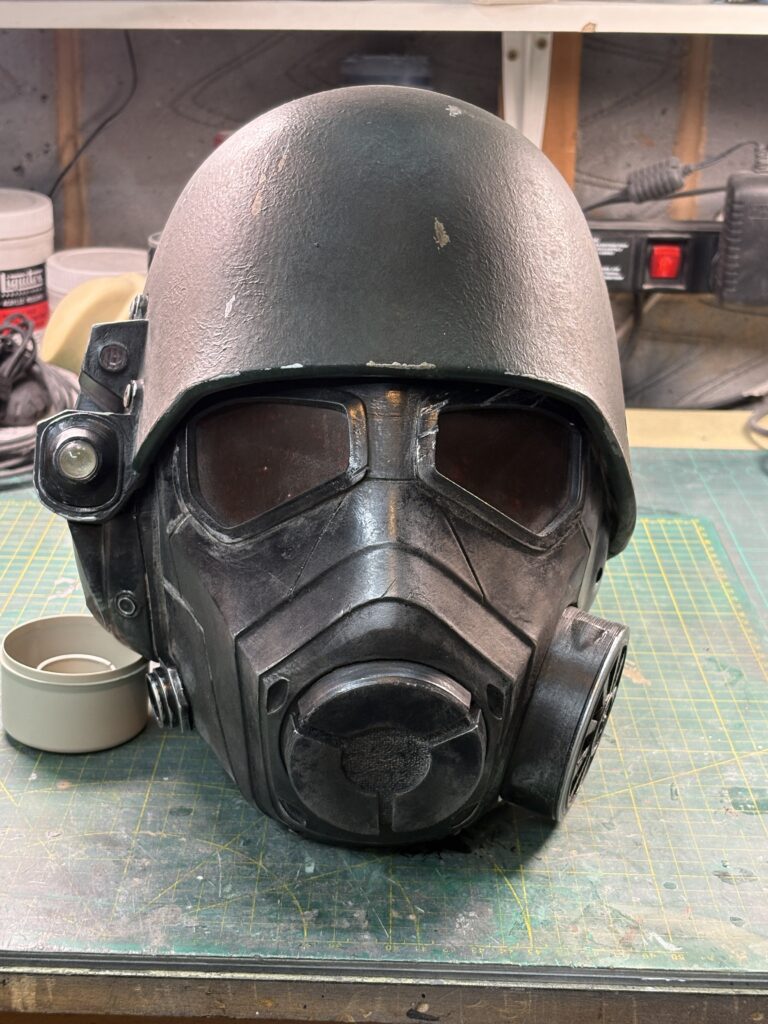
The lights are something I wanted to work, so I found a couple of suitable ‘lenses’ in my boxes of useful stuff, added a couple of LEDs and a switched CR2032 battery clip and that was golden.
Real rivets were then put in place of the printed ones, the eyes are cut from a welding mask with a red vinyl tint stuck over and with the rubbing off of the liquid latex weathering commenced. The usual washes of Mars Black and Burnt Umber acrylic and a final dusting of fullers earth powder into the cracks and corners.
Materials
- Matte grey PETG
- Liquitex acrylic medium – used for filling
- Spray putty
- Acrylic filler primer spray
- Silver spray paint
- Olive green spray
- Gloss black spray
- CA glue
- Hot glue sticks
- Polycarbonate welding mask screen
- Red ‘tint’ vinyl sheet
- Lens ‘bits’
- Red and Maber 3V LEDs
- Switched CR2032 battery holder and 2032 cell.
- 80 / 120 / 240 grit sanding sheets and sticks
Tools
- AnyCubic Kobra 2 Max 3D FDM printer
- Palm sander
- Hot Glue gun
- Craft knives