Build
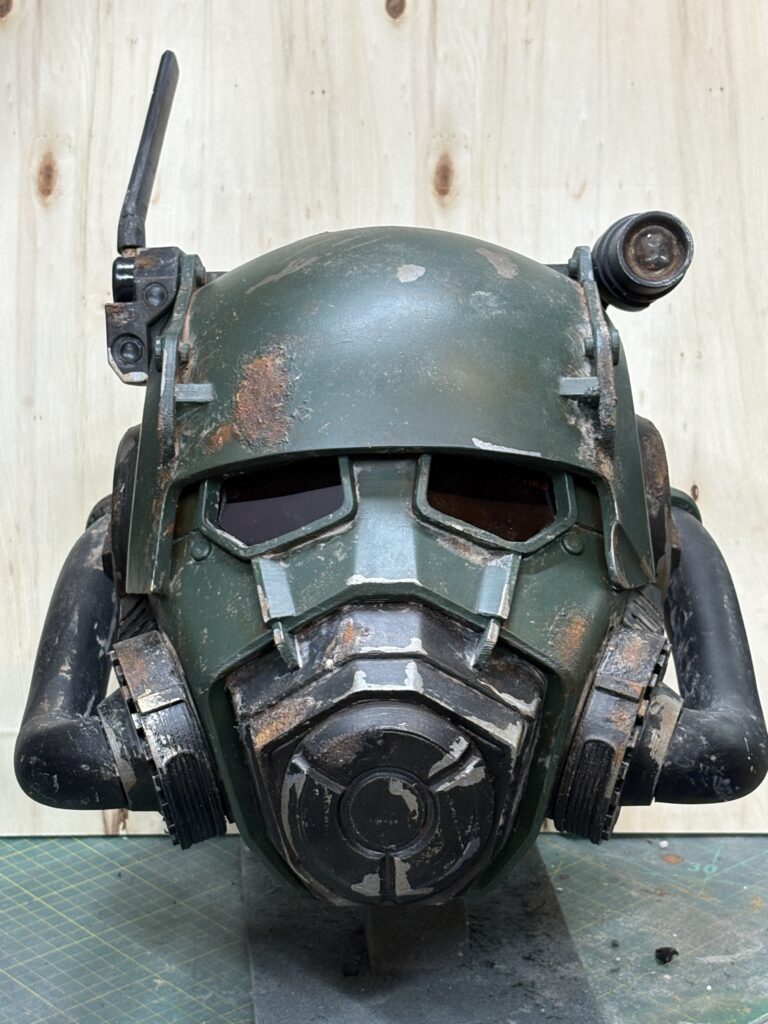
Well, THIS one was a no-brainer…. after the T-60 and the NCR Ranger helments, I wasn’t going to let the NCR Power Armour helmet get by un-noticed!
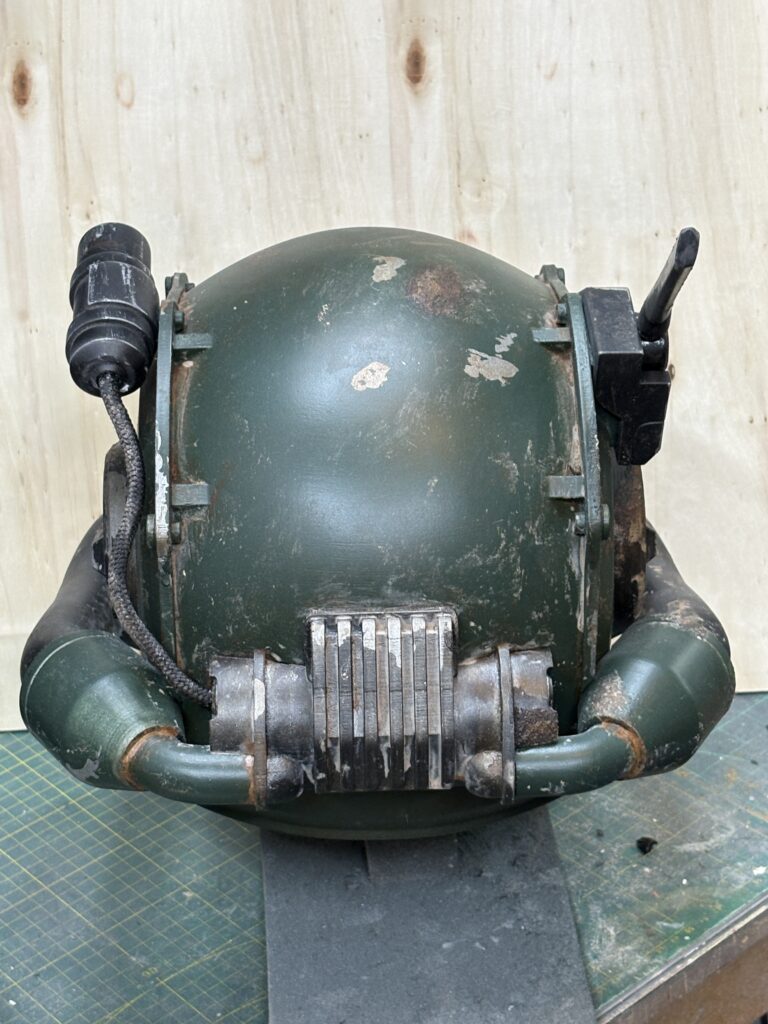
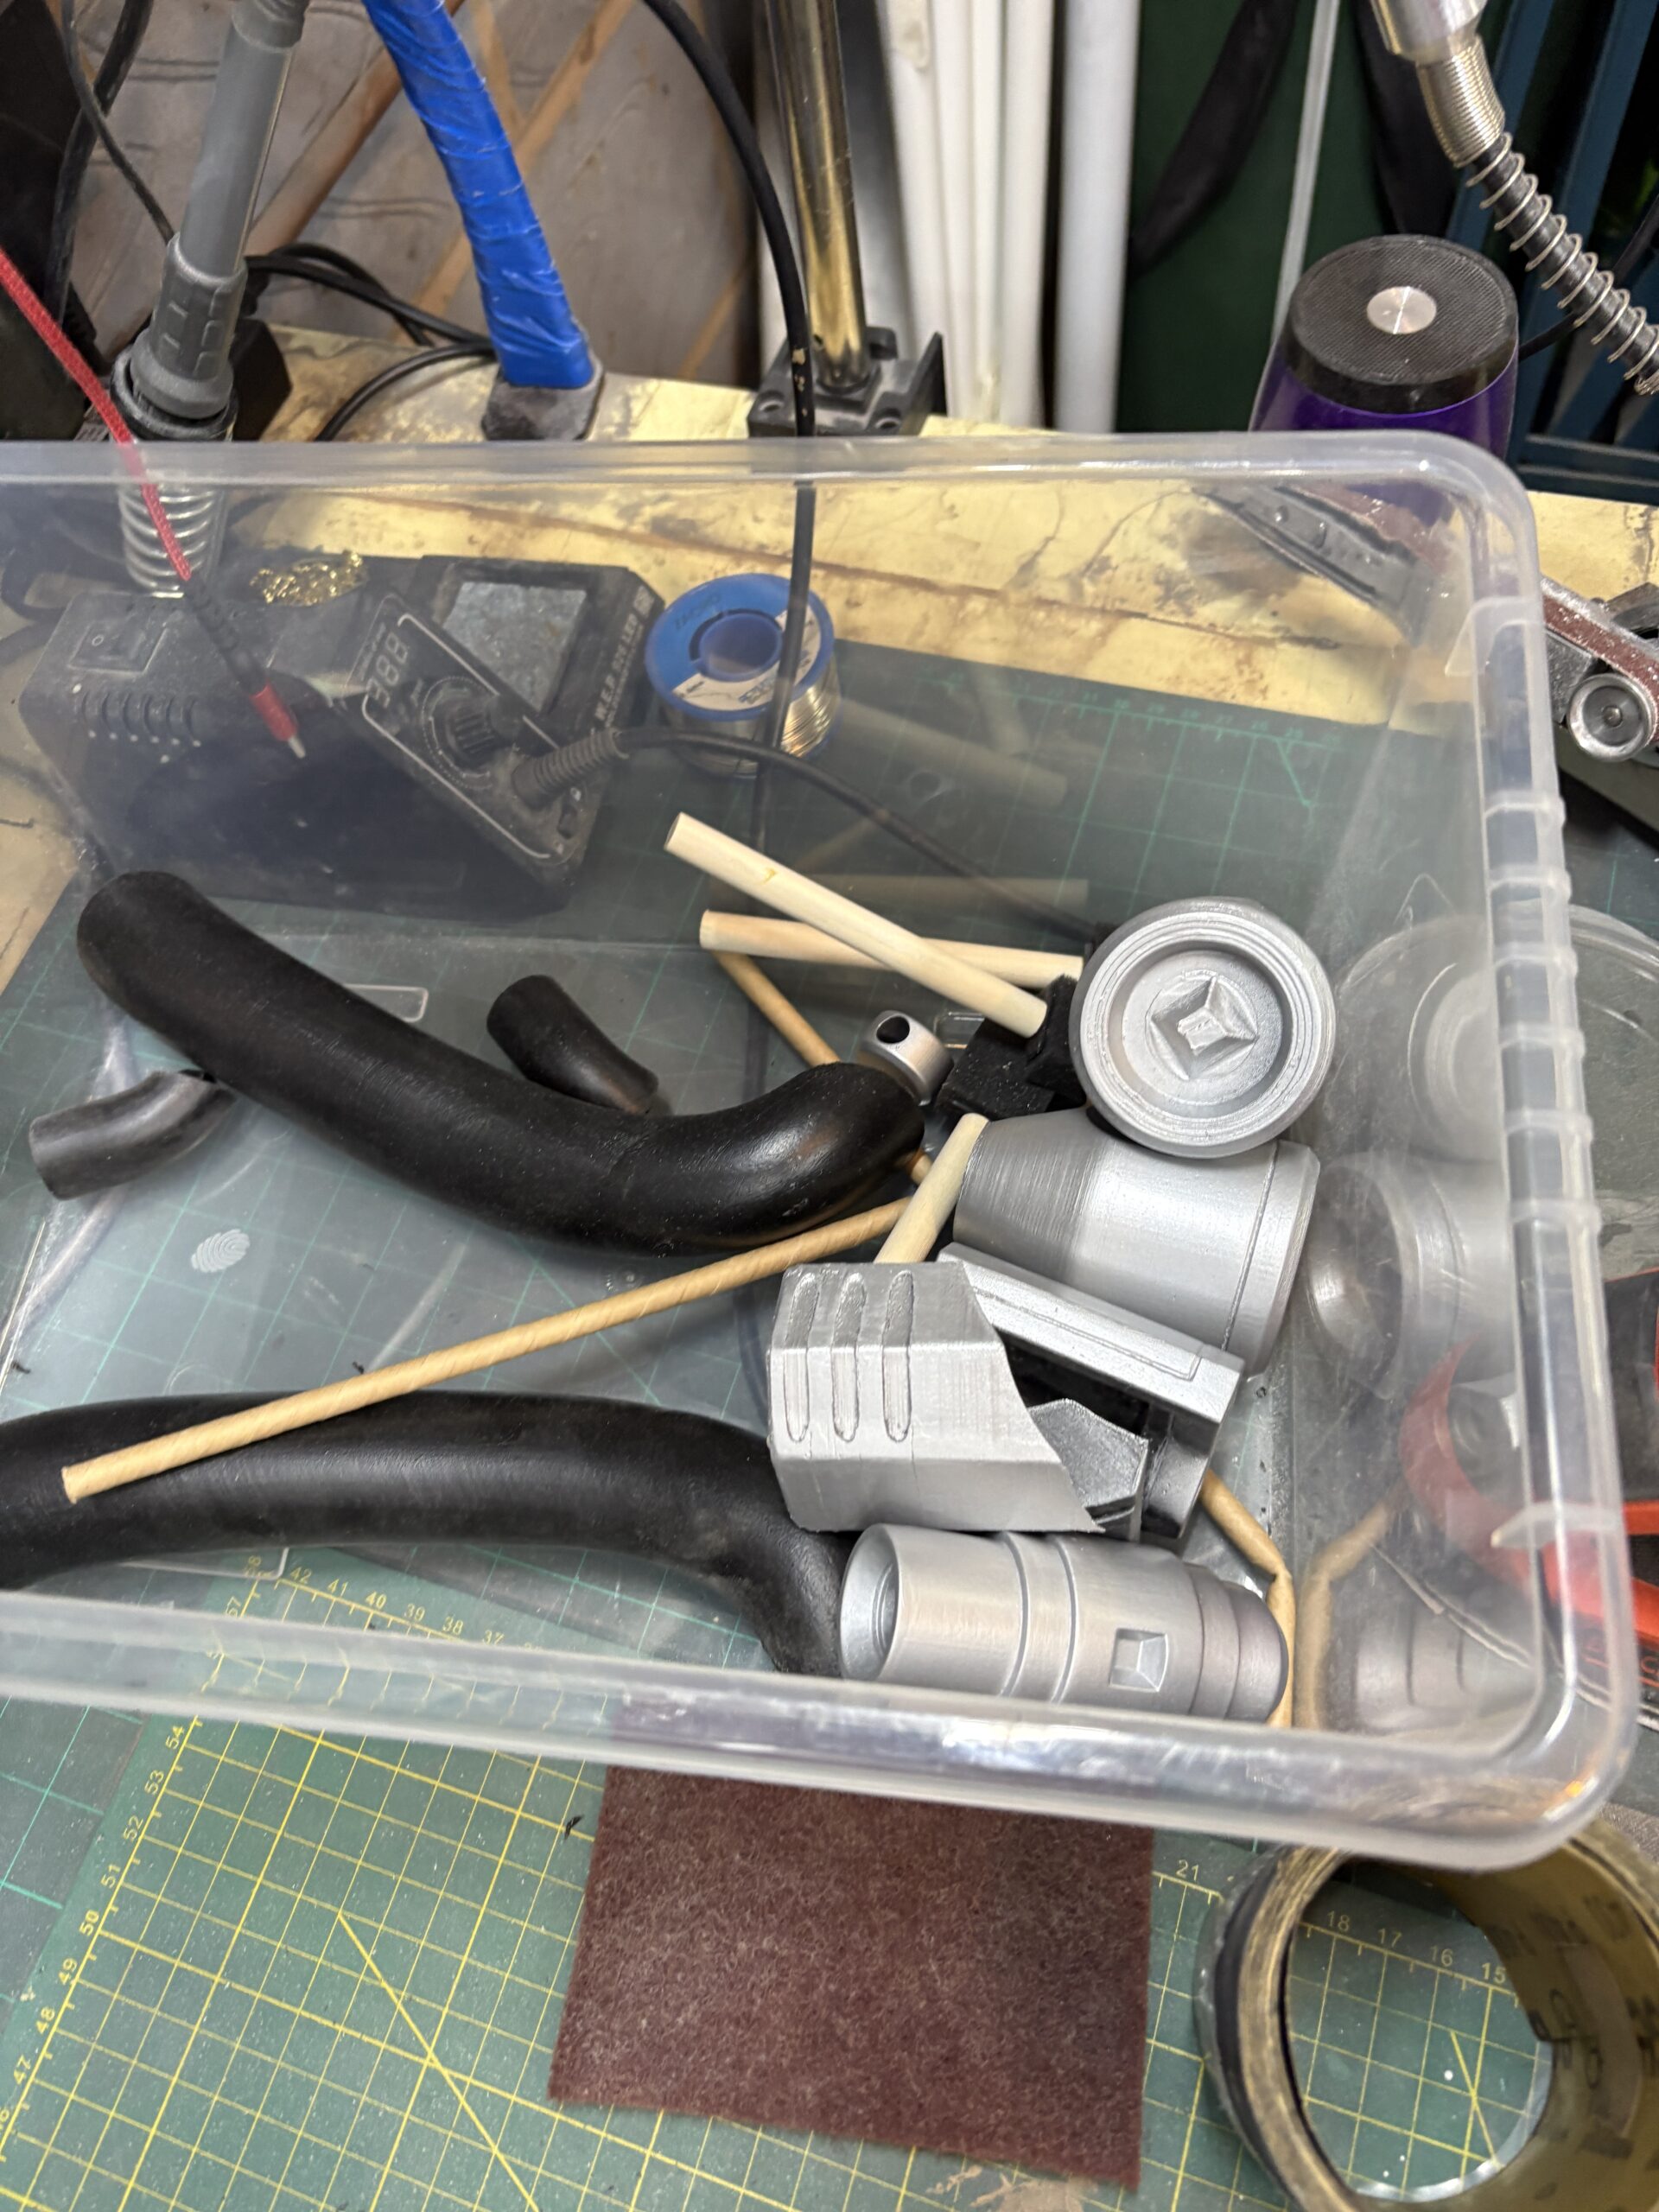
All of the main pieces were printed on the Kobra 2 Max with the smaller ones in resin on the Mono5s. Once again I won’t bore you with the sand, fill etc etc, but the models from Galacti Armoury are REALLY good and I on;y really needed to deal with the layer lines on the curved surfaces to get the initial finish I wanted.
I stuck the major peices together first to make sure I could fill the seams and the other bits went on after priming.
Finish
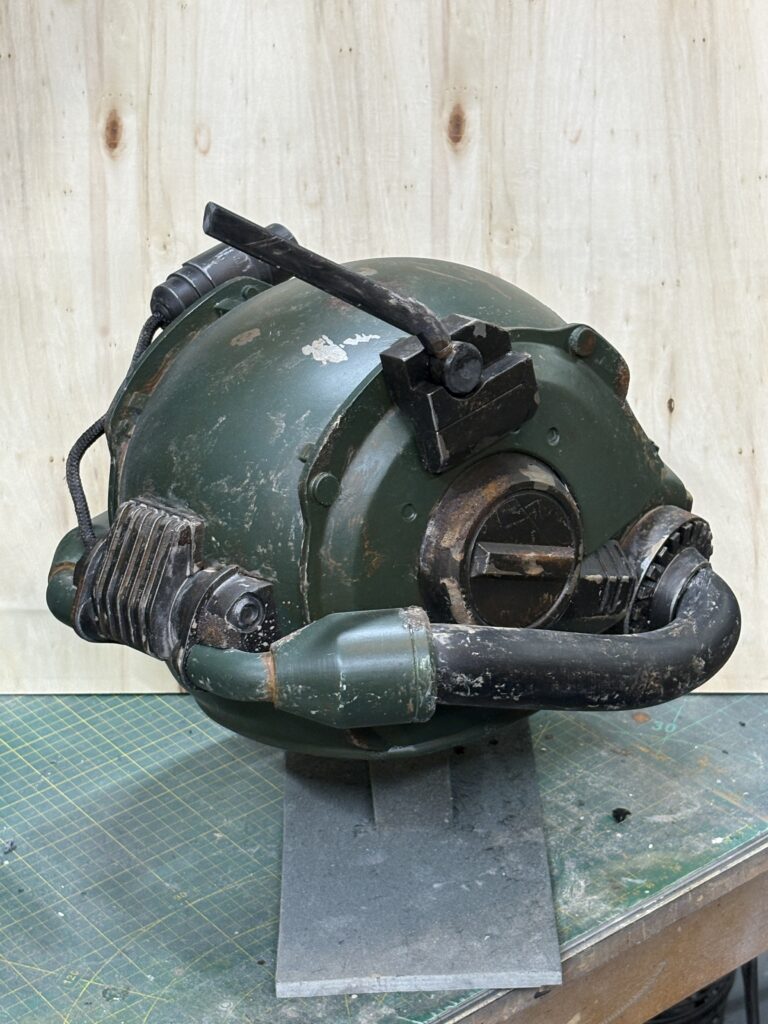
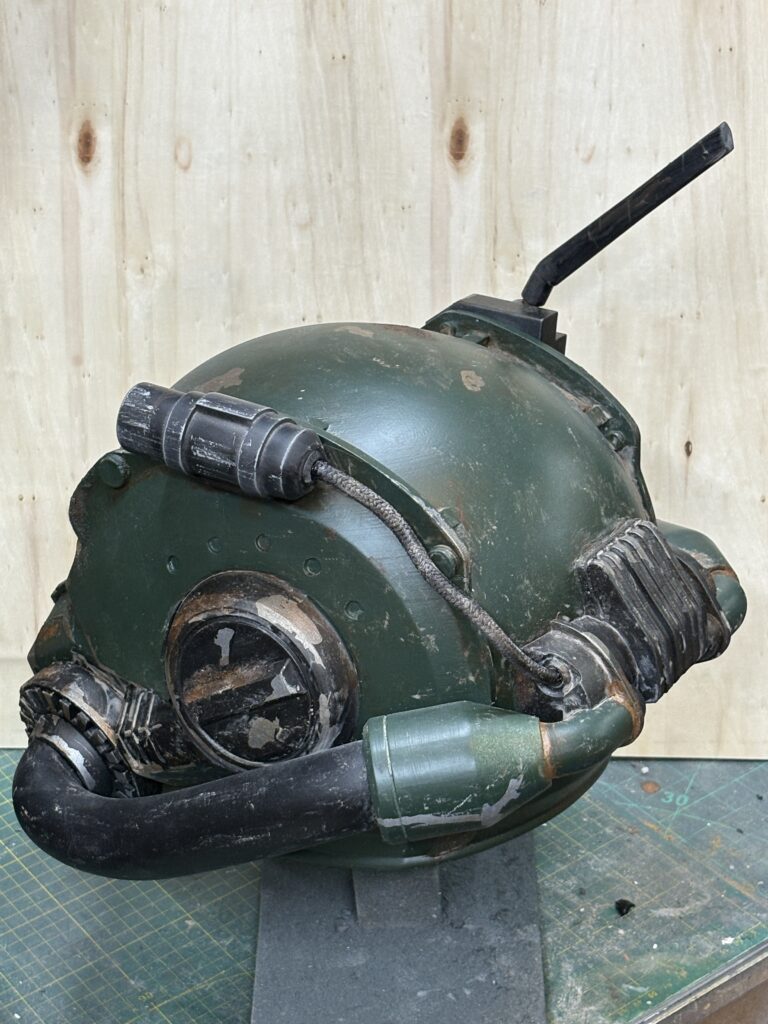
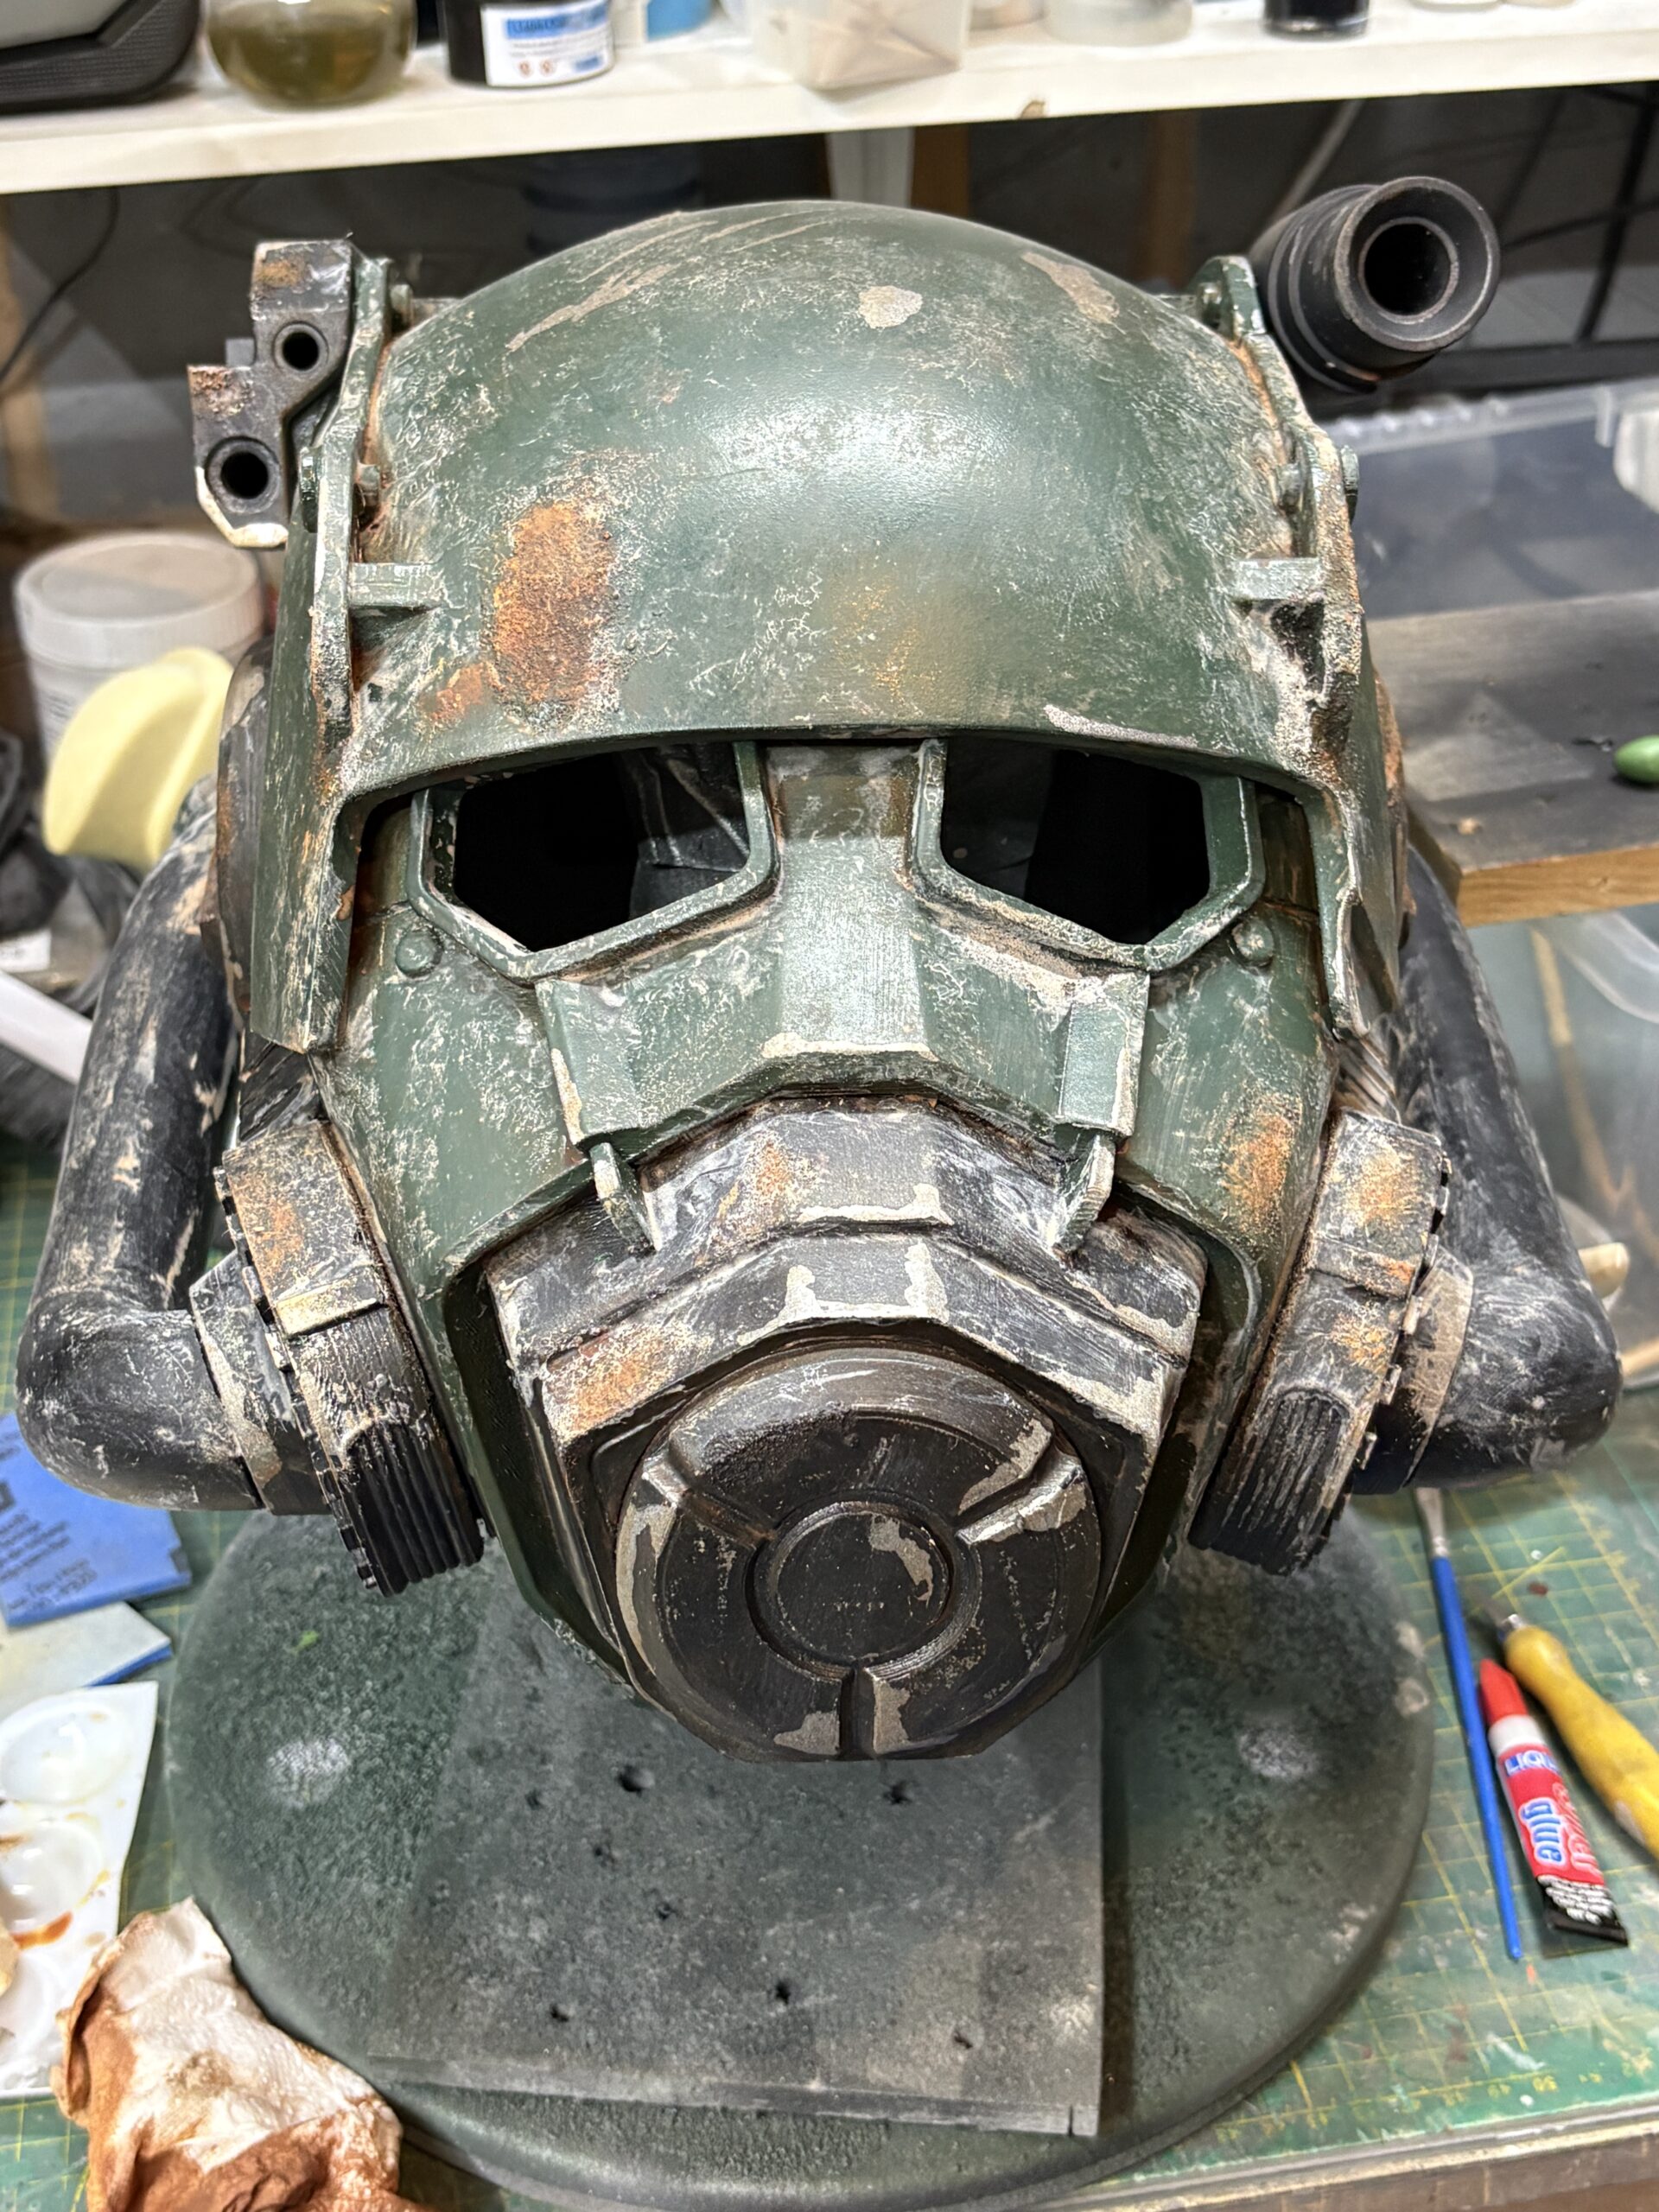
Wow, that last picture is a sight!!
Rust was going to be the key aspect of this finish. It had to look good, not just from 5 meters good, but ‘Wow that FEELS like rust!’ good so it needed to have texture, that grainy, lumpy, decaying metal feel.
The solution, PVA, grout powder and sand!
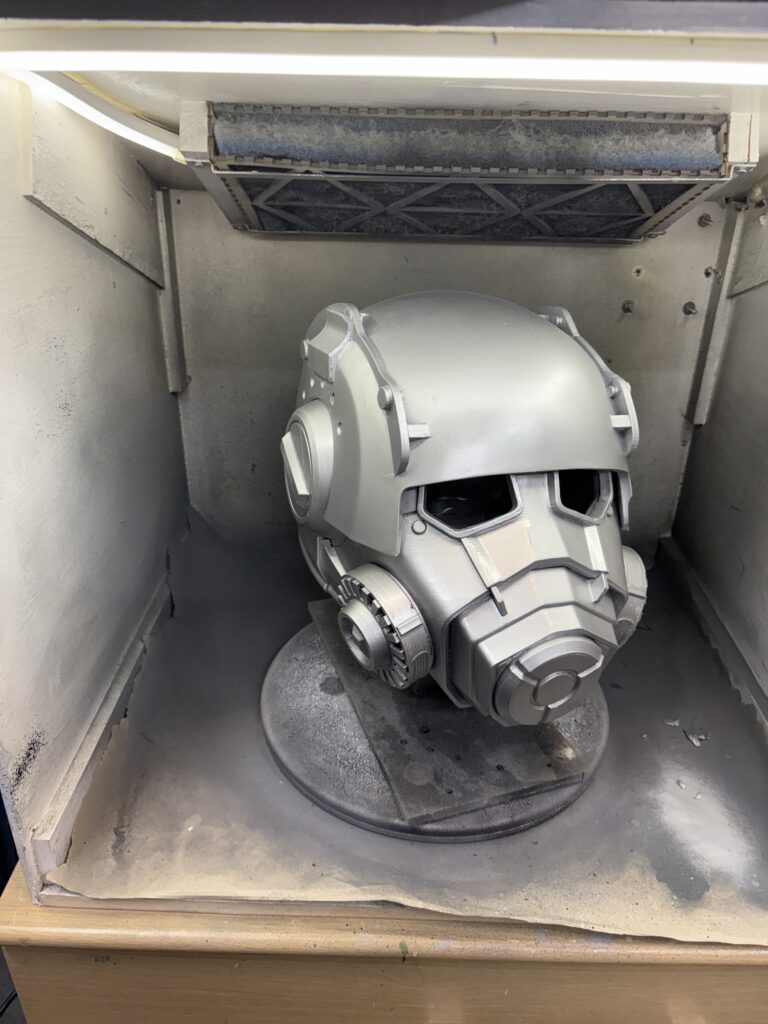
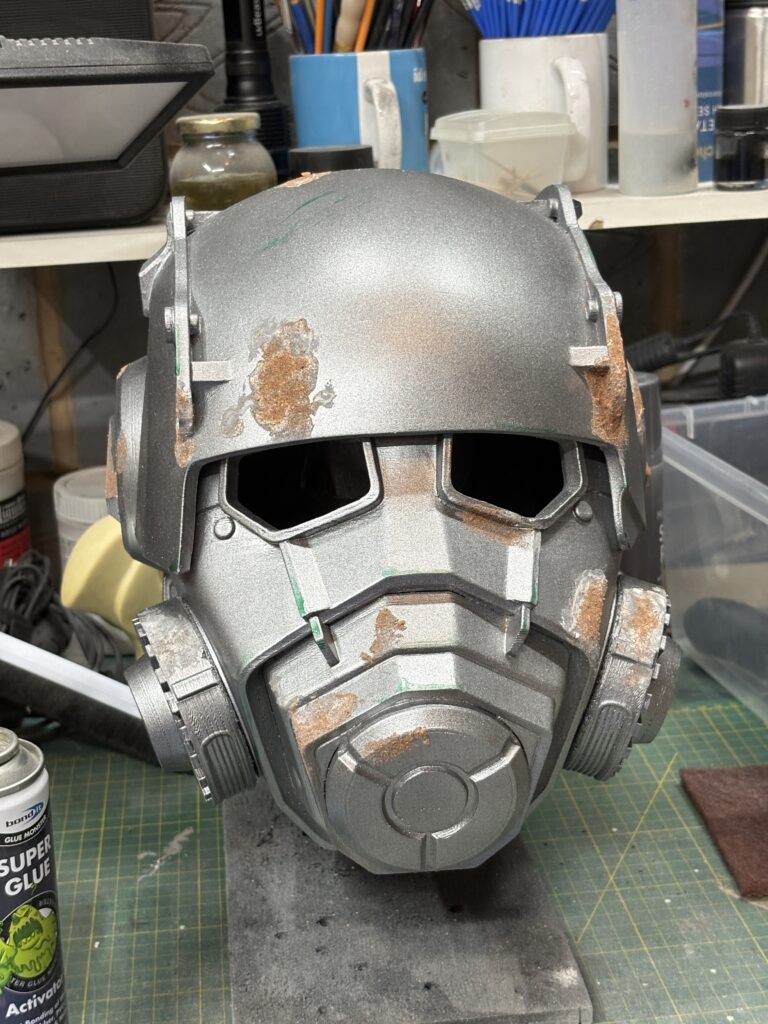
After the filling and sanding was done, the whole thing was primed, denibbed and got a coat of silver spray with a waft of gunmetal over it, this would be my based metal upon whiuch everything would be layered.
The PVA and grout powder mix was a little thicker than I used on the NCR Ranger helmet so I could build upsome lower-level texture around the rusty bits, then a little more in the main areas where I then sprinkled a little sand over and tapped into place.
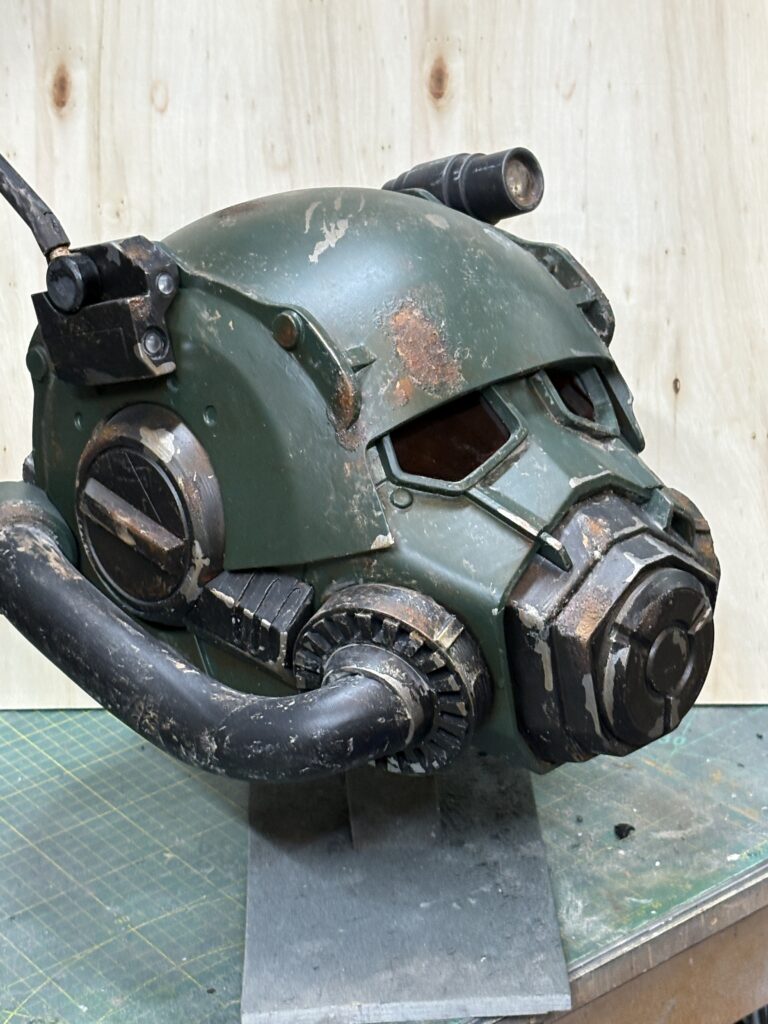
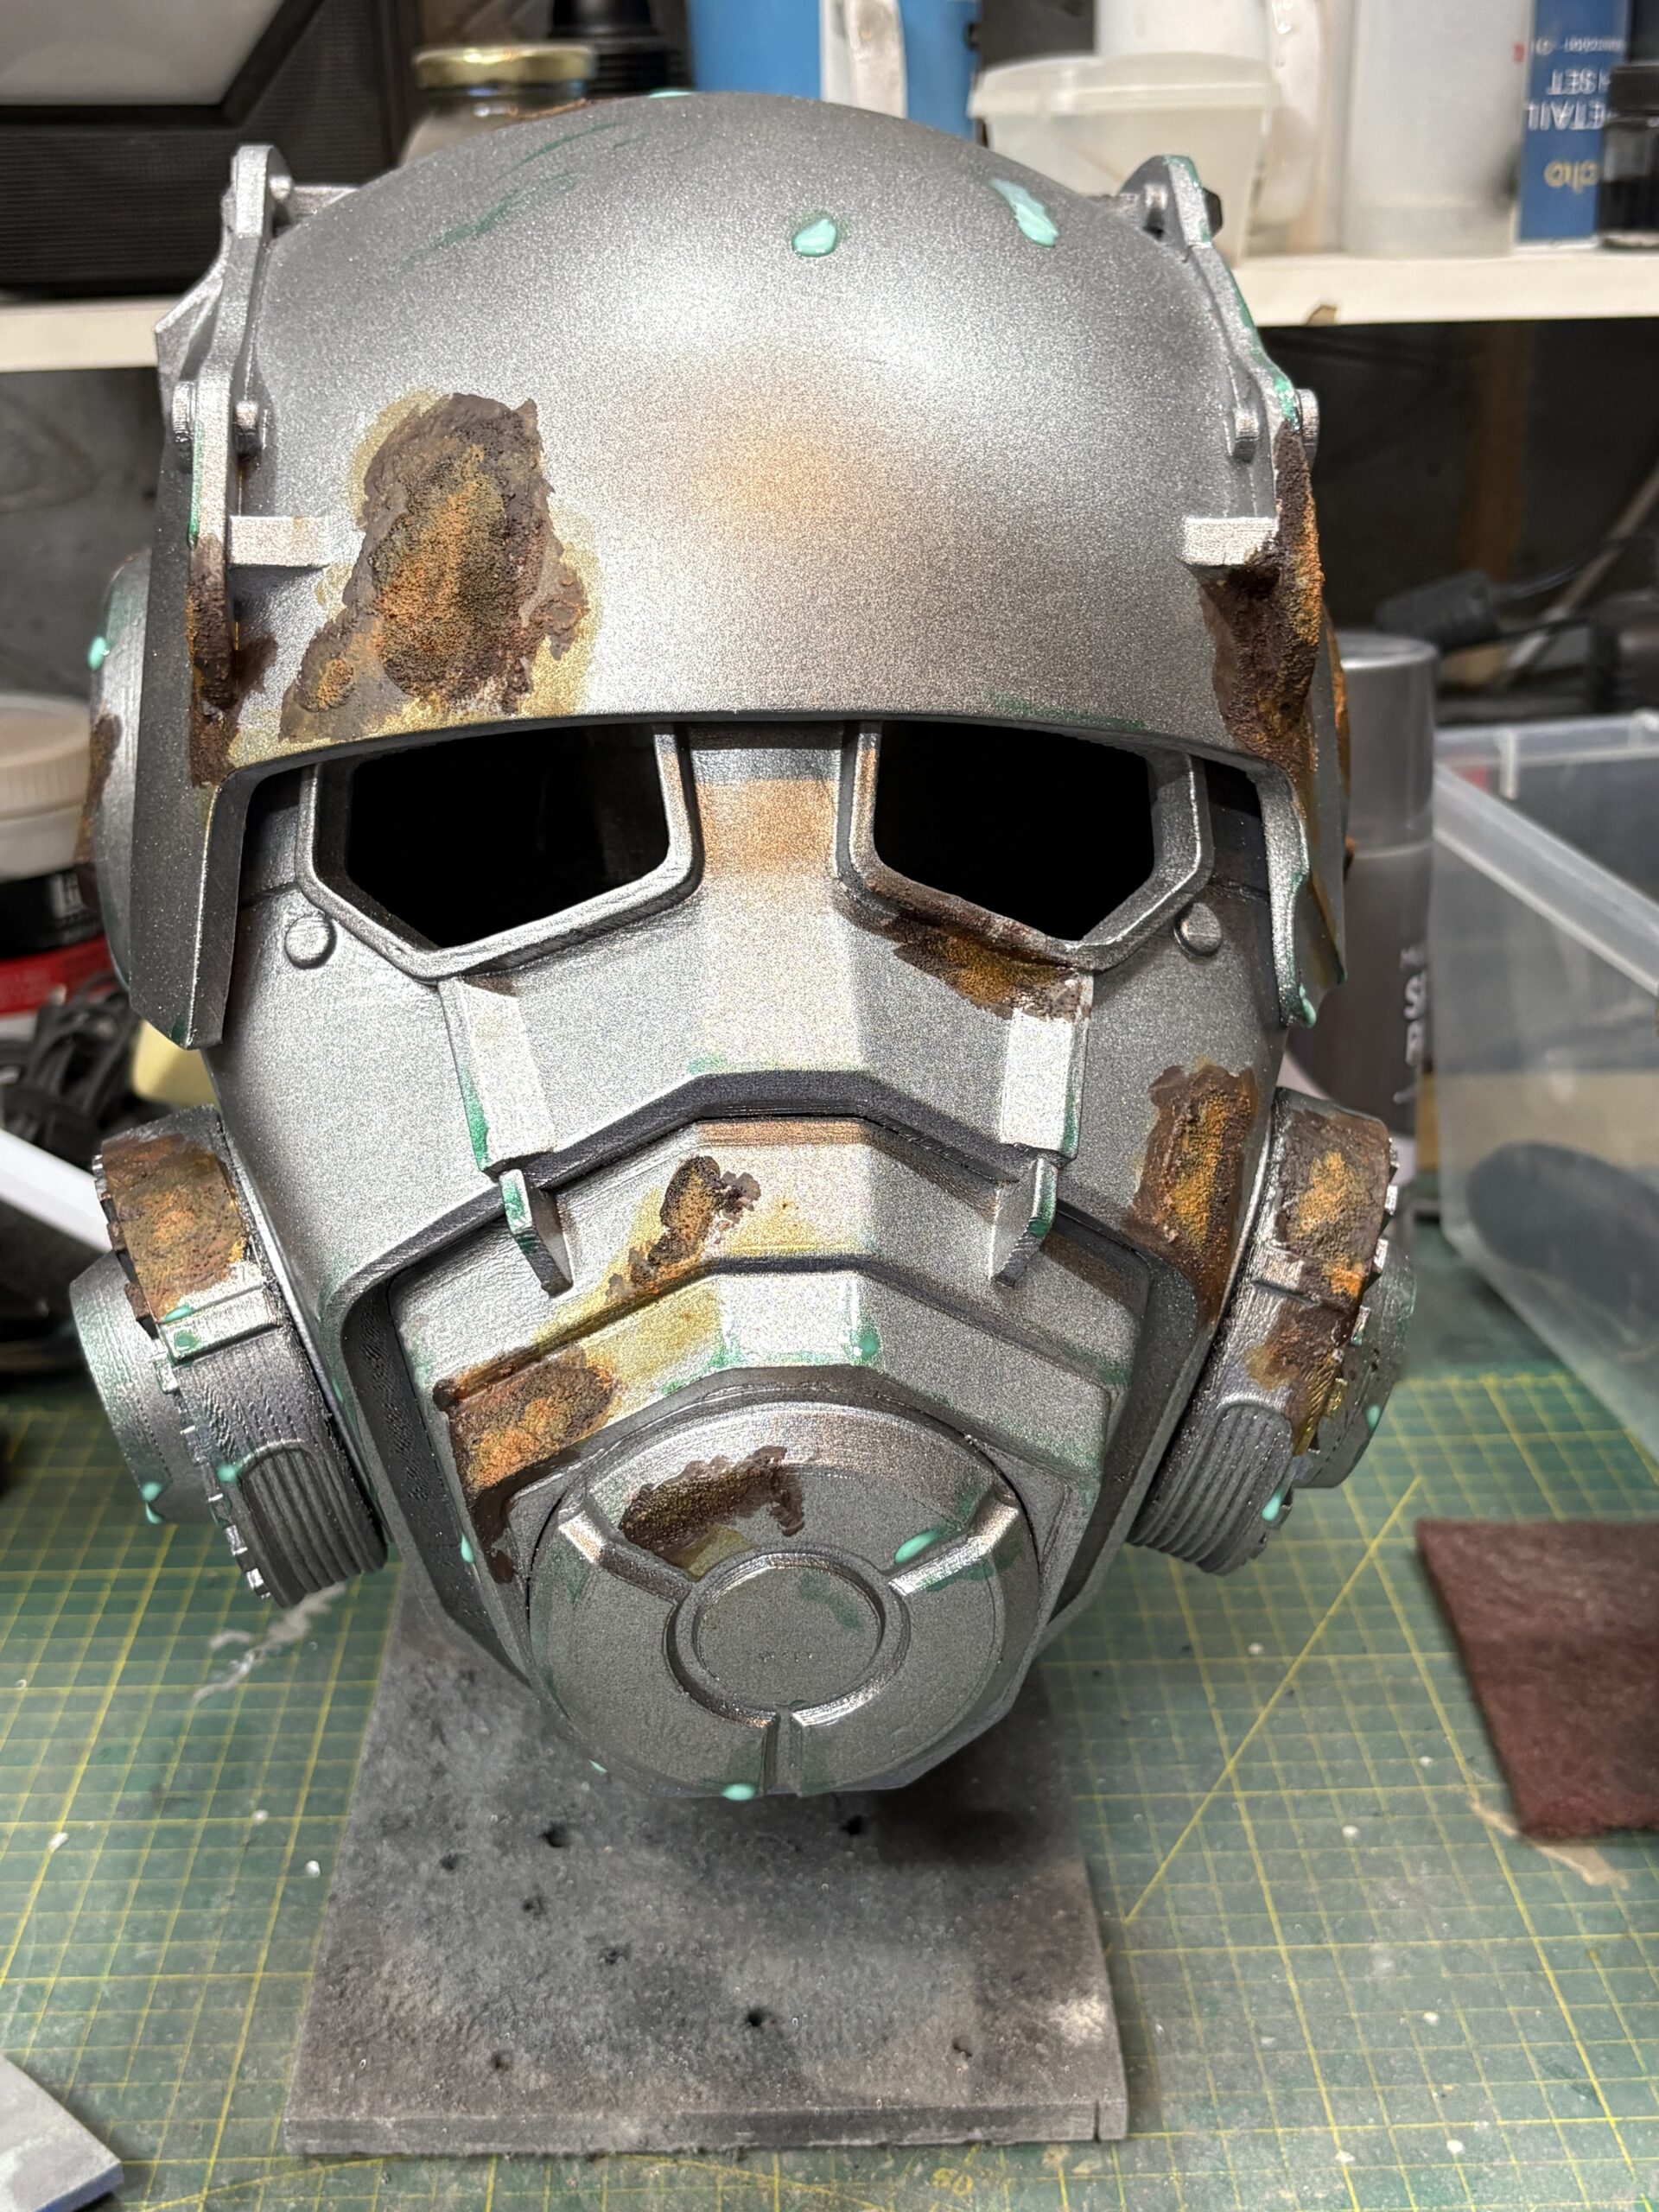
So that was the ‘feel’, now for the look. Rust is complicated stuff, it’s dimensional and multi-tonal from deep browns to bright oranges with everything in between. I started with a burnt umber based, then added some more orangy tones in areas over the top, sometimes overlapping, sometimes on their own. I used a combination of brushes, sponges and my finger to avoid obvious application marks and give some additional randomness to the coverage. The runs and drips are a rust colured wash from Vallejo which was the final layer – at this stage. A good coat of matt clear coat protects what we’ve done.
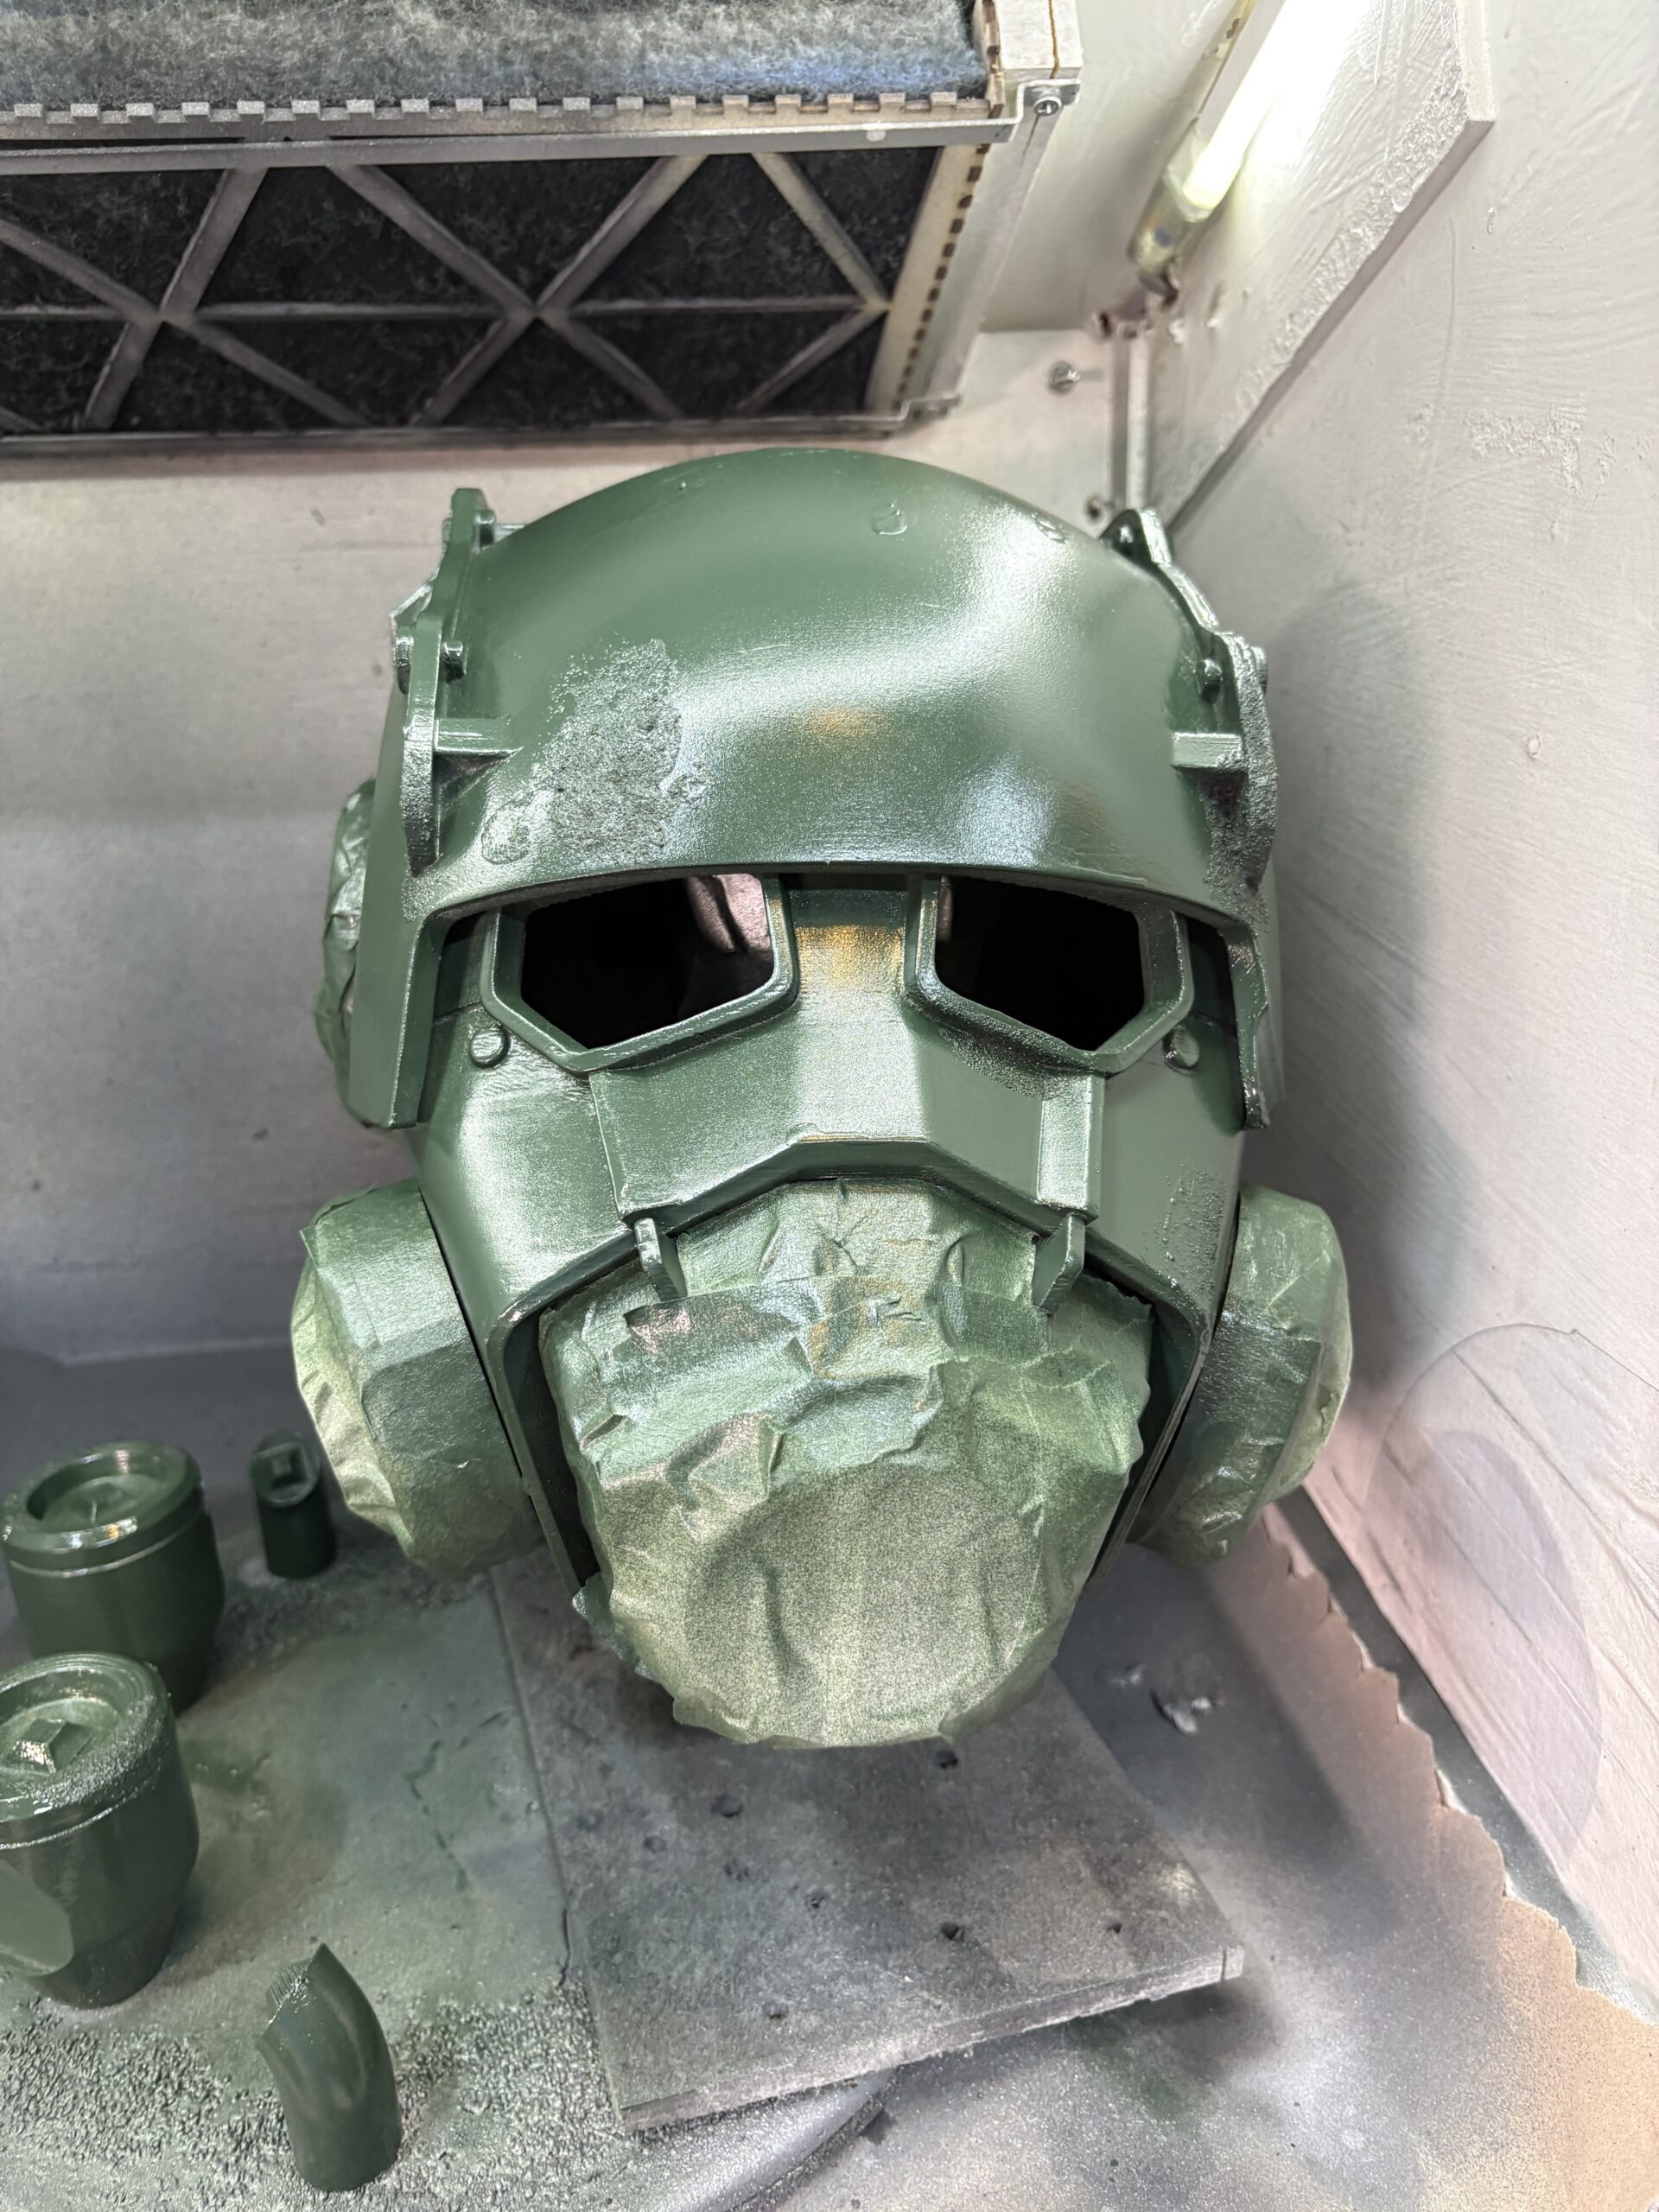
Of course rust comes from underneath paintwork, so we need to paint over the top and I used a combination of hairspray and liquid latex to give me my chipping methods. The top colour coat was applied and after it was dry I started rubbing through to the rust and base coat underneath. With a bit of scrubbing and the rusty bits revealed it was time for the final passes of weathering.
Dark washes and some touches up to the rust colours went first – I actually used real rust in some places, white vinegar and steel wool left for a week makes a great rust wash! – then it was time for a dustup.
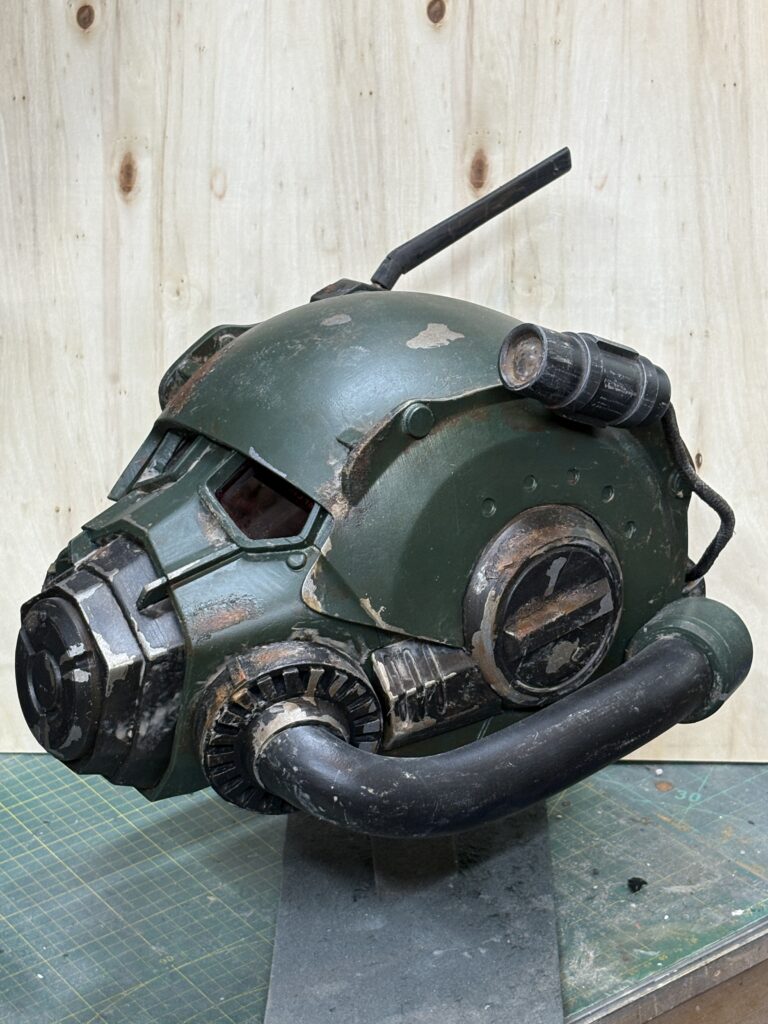
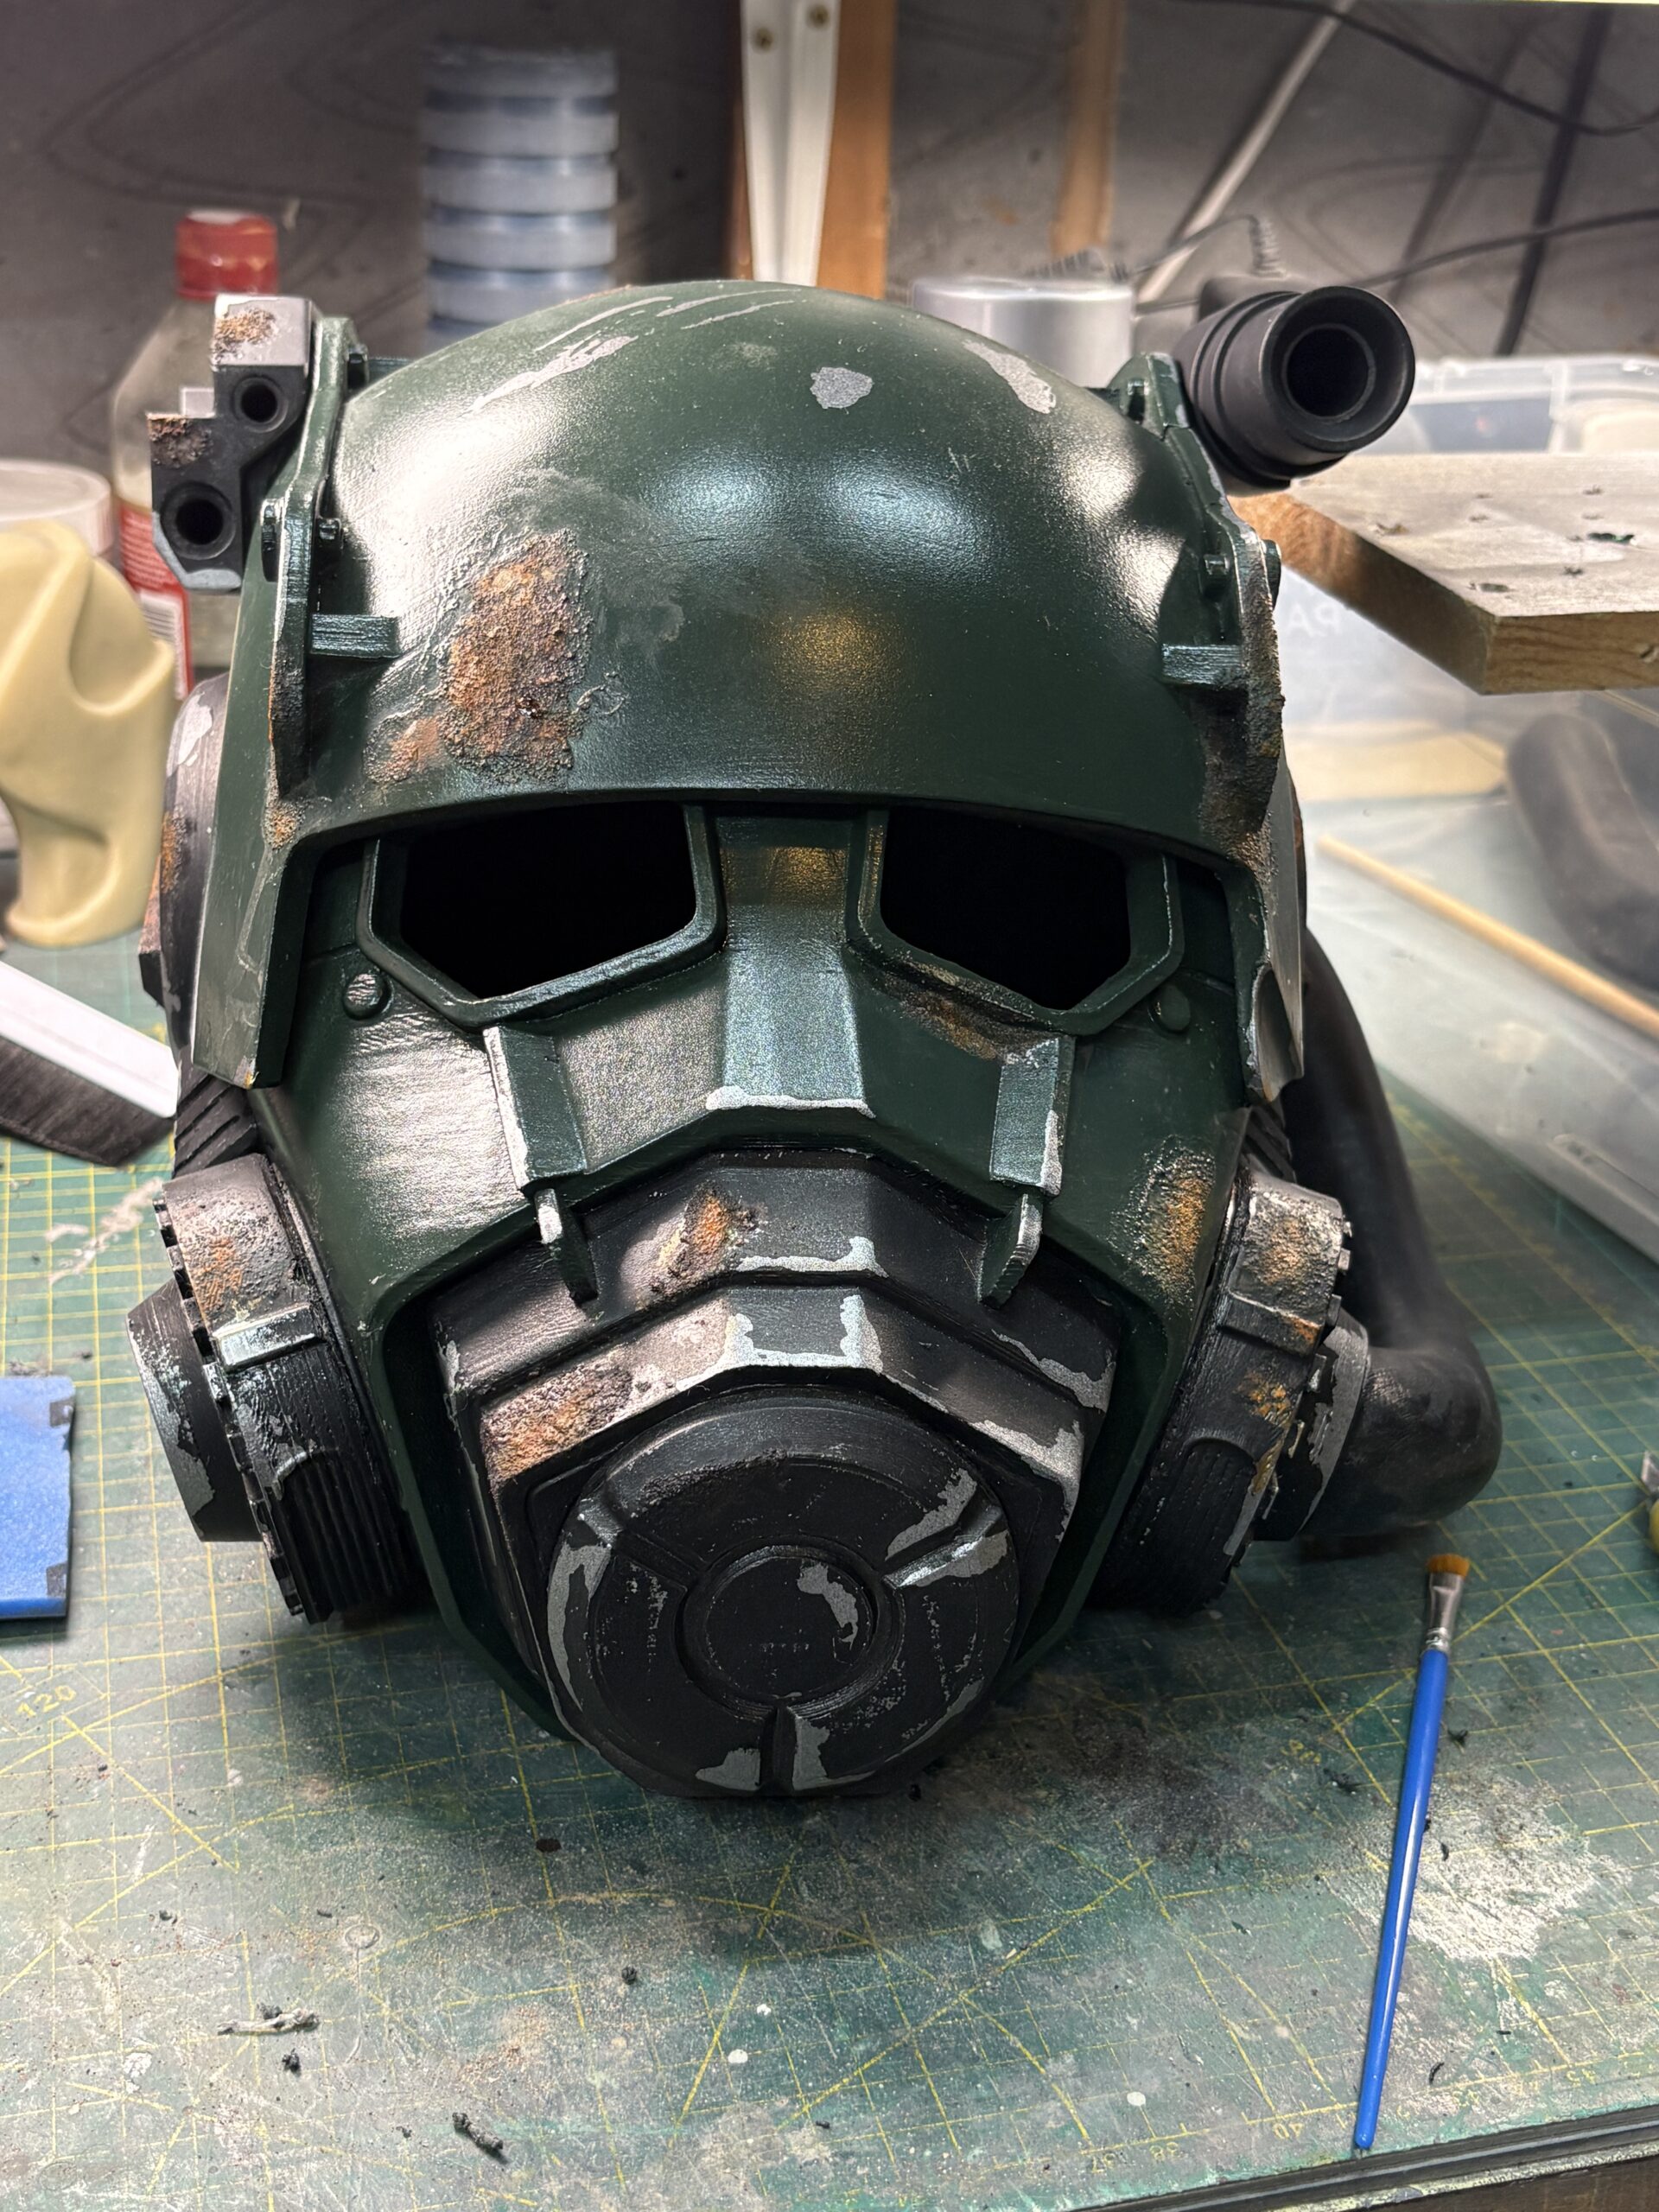
This helmet is supposed to have survived in the California / Nevada desert somewhere so it’s going to be dusty. To get a nice coverage and show some build-up over time (In my story, this suit was left in an old barn or warehouse for decades) I mixed up a wash of Fullers Earth powder and water and slopped it pretty much everywhere.
When it’d dried off I was able to see where there was just too much (almost everywhere per the picture above!) and I started wiping back with a damp cloth, getting rid of some of the obvious brush lines and marks.
Finally, a massive final layer of matt laquer goes over the finished item.
Materials
- PET-G filament
- ABS-like resin
- Acrylic lenses
- Red acrylic sheet for eyes
- Knifing filler
- Spray putty
- Grey filler-primer
- PVA
- Sand-free grout power
- Kiln-dried sand
- Burnt umber acrylic paint
- Black acrylic paint
- Rust washes from Vallejo
- Rust mix (white vinegar and steel wool, left to mature – yum!)
- Hairspray (Firm hold!)
- Liquid latex
- Matt acrylic laquer
- 80 / 120 / 240 grit sandpaper and sanding sticks
Tools
- Anycubic Korba 2 Max FDM printer
- Anycubic Mono 5s
- Palm sander
- Craft knives
- Sponge brushes
- Chip brush